Swift Project – To Do List App
FREE Online Courses: Click, Learn, Succeed, Start Now!
Todo List apps are very popular as they allow users to organize their tasks in a simple and efficient manner. In this project, we will be creating an iOS-based Todo List app using SwiftUI. The app will allow users to add, delete, and mark tasks as complete or incomplete.
About Swift ToDo List App
The objective of this project is to help you understand the basics of SwiftUI and how to create a simple Todo List app. By the end of this project, you will have a fully functional Todo List app that you can customize according to your needs.
Prerequisites for ToDo List App Using Swift
To follow along with this project, you should have basic knowledge of Swift programming language and its concepts, such as variables, functions, and loops. You should also have Xcode 12 or above installed on your Mac, which can be downloaded from the App Store. You should also have basic knowledge of SwiftUI and MVVM (Model-View-Viewmodel) architecture.
Download Swift ToDo List App Project
Please download the source code of Swift ToDo List App Project: Swift ToDo List App Project Code
Steps to Create ToDo List App using Swift
Following are the steps for developing the Swift ToDo List App Project:
Step 1: Create a new SwiftUI project in Xcode.
Step 2: Create a model for the Todo item
Step 3: Create a view model for the Todo list
Step 4: Create a view for the Todo list
Step 5: Test the app on a simulator or a physical iOS device.
Step 1: Create a new SwiftUI project in Xcode
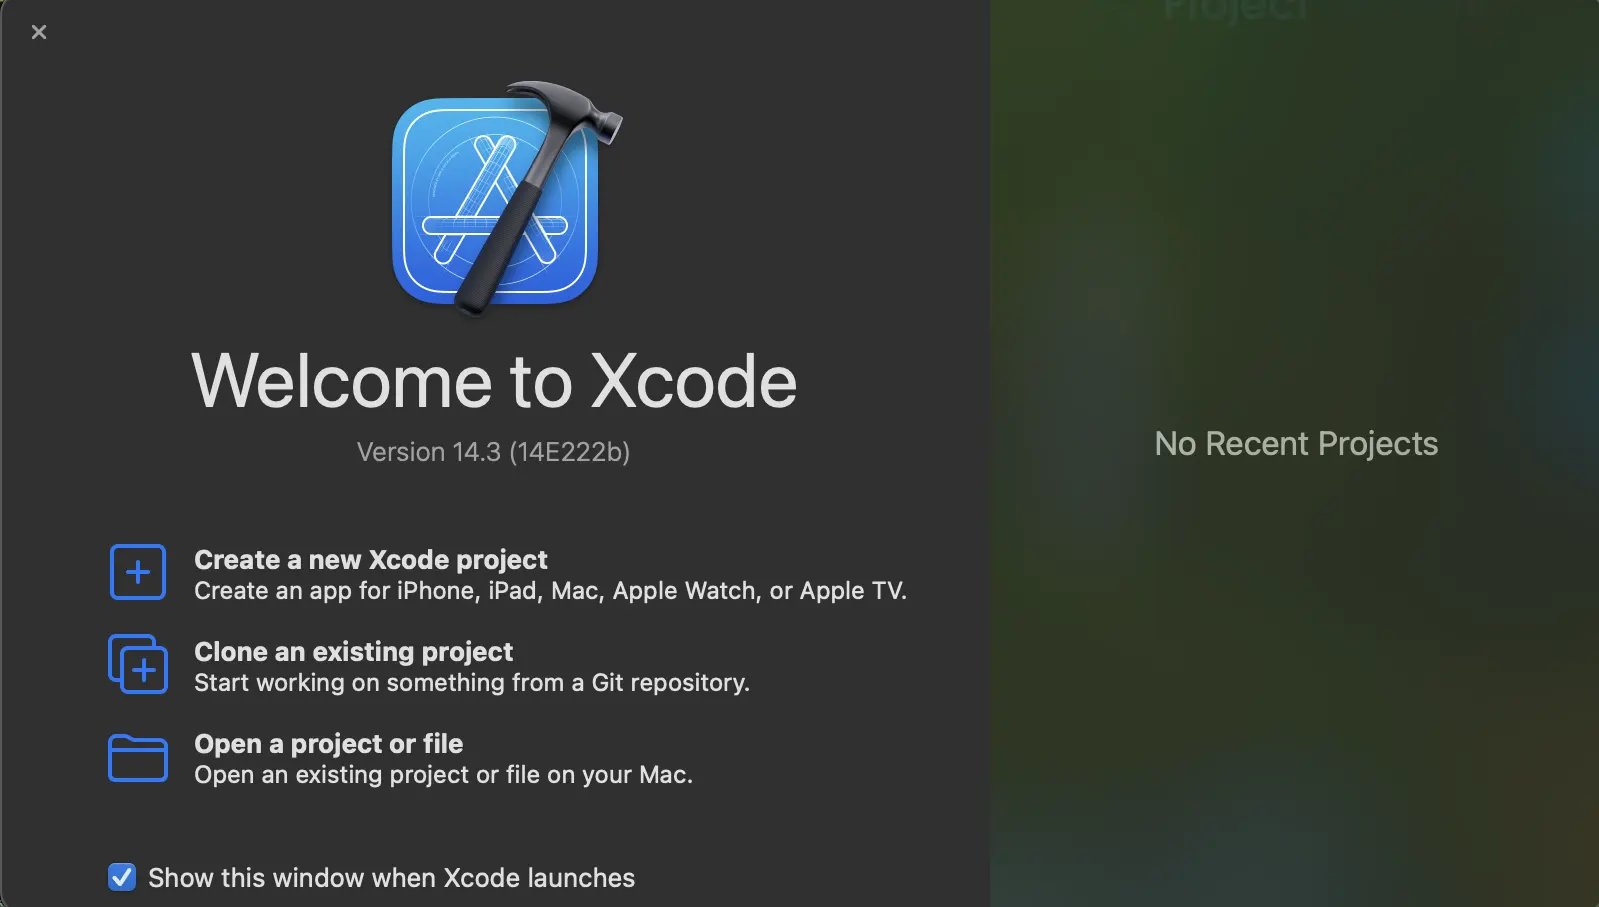
a. Open Xcode and Click on the “Create a new Xcode Project” option.
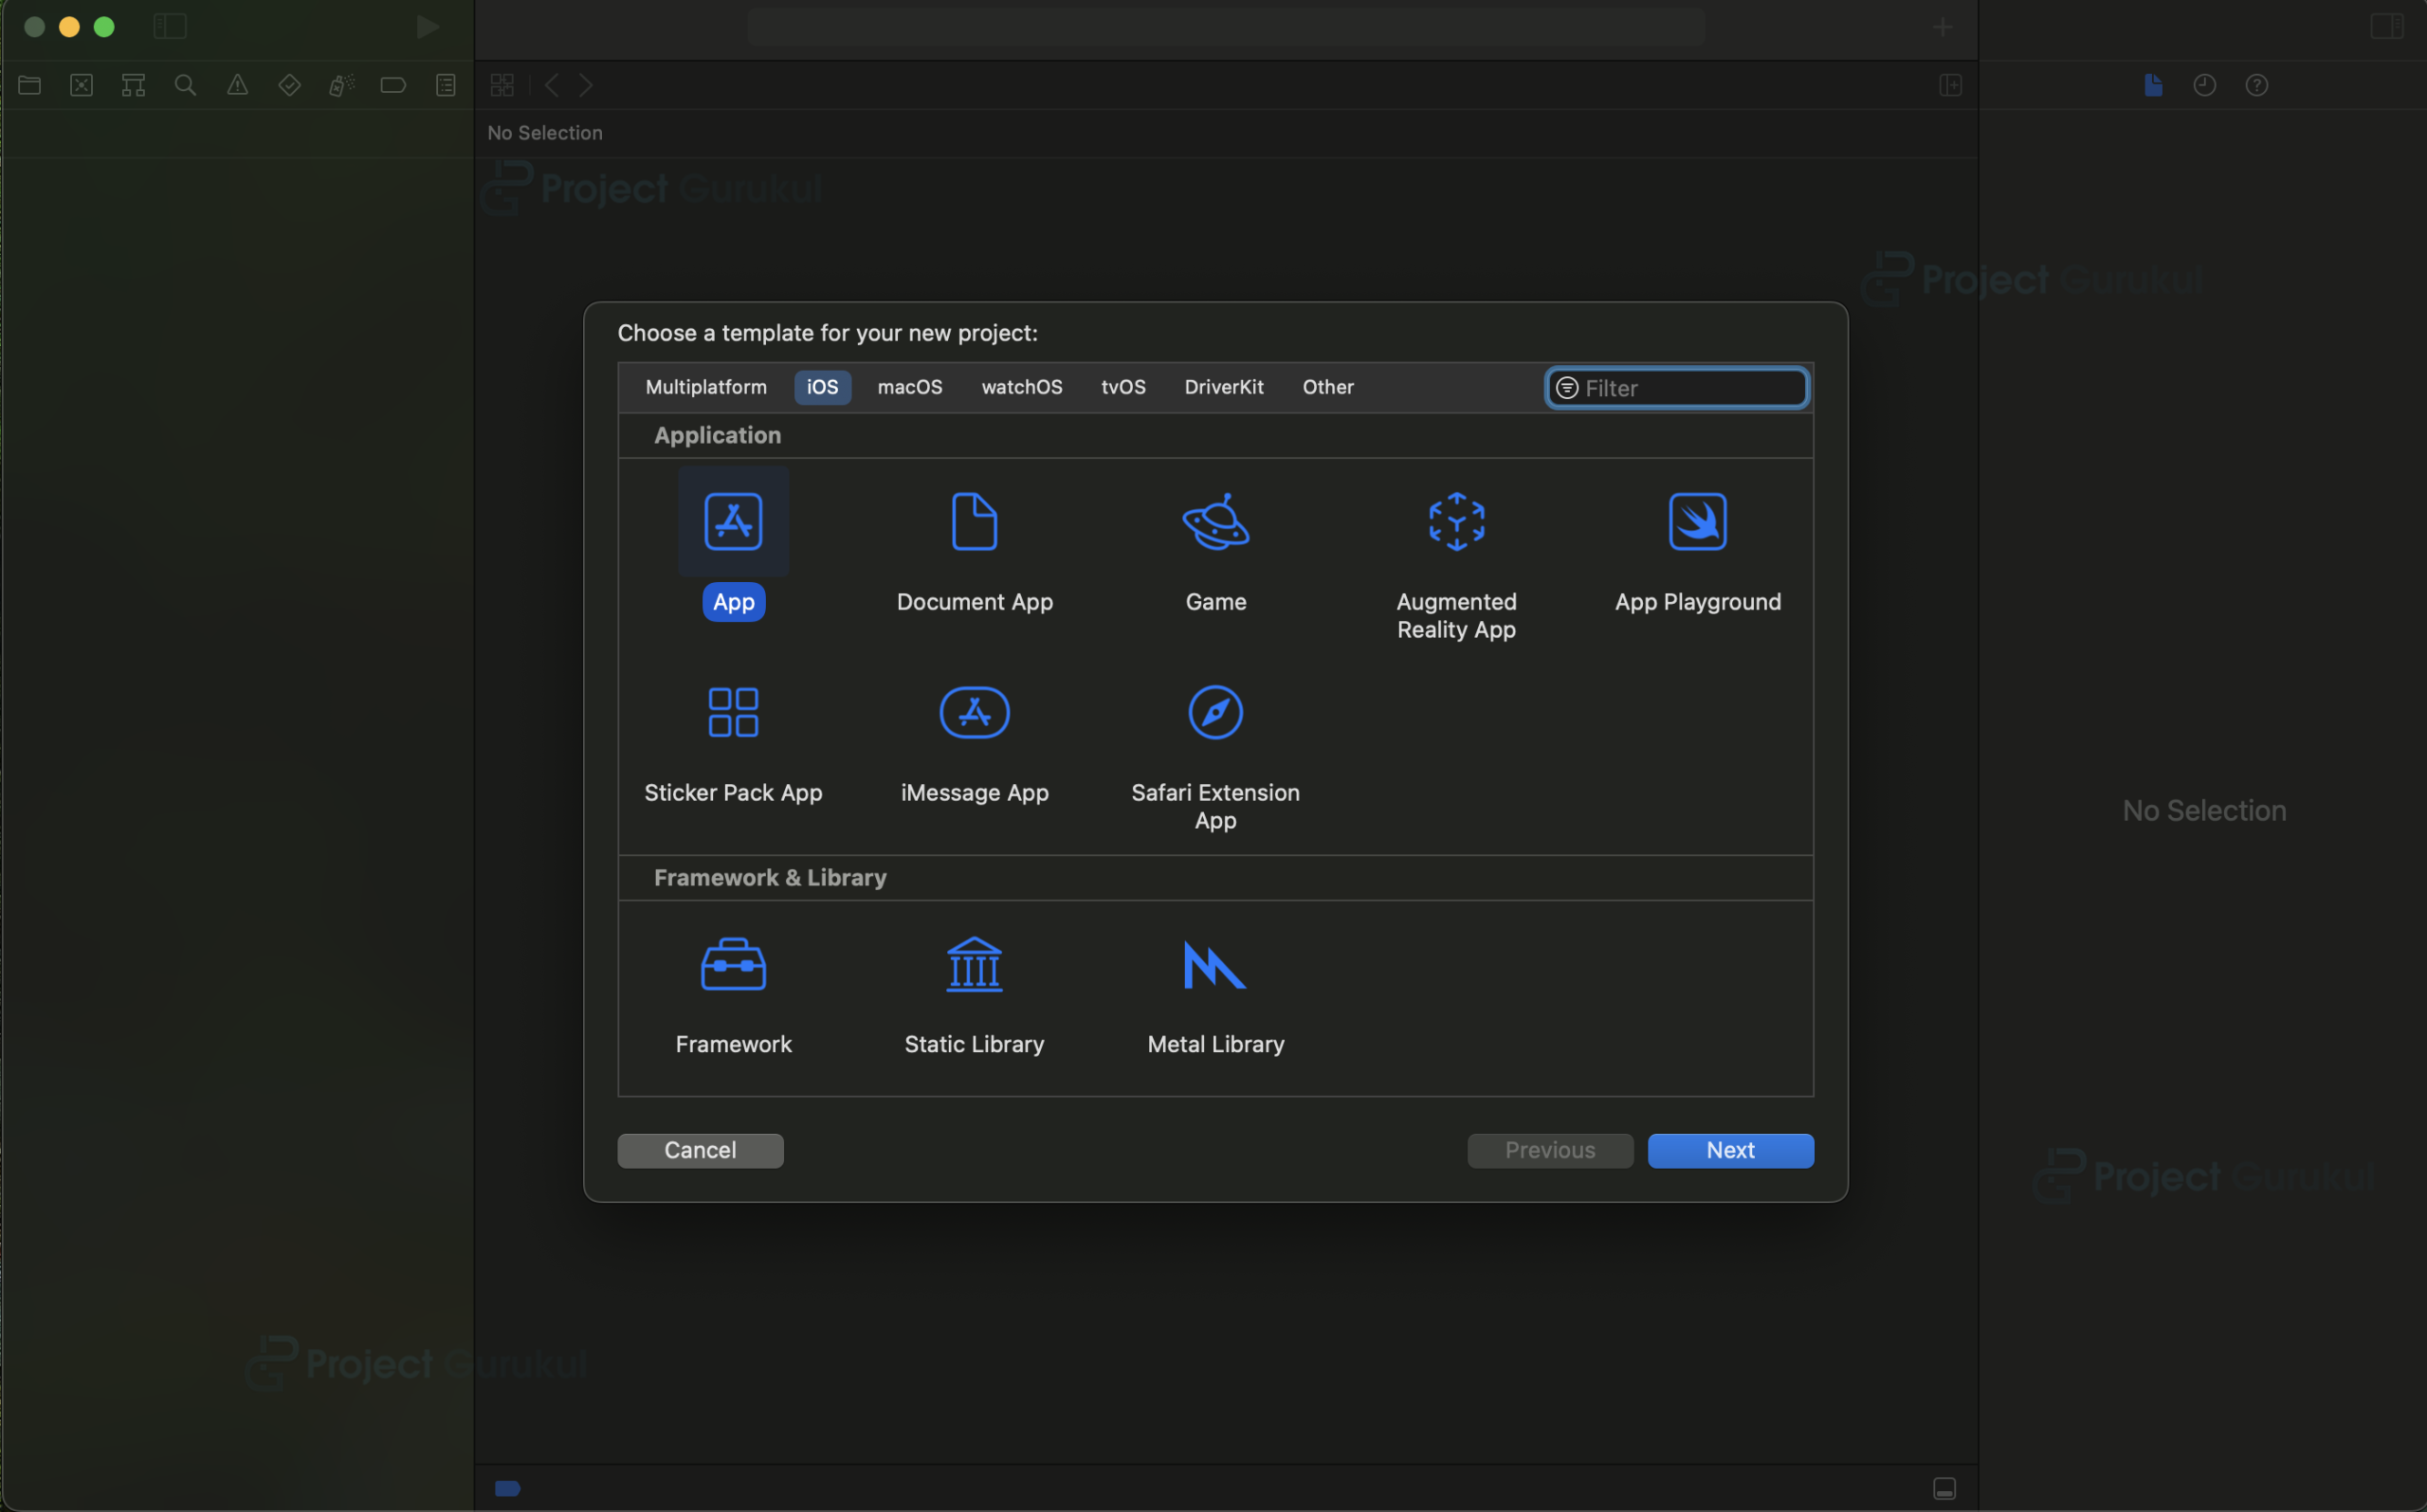
b. Now select platform as “iOS” and application type as “App”.
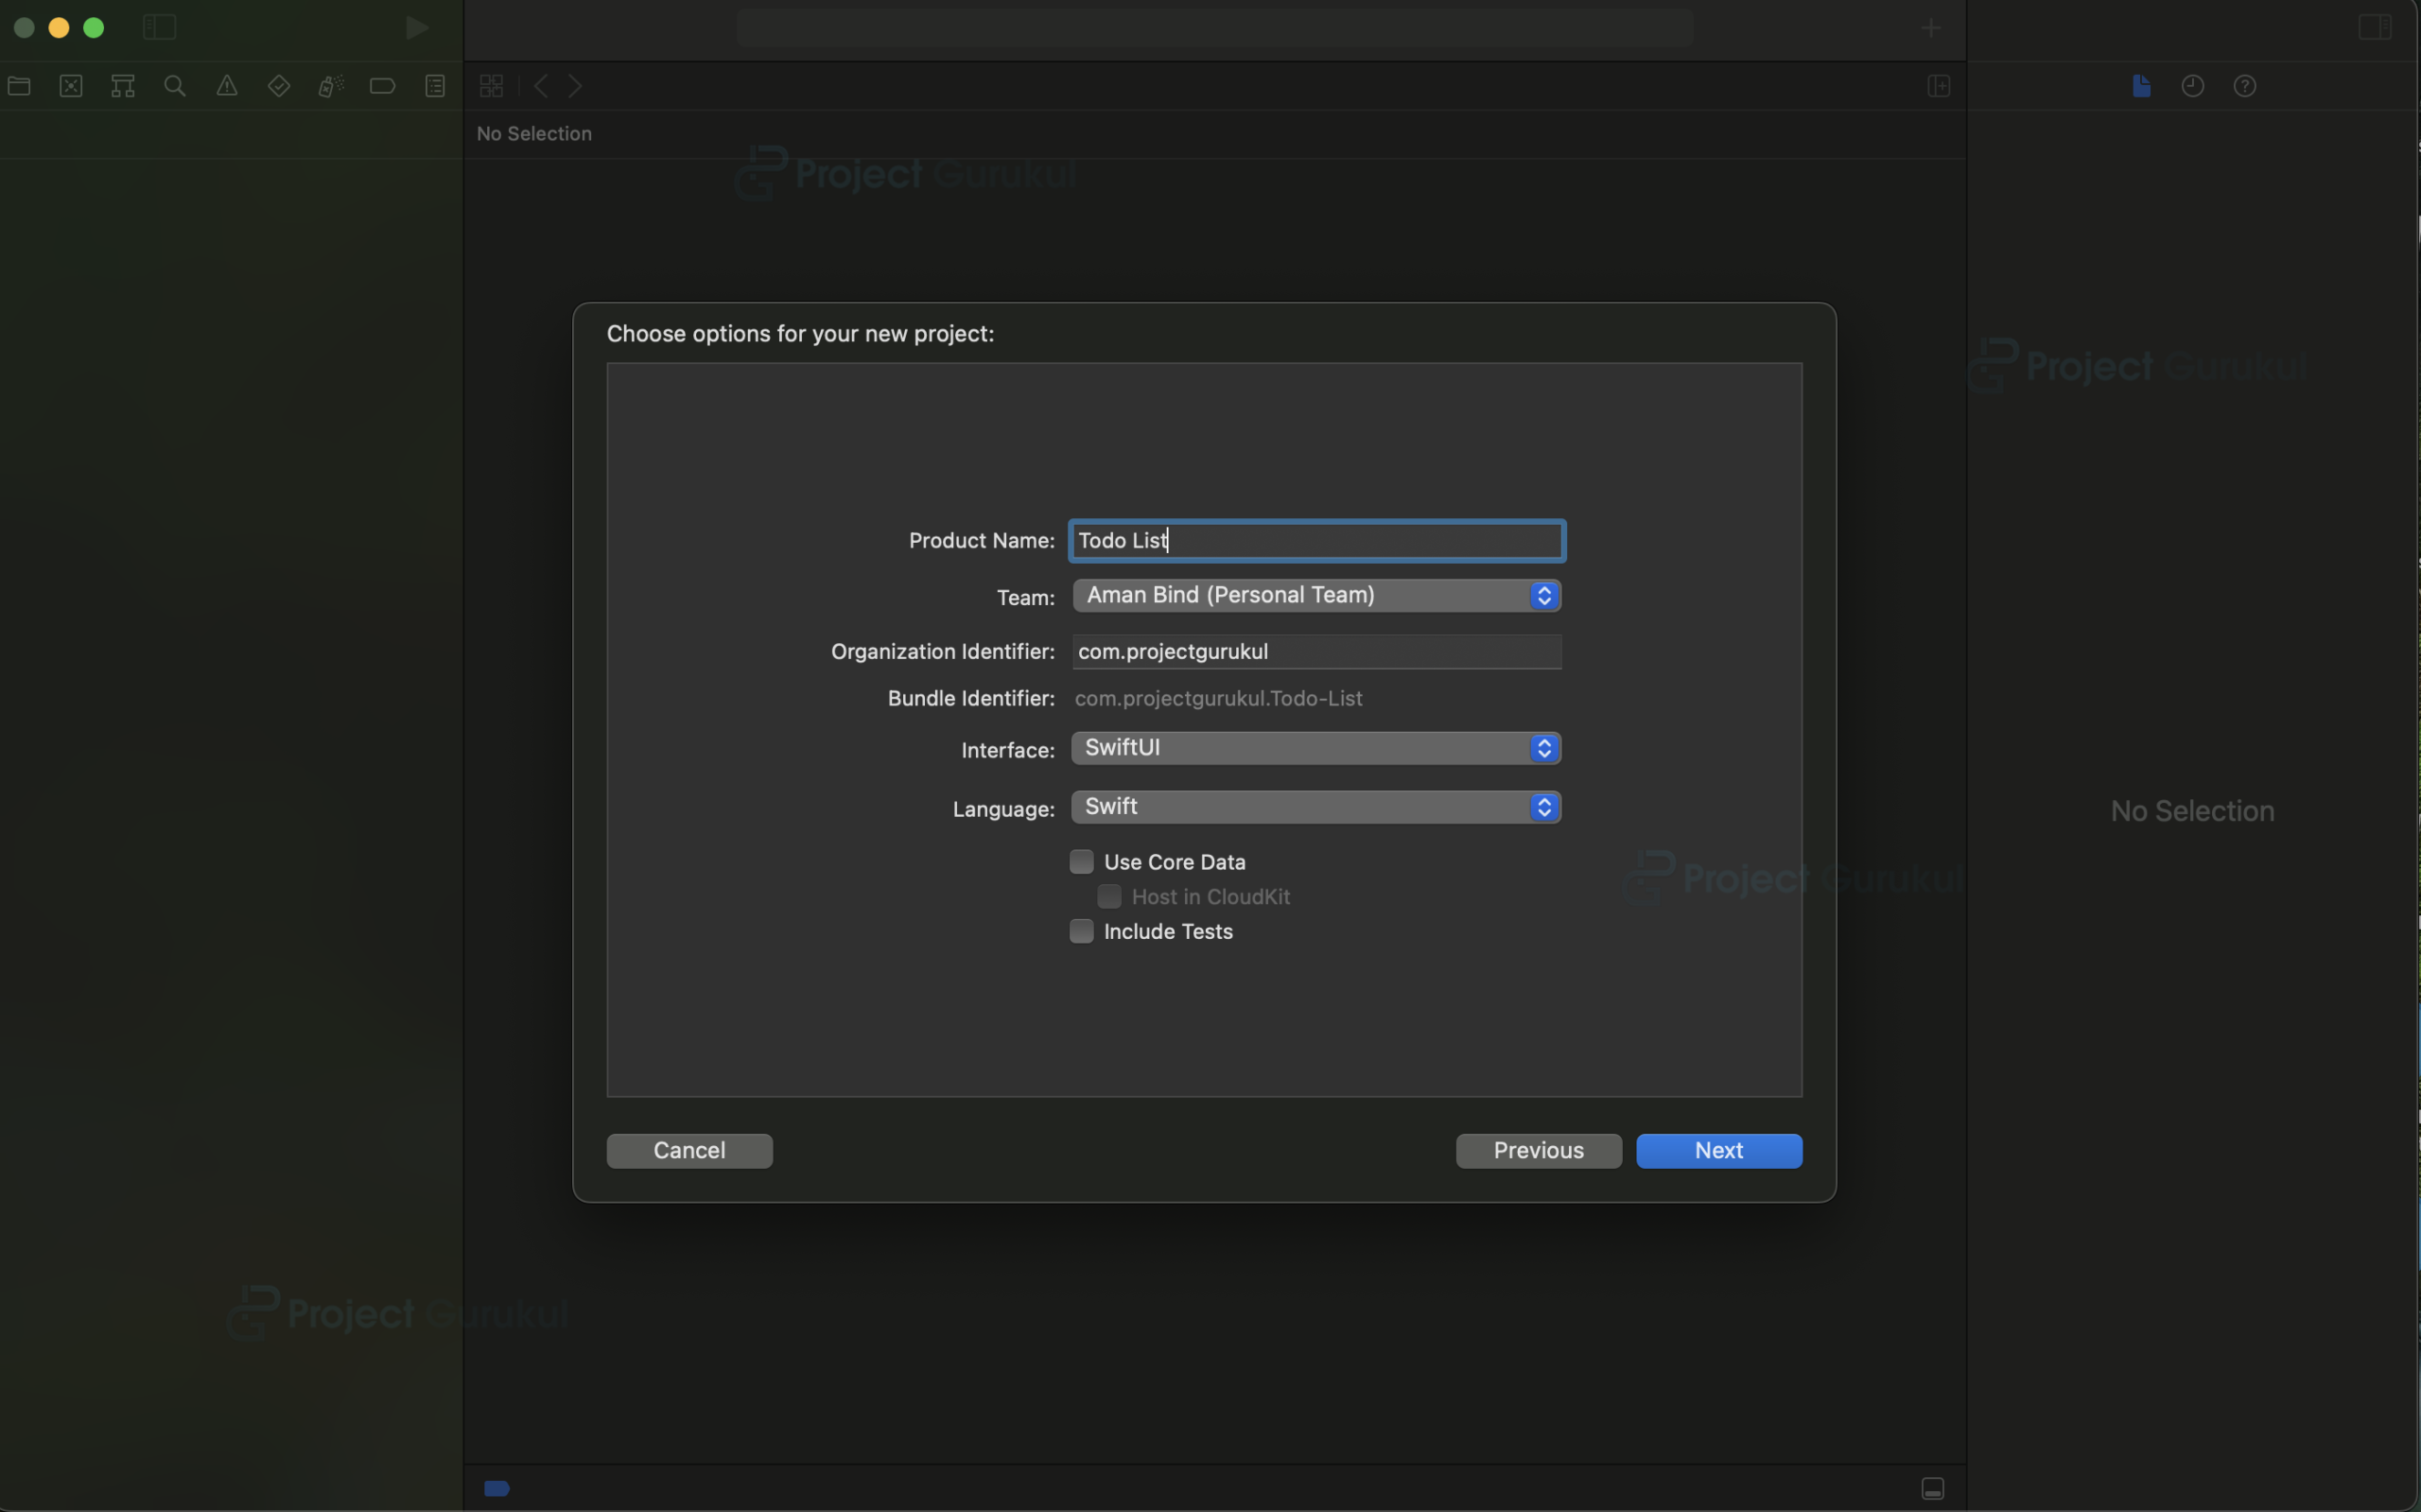
c. Now, Enter the name of the app and organization identifier, and select SwiftUI interface for building the UI of the app. Also, select Swift as the language for creating the app.
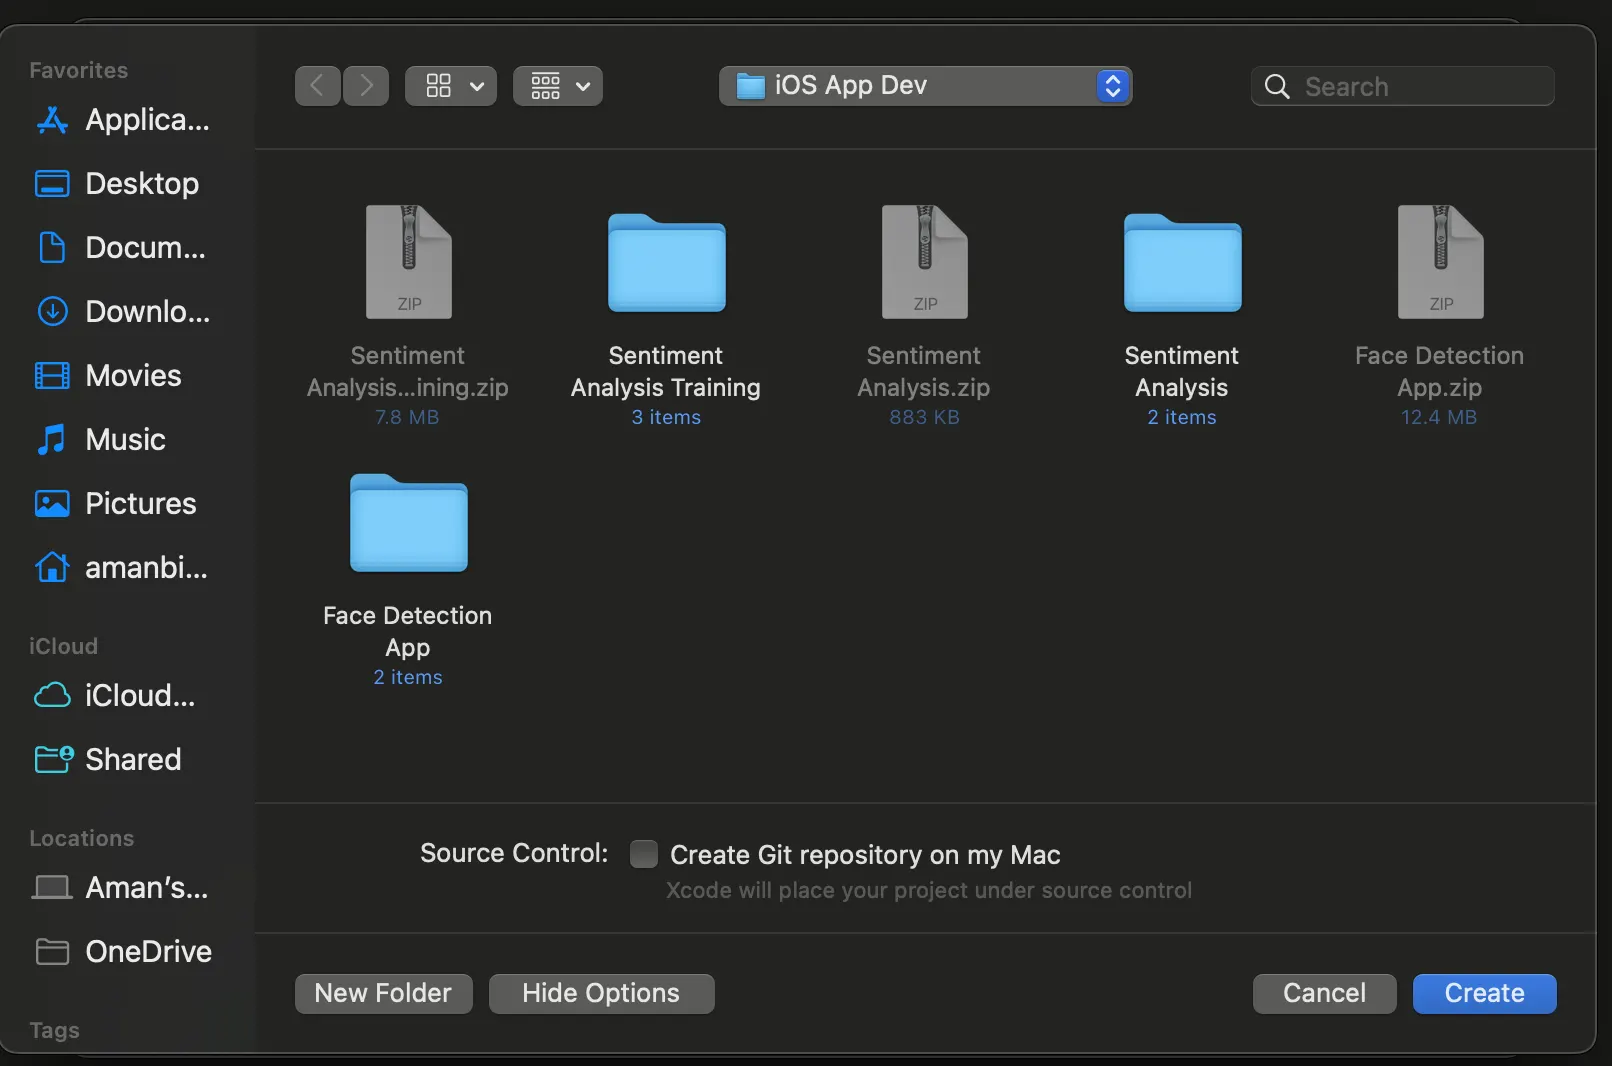
d. Select the folder where you want to save the app and click on Create.
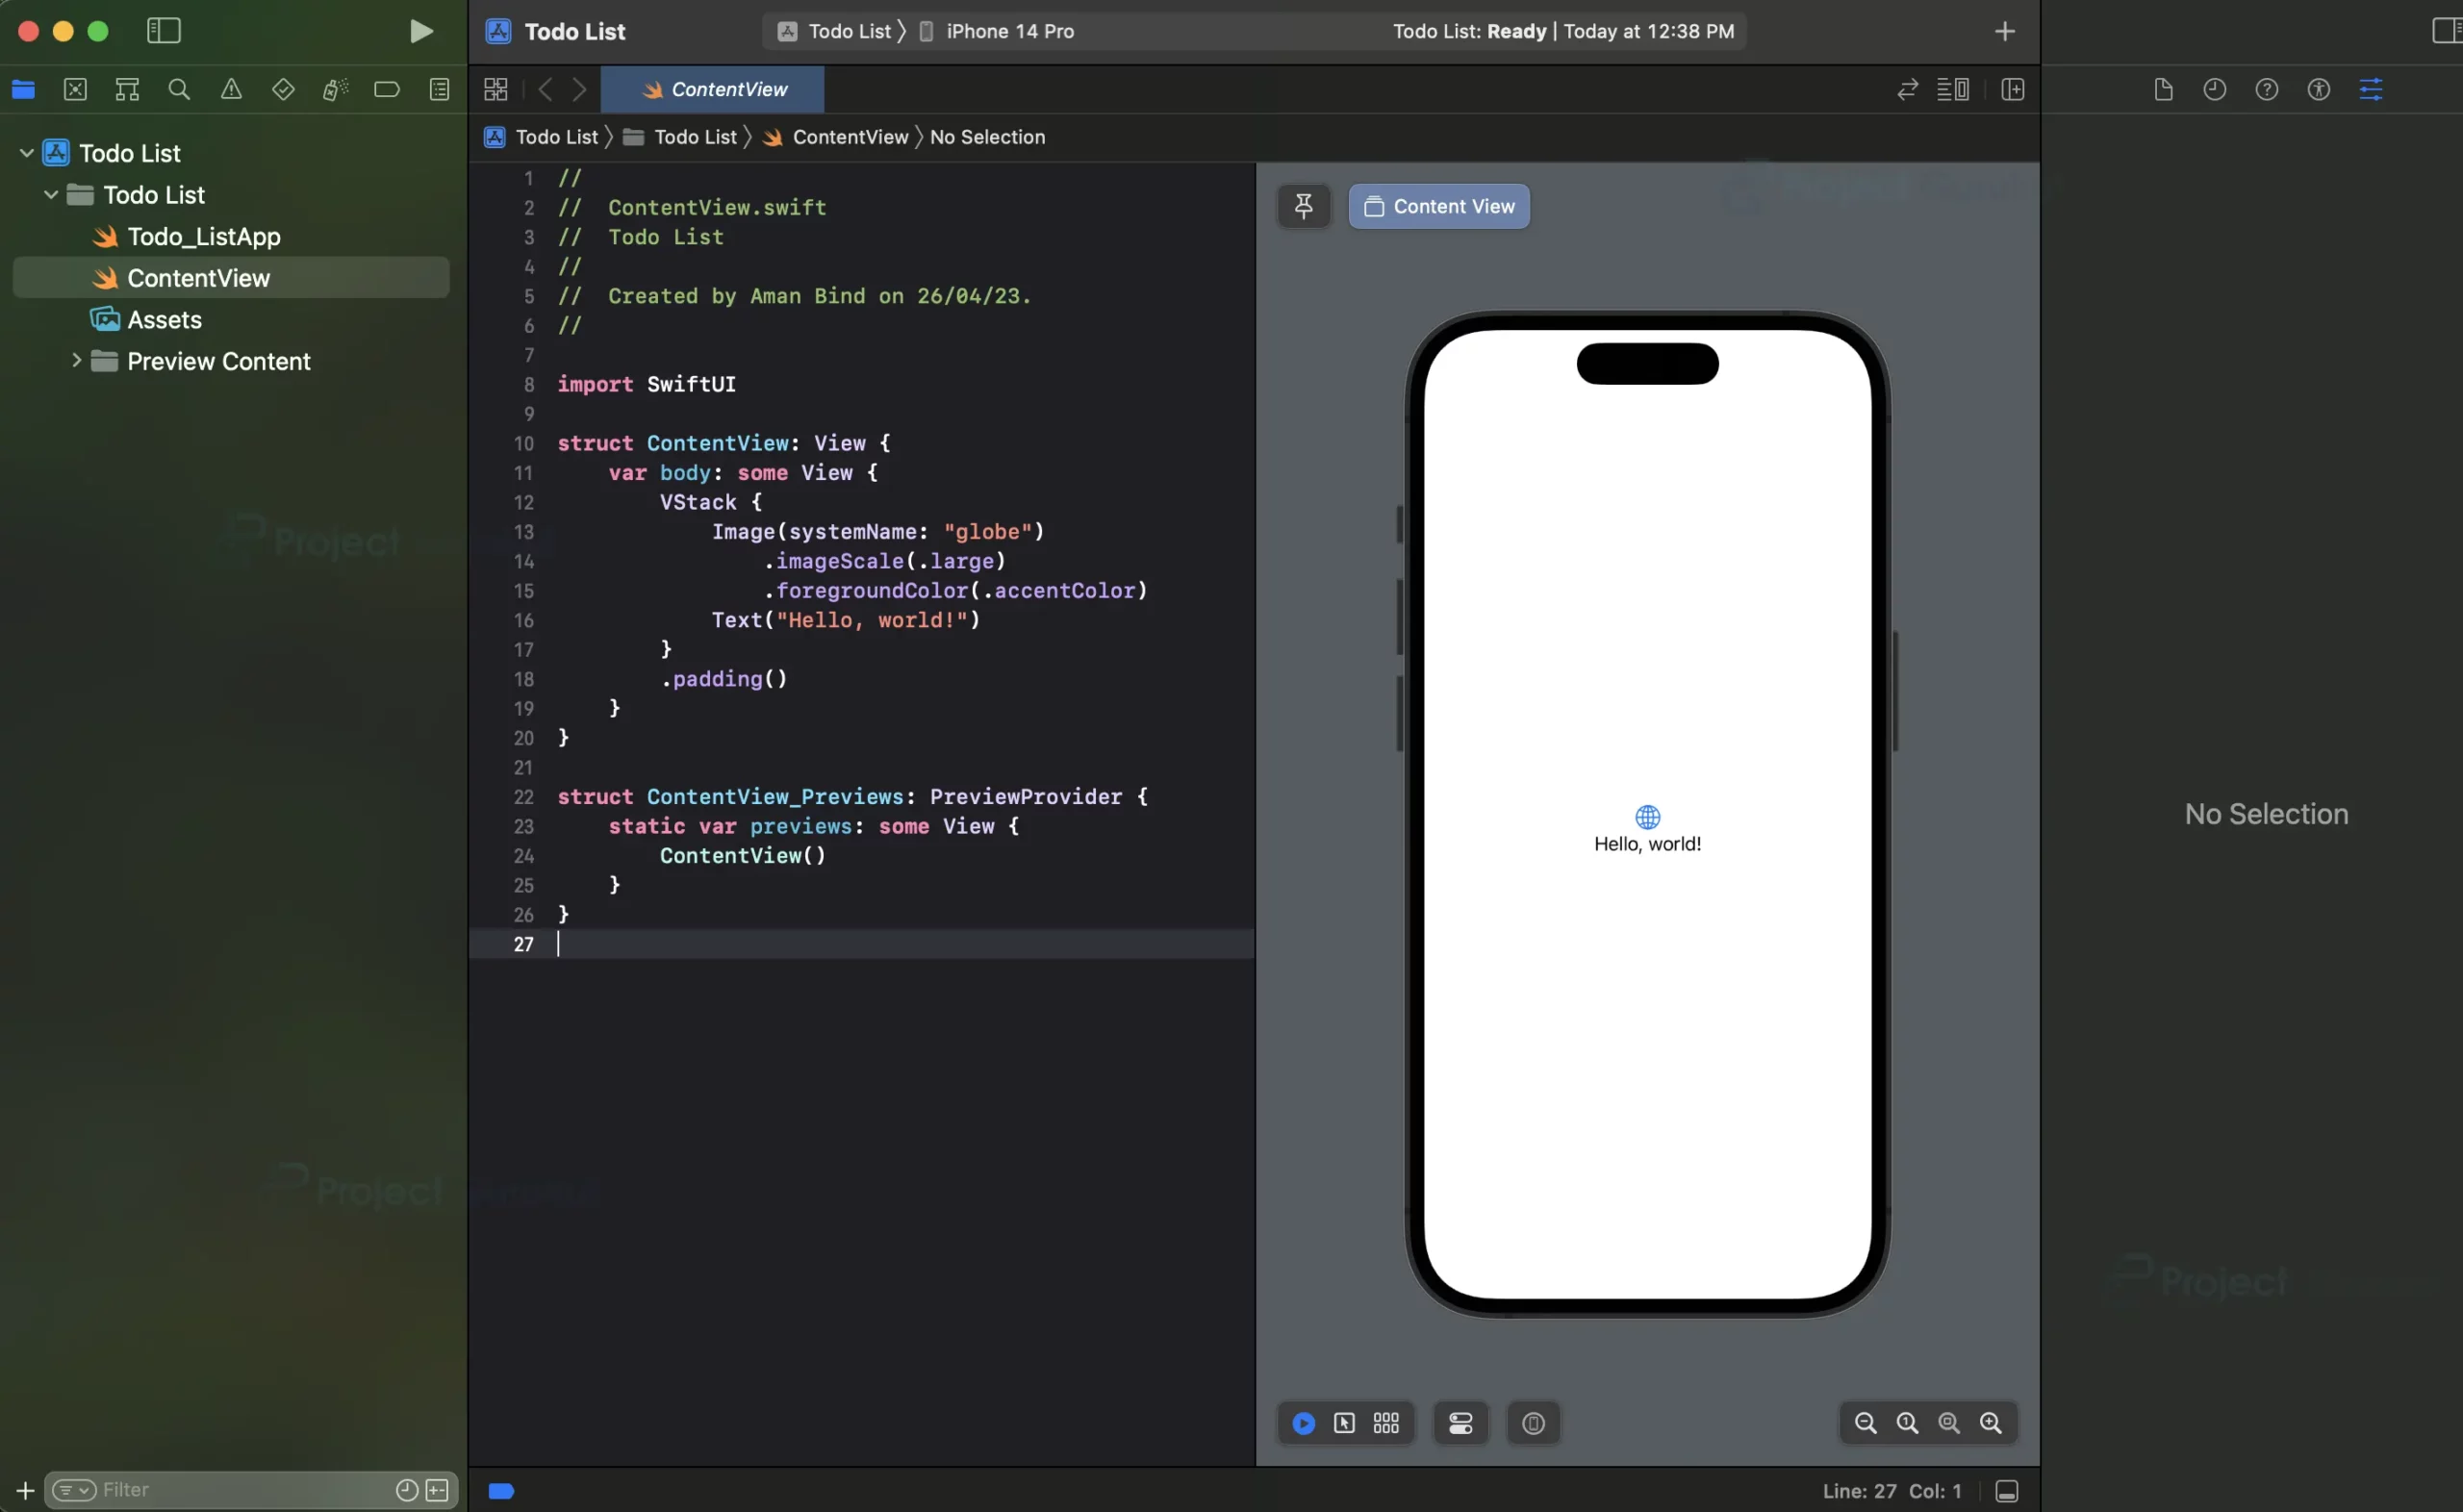
e. Now your project is ready for development, and you will see something like below.
Step 2: Create a model for the Todo item
a. Create a new file in the project and name it “Model.swift”.
b. Add the following code to define the “Todo” struct:
import Foundation
// Creating a struct to represent a Todo item
// It is the model of the app and conforms to Identifiable and Codable protocols
struct TodoItem: Identifiable, Codable {
    var id = UUID()
    let title: String
    var isComplete = false
}
In this code, we have created a struct to represent a Todo item. It is the model of the app and conforms to Identifiable and Codable protocols. It has a property to store the title of the Todo item and a property to store the completion status of the Todo item. The id property is used to uniquely identify the Todo item. It is a UUID object and is initialized with a random UUID value. The complete property is initialized with false by default.
Step 3: Create a view model for the Todo list
a. Create a new file in the project and name it “ViewModel.swift”.
b. Add the following code to define the “TodoListViewModel” class:
import Foundation
// Creating a class to represent the view model of the app
// It is responsible for managing the data and logic of the app
class TodoListViewModel: ObservableObject {
    // Creating a property to store the list of Todo items
    @Published var todoItems: [TodoItem] {
        didSet {
            saveTodoItems()
        }
    }
    // Creating a property to store the user defaults object
    // It is used to store the list of Todo items in the user defaults (local storage)
    private let userDefaults = UserDefaults.standard
    private let todoItemsKey = "TodoItems"
    // Creating a constructor to initialize the view model
    init() {
        // Loading the list of Todo items from the user defaults
        if let data = userDefaults.data(forKey: todoItemsKey),
           let savedTodoItems = try? JSONDecoder().decode([TodoItem].self, from: data) {
            todoItems = savedTodoItems
        } else {
            todoItems = []
        }
    }
    // Creating a method to add a new Todo item
    func addTodoItem(title: String) {
        let trimmedItem = title.trimmingCharacters(in: .whitespacesAndNewlines)
        guard !trimmedItem.isEmpty else { return }
        let newTodo = TodoItem(title: trimmedItem)
        todoItems.append(newTodo)
    }
    // Creating a method to delete a Todo item
    func deleteTodoItem(atOffsets offsets: IndexSet) {
        todoItems.remove(atOffsets: offsets)
    }
    // Creating a method to toggle the completion status of a Todo item
    func toggleTodoItemCompletion(_ item: TodoItem) {
        if let index = todoItems.firstIndex(where: { $0.id == item.id }) {
            todoItems[index].isComplete.toggle()
        }
    }
    // Creating a method to save the list of Todo items in the user defaults
    private func saveTodoItems() {
        if let encoded = try? JSONEncoder().encode(todoItems) {
            userDefaults.set(encoded, forKey: todoItemsKey)
        }
    }
}
The view model has three methods:
- addTodoItem(title:): Creates a new Todo item and adds it to the todoItems array.
- deleteTodoItem(at:): Removes the Todo item at the given index from the todoItems array.
- toggleTodoItemCompletion(_:): Toggles the isComplete property of the given Todo item.
Step 4: Create a view for the Todo list
a. Open the “ContentView.swift” file.
b. Remove the default code and add the following code to define the “ContentView” struct:
// Import SwiftUI framework to create UI elements
import SwiftUI
// Creating a struct to represent the UI of the app
struct ContentView: View {
    // Creating a property to store the new Todo item
    @State private var newTodoItem = ""
    @StateObject private var viewModel = TodoListViewModel()
    // Creating UI elements to represent the UI of the app
    var body: some View {
        // Creating a vertical stack to hold the UI elements
        VStack {
            // Creating a text view to display the title of the app
            Text("Todo List 📝")
                .font(.largeTitle)
                .padding()
            // Creating a list to display the list of Todo items
            List {
                // Creating a for each loop to iterate over the list of Todo items
                ForEach(viewModel.todoItems) { item in
                    // Creating a horizontal stack to hold the UI elements
                    HStack {
                        // Creating a text view to display the title of the Todo item
                        Text(item.title)
                            .strikethrough(item.isComplete)
                            .foregroundColor(item.isComplete ? .gray : .primary)
                        Spacer()
                        // Creating a button to toggle the completion status of the Todo item
                        Button(action: {
                            viewModel.toggleTodoItemCompletion(item)
                        }) {
                            Image(systemName: item.isComplete ? "checkmark.circle" : "circle")
                                .foregroundColor(item.isComplete ? Color.green : Color.red)
                        }
                    }
                }
                .onDelete(perform: viewModel.deleteTodoItem)
            }
            .cornerRadius(10)
            // Creating a horizontal stack to hold the UI elements to add a new Todo item
            HStack {
                // Creating a text field to enter the title of the new Todo item
                TextField("Enter new Todo item", text: $newTodoItem)
                    .textFieldStyle(RoundedBorderTextFieldStyle())
                    .padding()
                // Creating a button to add the new Todo item
                Button(action: {
                    viewModel.addTodoItem(title: newTodoItem)
                    newTodoItem = ""
                }) {
                    Text("Add")
                }
                .padding()
            }
        }
        .padding()
    }
}
// Creating a struct to represent the preview of the app
struct ContentView_Previews: PreviewProvider {
    static var previews: some View {
        ContentView()
    }
}
In this code, we have created a struct to represent the UI of the app. It conforms to the View protocol. It has two properties to store the new Todo item and view model of the app.
- State property, which is initialized with an empty string.
- StateObject property, which is initialized with an instance of the TodoListViewModel class.
The body property of the struct returns a vertical stack to hold the UI elements. It has the following elements in the UI:
- Text view to display the title of the app.
- A list to display the list of Todo items.
- Horizontal stack to hold the UI elements to add a new Todo item.
- Text field to enter the title of the new Todo item.
- Button to add the new Todo item.
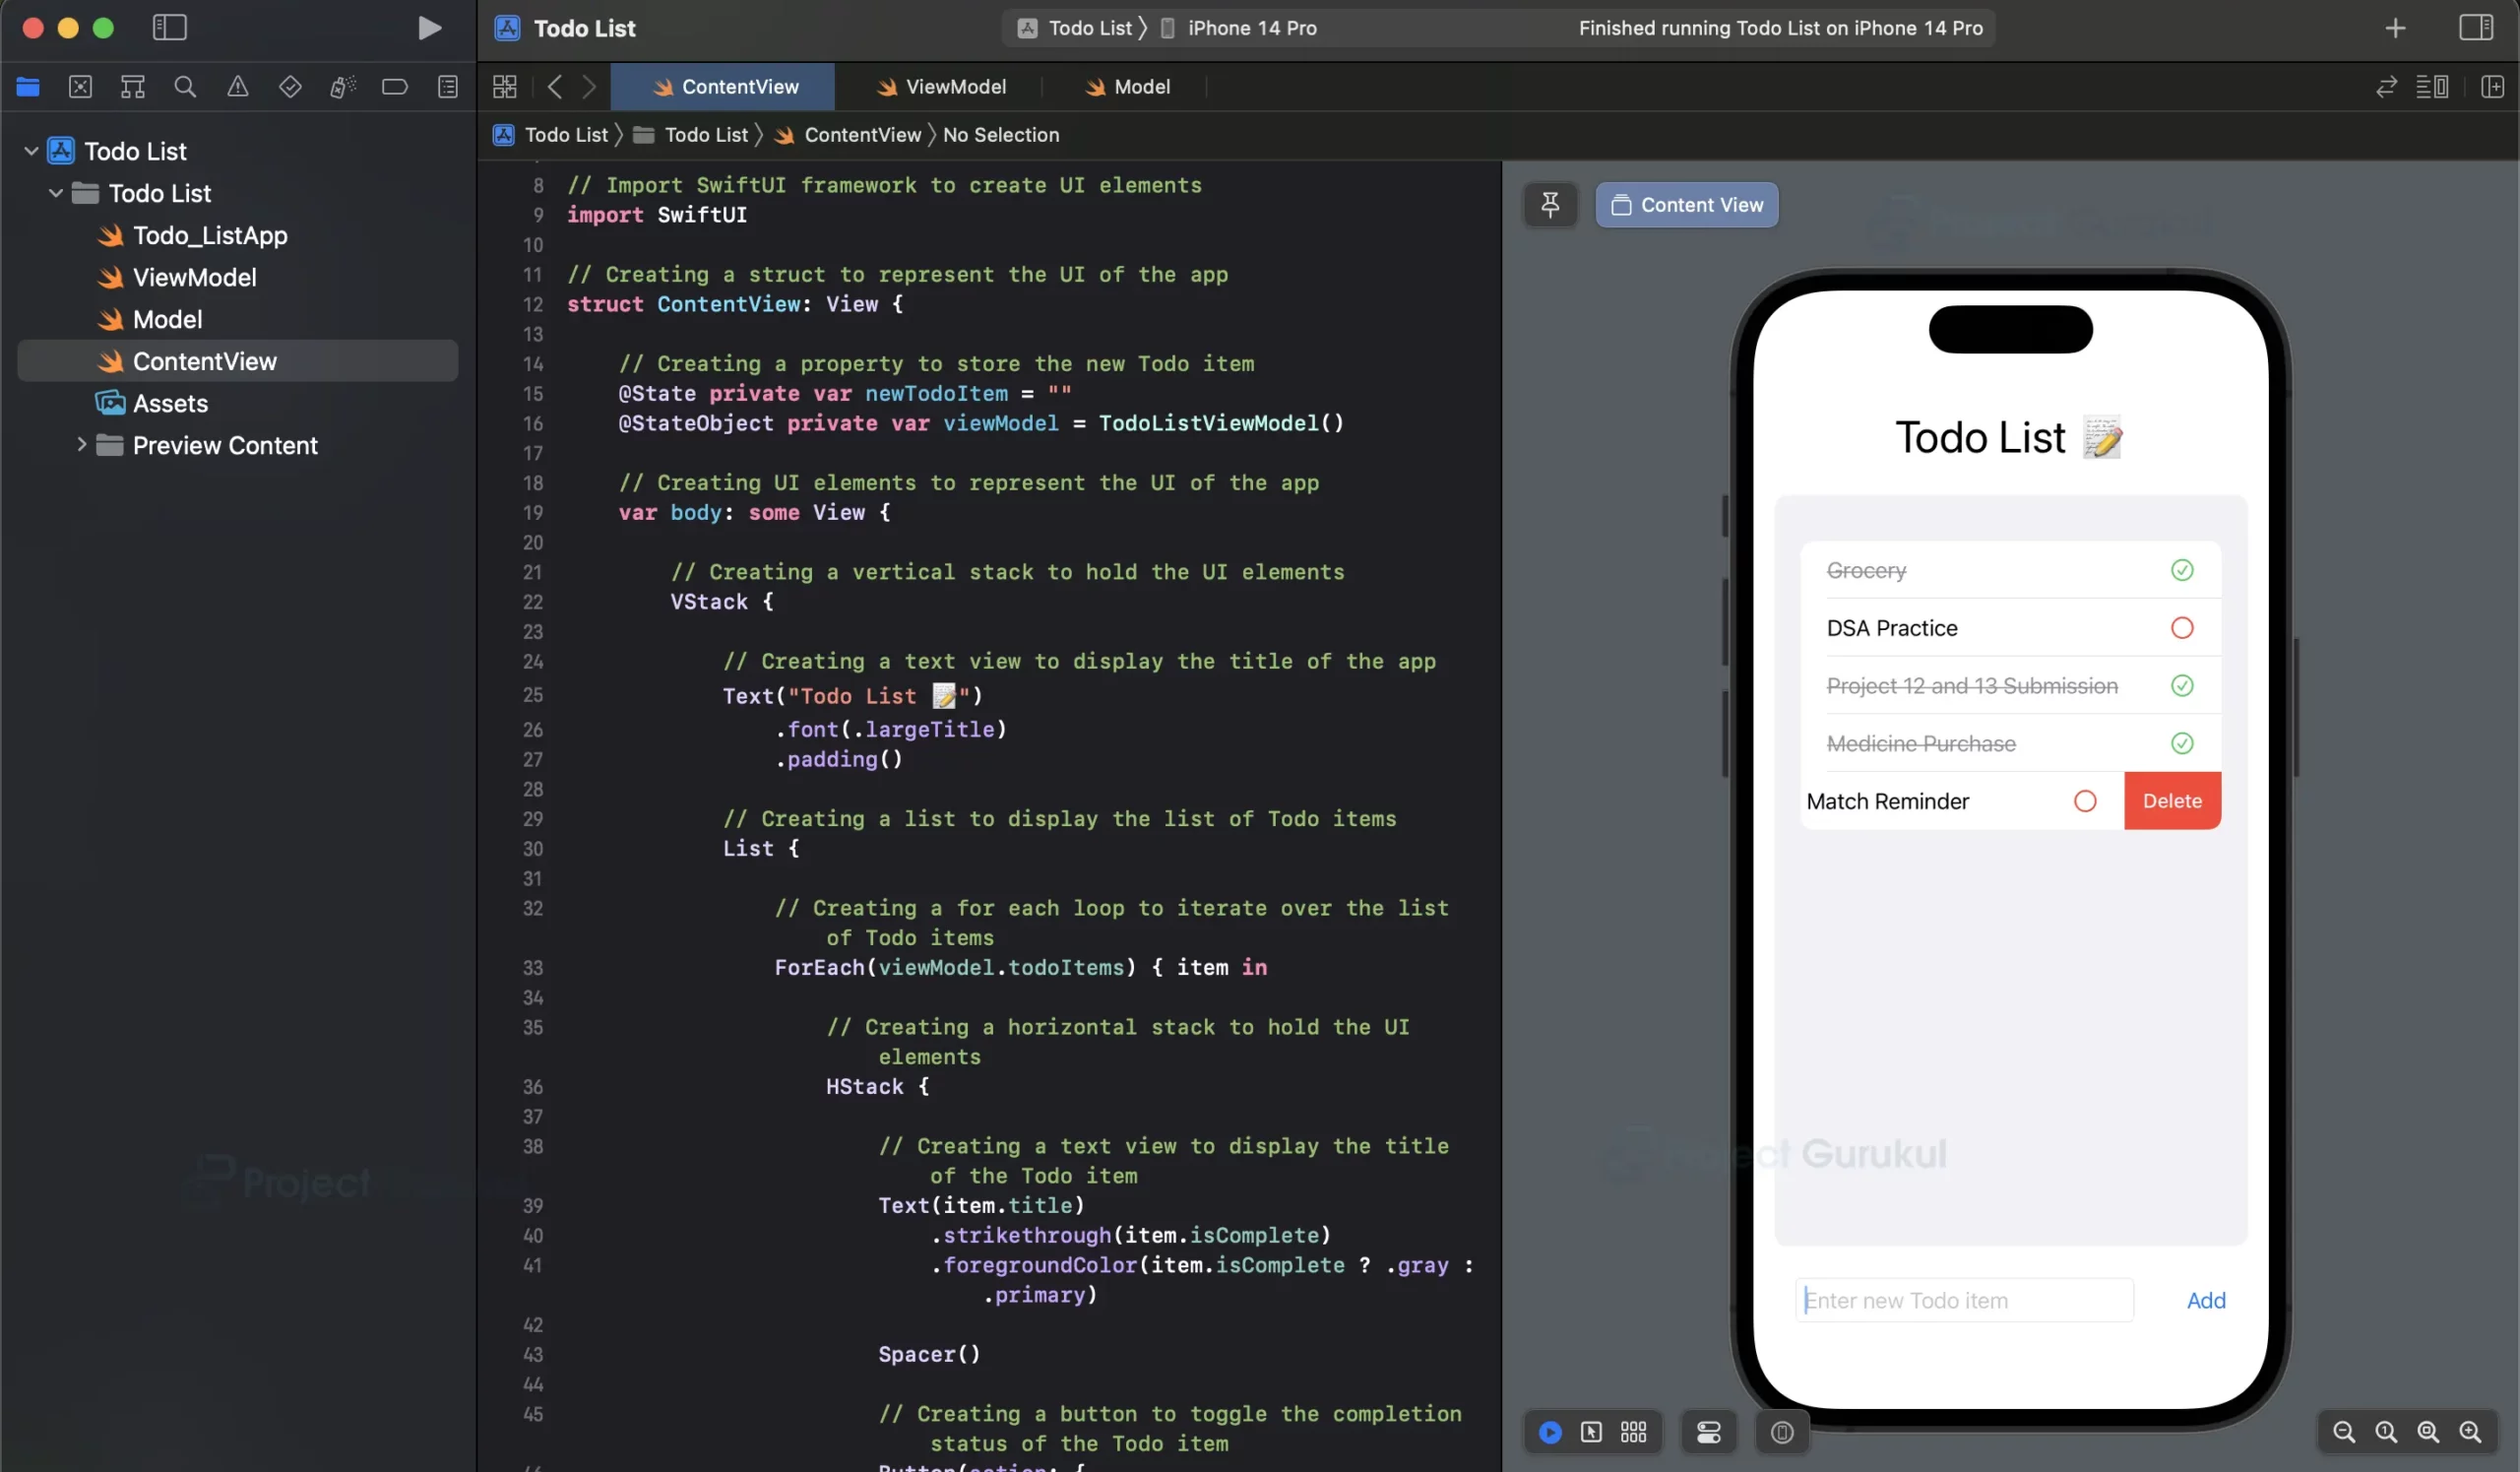
Now the App is complete and ready to be used.
Step 5: Test the app on a simulator or a physical iOS device.
Summary
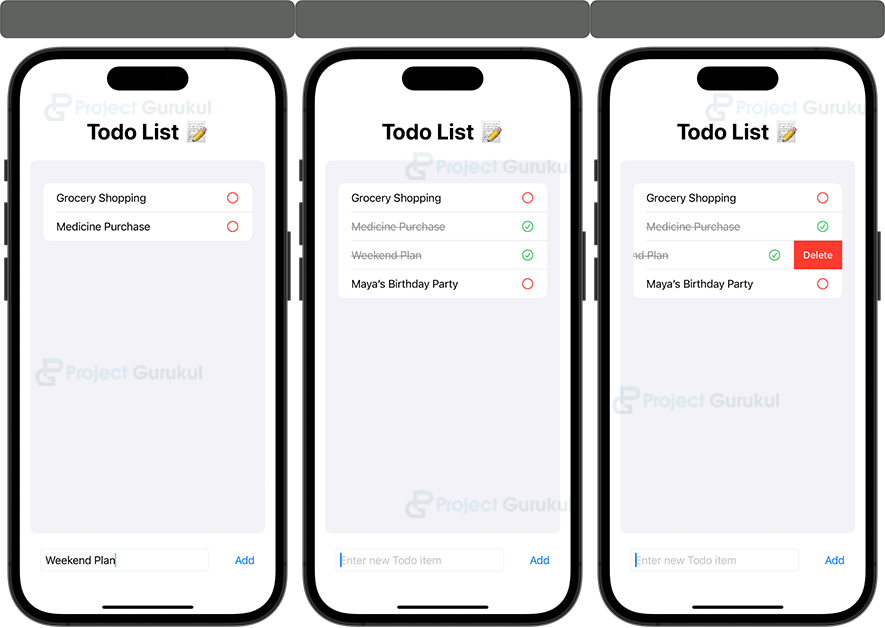
Congratulations, you have successfully created an iOS-based Todo List app using SwiftUI. You can now add, delete, and mark tasks as complete or incomplete. However, this is not the end of your journey. You can continue to add more features to the app according to your needs and preferences. This Swift To-Do List project is just the beginning of your exploration of SwiftUI, and we hope that it has provided you with a solid foundation for creating more complex apps in the future.