Swift Project – Public News App
FREE Online Courses: Elevate Skills, Zero Cost. Enroll Now!
In this project, we will learn how to create a Public News app using SwiftUI. The app will display the trending news in India and allow users to search for specific news articles. We will utilize the NewsAPI service to fetch the news data, and users will be able to view the full news articles in a web view by tapping on a news item.
About Swift Public News App
The objective of this project is to create a simple yet functional Public News app that provides users with the latest news updates and allows them to search for news articles based on their interests. By the end of this project, you will have a solid understanding of SwiftUI and how to integrate external APIs into your app.
Prerequisites For Swift Public News App Project
In order to participate in this project, the following requirements must be met:
- Xcode installed on your macOS device
- Basic knowledge of SwiftUI and Swift programming language
Download Swift Public News App Project
Please download the source code of the Swift Public News App Project: Swift Public News App Project Code.
Steps to Create Public News App Project using SwiftUI
Step 1: Generating a new SwiftUI project within Xcode:
Step 2: Designing the SearchBar View
Step 3: Create the WebView
Step 4: Creating the News Model
Step 5: Creating News API Response Model
Step 6: Creating the ViewModel for News App
Step 7: Creating NewsArticleView view
Step 8: Integrating the ViewModel with the View
Step 1: Generating a new SwiftUI project within Xcode:
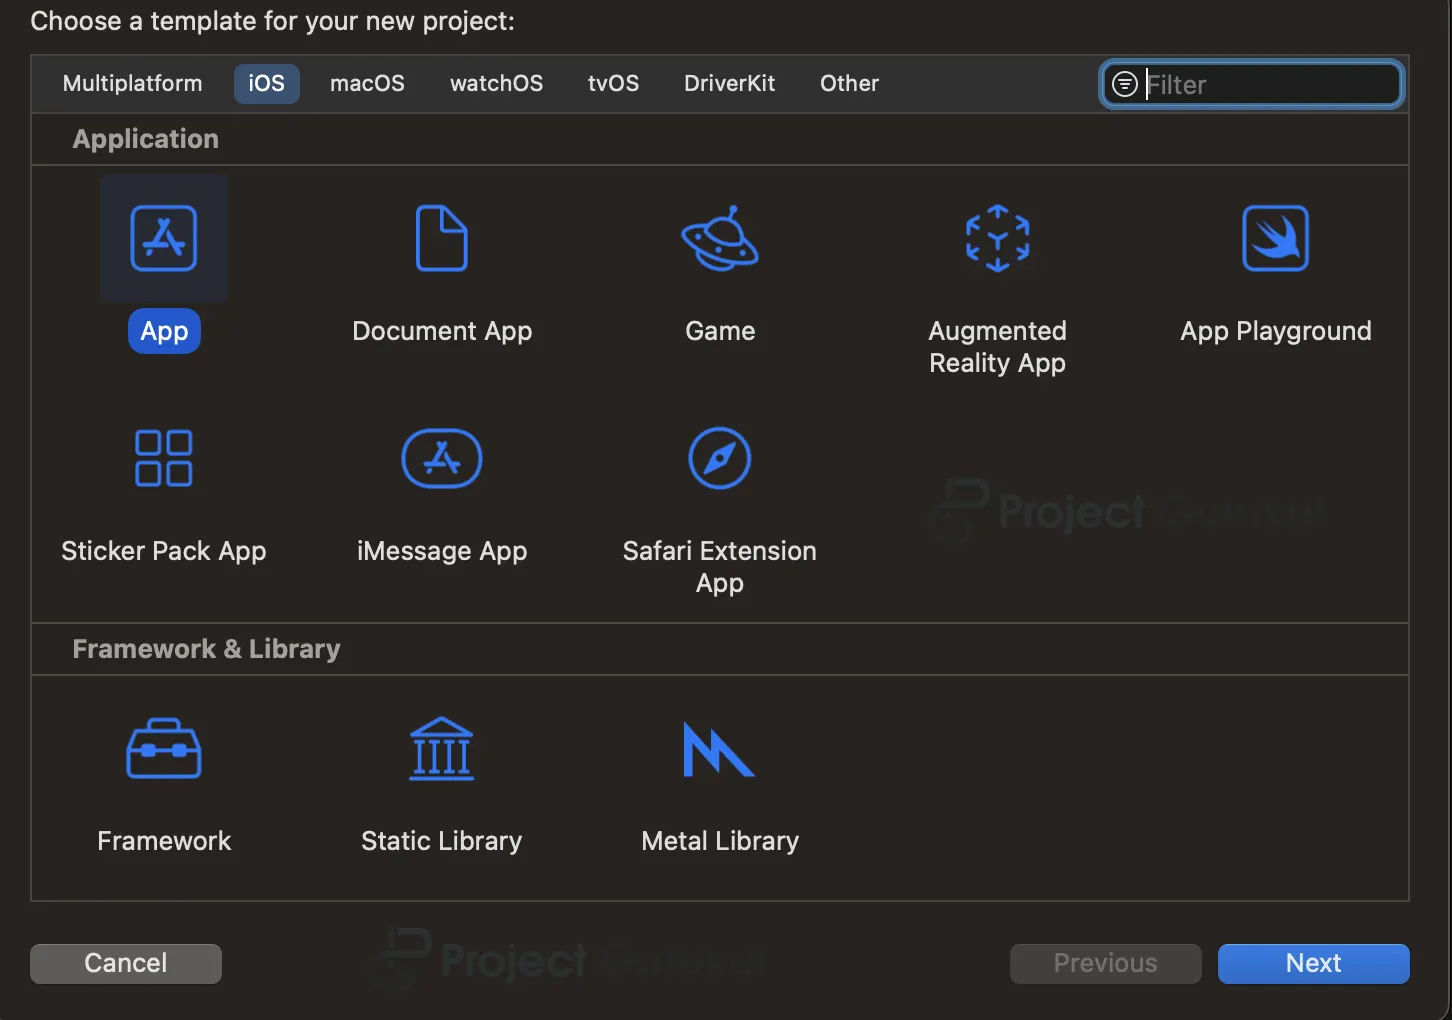
a. Launch Xcode and select the “Create a new Xcode Project” option.
b. Now select platform as “iOS” and application type as “App”.
c. Now, enter the name of the app and organization identifier, and select the SwiftUI interface for building the app’s UI. Also, select Swift as the language for creating the app.
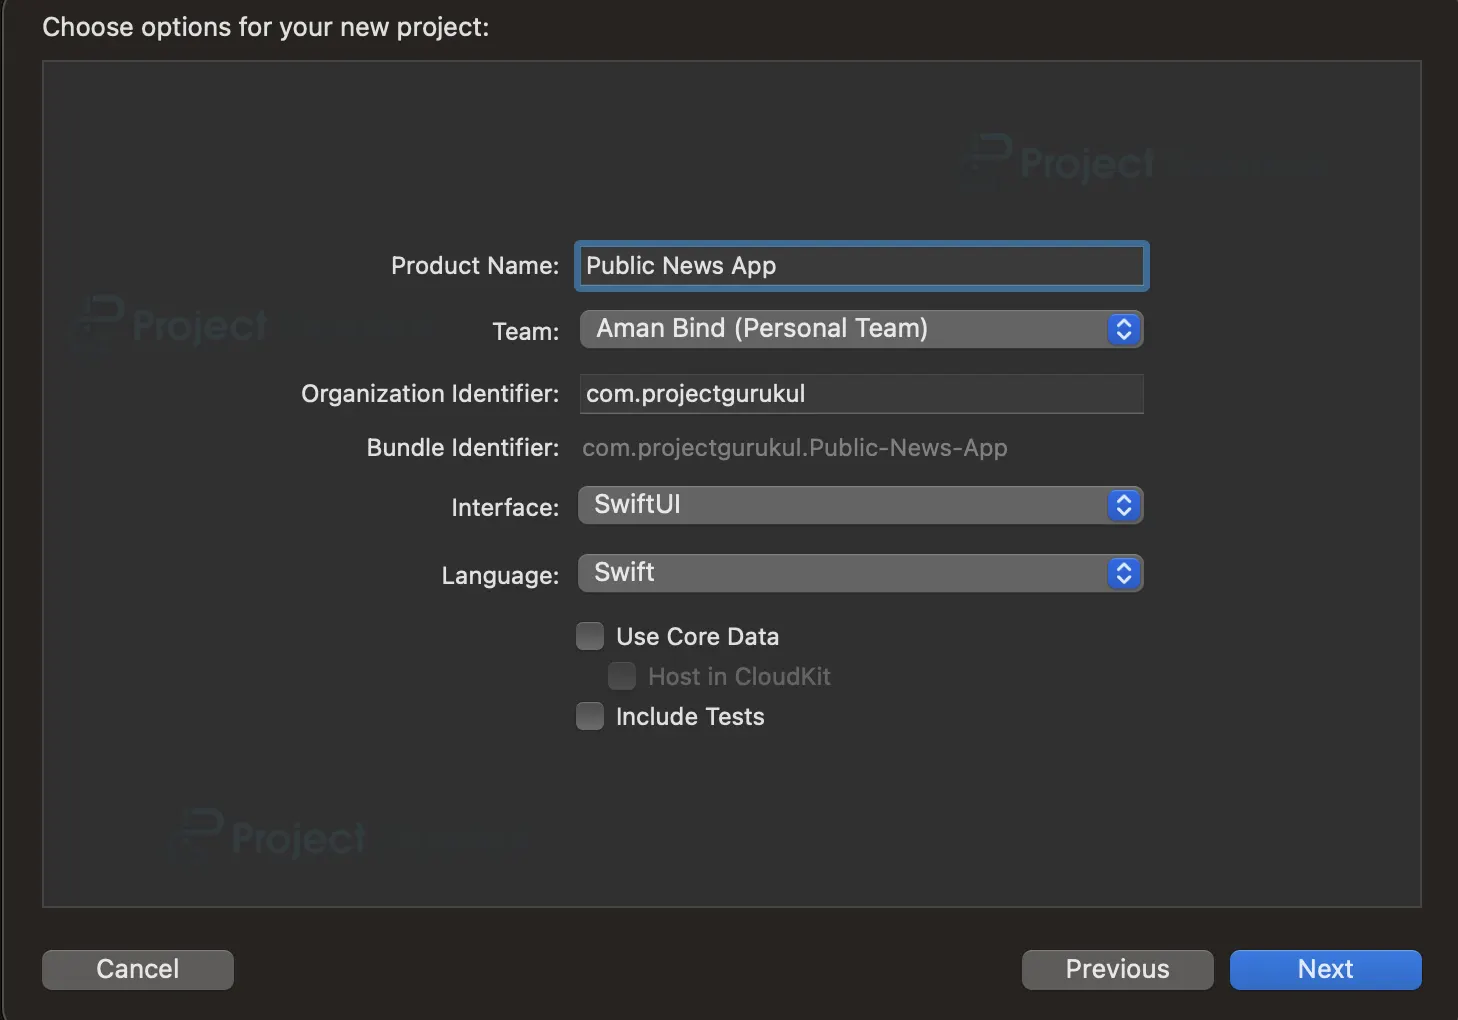
d. Select the folder where you want to save the app and click on Create.

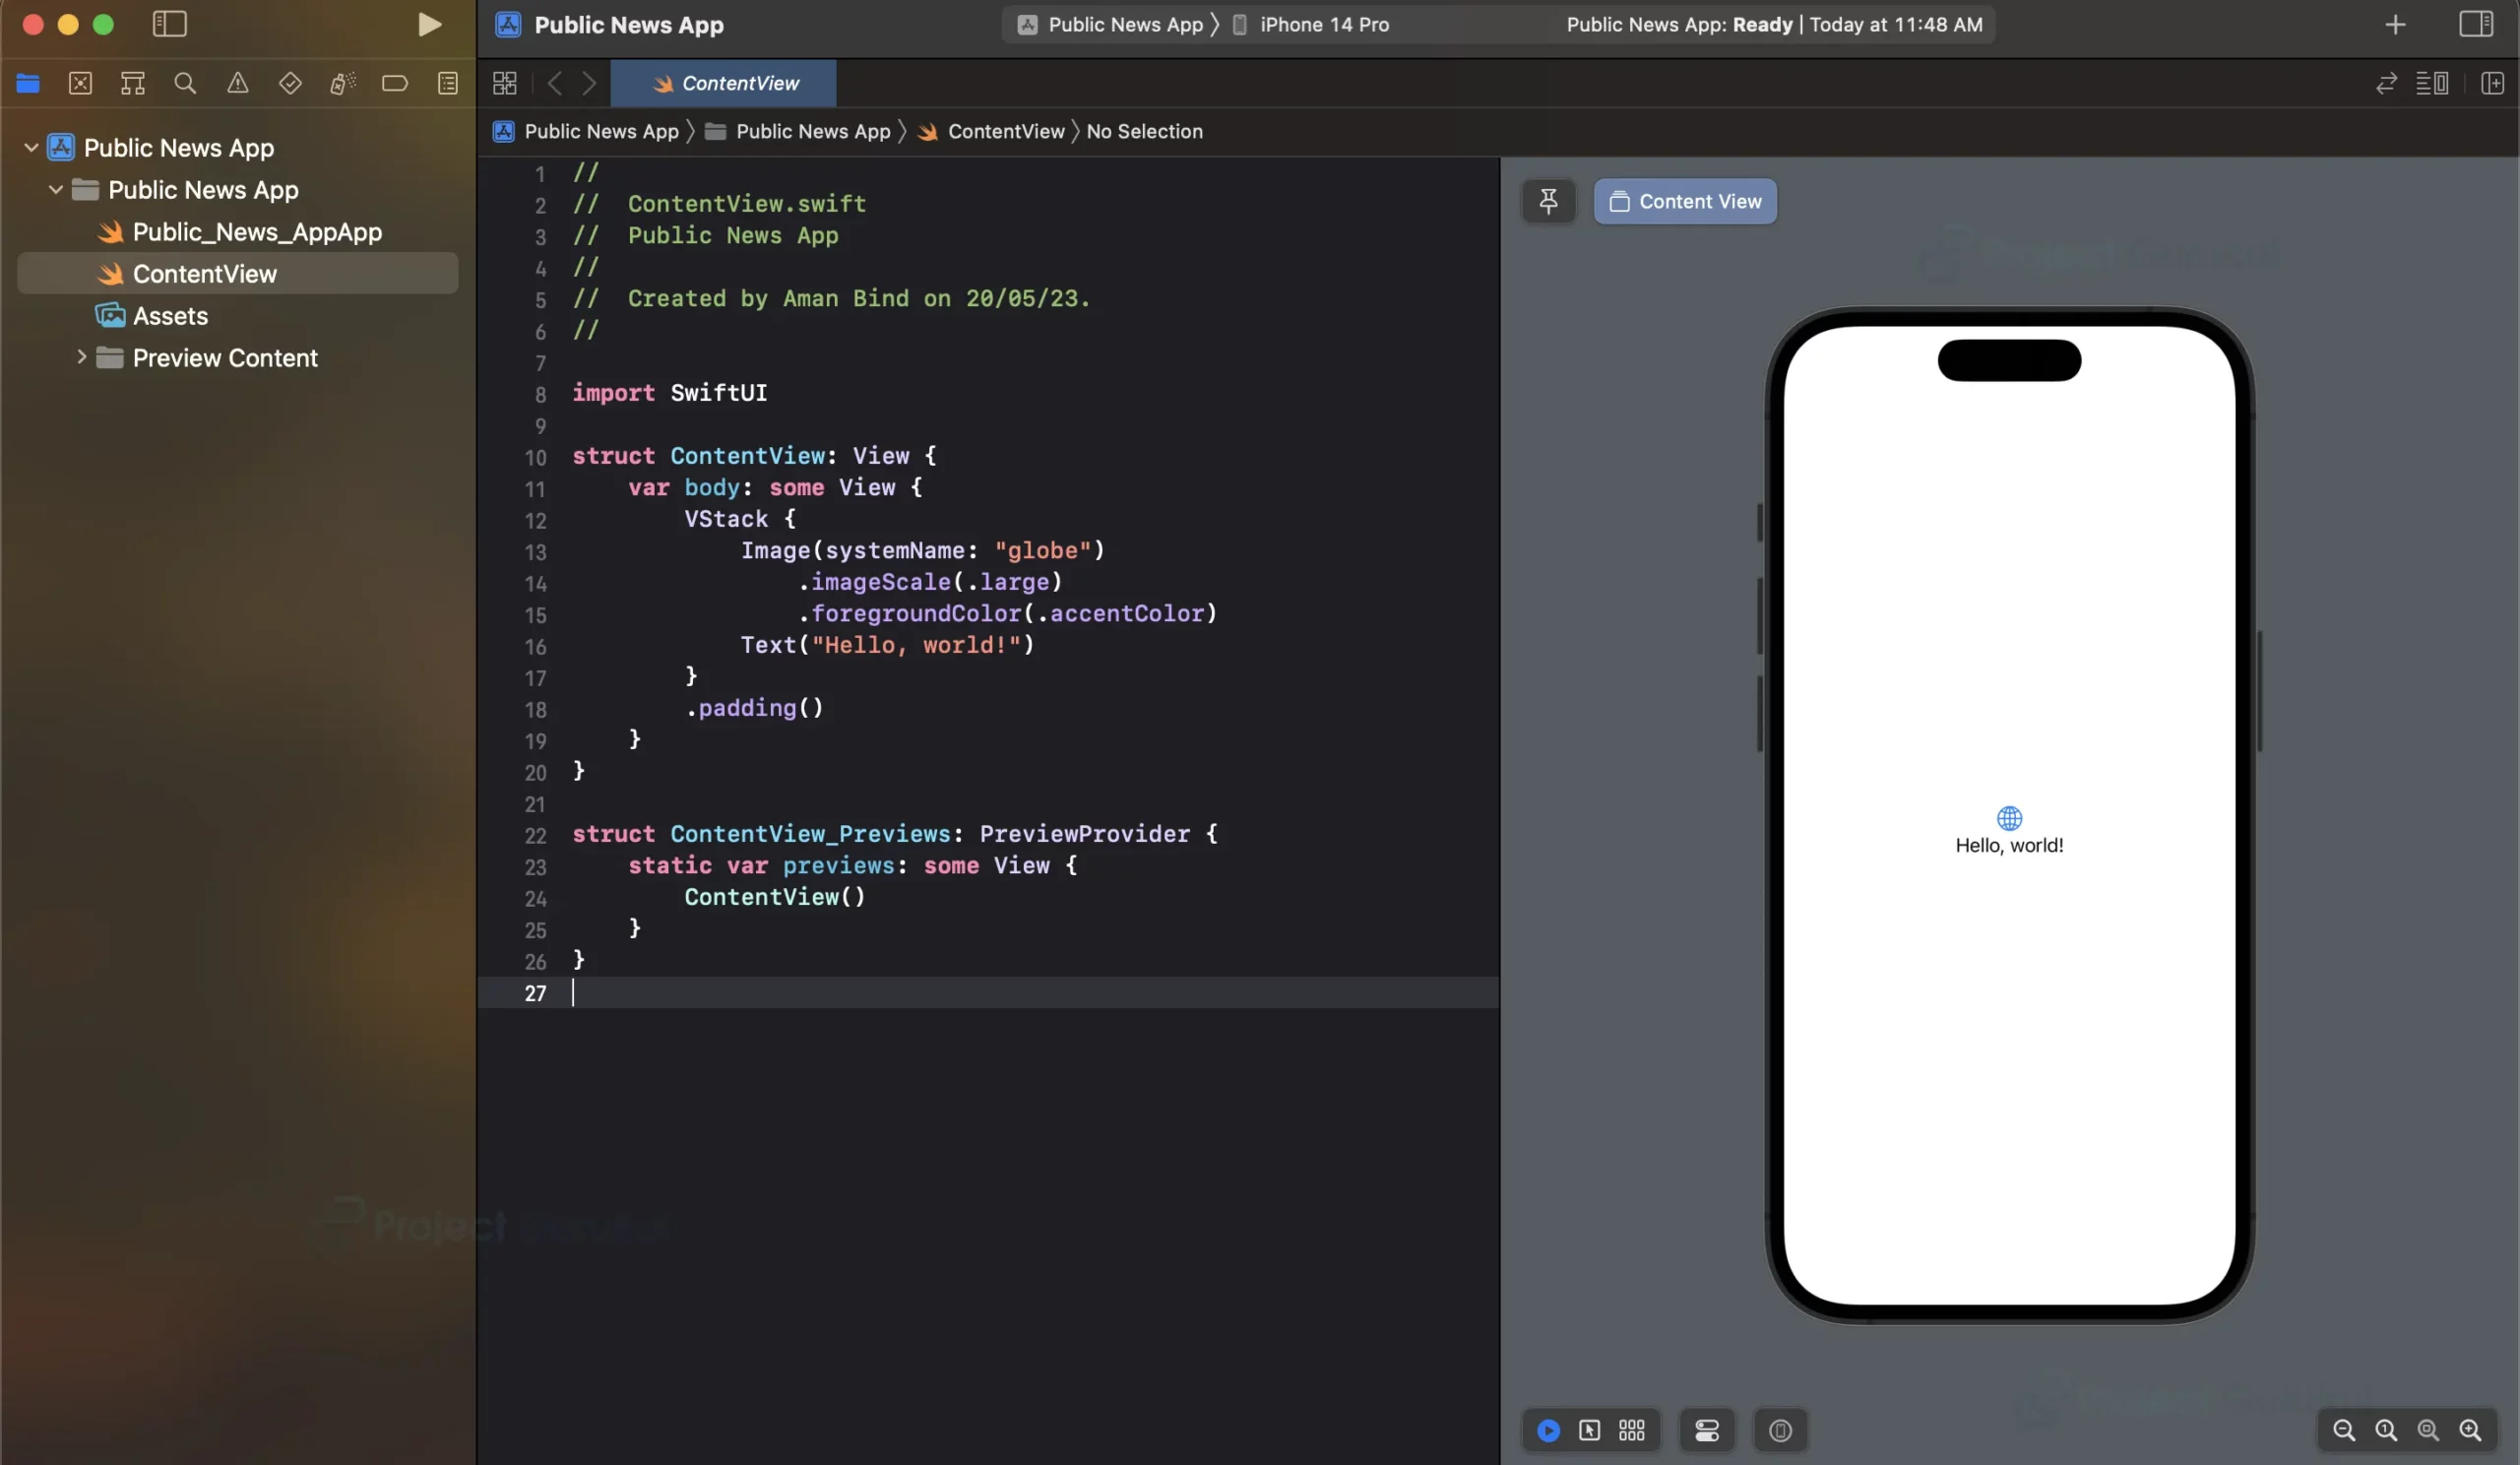
e. Now your project is ready for development, and you will see something like below.
Step 2: Designing the SearchBar View
a. Create a new Swift file called “SearchBar.swift” in your project.
b. Define a SwiftUI view named SearchBar.
c. The SearchBar struct represents a custom search bar component.
d. It takes a binding to the search text and a closure onSearch to be invoked when the user performs a search.
e. The body of the view consists of an HStack containing a TextField for the search text and a search button.
import SwiftUI
struct SearchBar: View {
    @Binding var text: String
    var onSearch: () -> Void

    var body: some View {
        HStack {
            TextField("Search", text: $text)
                .textFieldStyle(RoundedBorderTextFieldStyle())

            Button(action: {
                onSearch()
            }) {
                Image(systemName: "magnifyingglass")
                    .font(.system(size: 22))
            }
            .foregroundColor(.blue)
        }
    }
}
Step 3: Create the WebView
a. Create a new Swift file called “WebView.swift” in your project.
b. The WebView struct represents a view that displays web content using WKWebView.
c. It takes a URL as input and uses makeUIView to create a WKWebView and load the URL.
import SwiftUI
import WebKit
struct WebView: UIViewRepresentable {
    let url: URL

    func makeUIView(context: Context) -> WKWebView {
        let webView = WKWebView()
        webView.load(URLRequest(url: url))
        return webView
    }

    func updateUIView(_ uiView: WKWebView, context: Context) {}
}
Step 4: Creating the News Model
a. Create a new Swift file named “NewsModel.swift” to store the fetched Article.
b. The Article struct represents a news article.
c. It contains properties such as the article’s source, title, URL, published date, author, description, and image URL.
e. Extensions are provided to conform to Codable, Equatable, and Identifiable protocols.
import Foundation
struct Article {
    let source: Source
    let title: String
    let url: String
    let publishedAt: Date
    let author: String?
    let description: String?
    let urlToImage: String?
    var authorText: String {
        author ?? ""
    }

    var descriptionText: String {
        description ?? ""
    }
    var articleURL: URL {
        URL (string: url)!
    }
    var imageURL: URL? {
        guard let urlToImage = urlToImage else {
            return nil
        }

        return URL(string: urlToImage)
    }

}
extension Article: Codable {}
extension Article: Equatable {}
extension Article: Identifiable {
    var id: String { url }
}
struct Source {
    let name: String
}
extension Source: Codable {}
extension Source: Equatable {}
Step 5: Creating News API Response Model
a. Create a new Swift file named “NewsAPIResponse.swift” to store the json response from the API.
b. The NewsAPIResponse struct represents the response returned by the NewsAPI service.
c. It contains properties such as the status of the response, the total number of results, an array of Article objects, and an optional error code and message.
import Foundation
struct NewsAPIResponse: Decodable {
    let status: String
    let totalResults: Int?
    let articles: [Article]?
    let code: String?
    let message: String?
}
Step 6: Creating the ViewModel for News App
a. Create a new Swift file named “NewsViewModel.swift” to handle the data fetching and processing logic.
b. The NewsViewModel class is responsible for fetching and managing the news data.
c. The articles property is a published array of Article objects.
d. The fetchTopHeadlines function fetches the top headlines from the NewsAPI service using a URL session.
e. The fetched data is decoded into a NewsAPIResponse object, and the articles array is updated on the main thread.
f. The searchNews function performs a search query by constructing a URL based on the search query and date criteria.
g. Similar to fetchTopHeadlines, the fetched data is decoded into a NewsAPIResponse object, and the articles array is updated on the main thread.
import Foundation
class NewsViewModel: ObservableObject {
    @Published var articles: [Article] = []

    func fetchTopHeadlines() {
        let urlString = "https://newsapi.org/v2/top-headlines?country=in&apiKey=c390b3f908f34f3ebea01949c3b28123"

        if let url = URL(string: urlString) {
            URLSession.shared.dataTask(with: url) { data, _, error in
                if let error = error {
                    print("Error fetching top headlines: \(error.localizedDescription)")
                    return
                }

                if let data = data {
                    do {
                        let jsonDecoder = JSONDecoder()
                        jsonDecoder.dateDecodingStrategy = .iso8601

                        let response = try jsonDecoder.decode(NewsAPIResponse.self, from: data)
                        DispatchQueue.main.async {
                            self.articles = []
                            self.articles.append(contentsOf: response.articles ?? [])
                            self.objectWillChange.send()
                        }
                    } catch {
                        print("Error decoding top headlines response: \(error.localizedDescription)")
                    }
                }
            }.resume()
        }
    }

    func searchNews(query: String) {
        let formattedQuery = query.replacingOccurrences(of: " ", with: "%20")

        let dateFormatter = DateFormatter()
        dateFormatter.dateFormat = "yyyy-MM-dd"
        let lastMonth = Calendar.current.date(byAdding: .month, value: -1, to: Date())
        let lastMonthString = dateFormatter.string(from: lastMonth!)

        let urlString = "https://newsapi.org/v2/everything?q=\(formattedQuery)&from=\(lastMonthString)&sortBy=publishedAt&apiKey=c390b3f908f34f3ebea01949c3b28123"

        if let url = URL(string: urlString) {
            URLSession.shared.dataTask(with: url) { data, _, error in
                if let error = error {
                    print("Error searching news: \(error.localizedDescription)")
                    return
                }

                if let data = data {
                    do {
                        let jsonDecoder = JSONDecoder()
                        jsonDecoder.dateDecodingStrategy = .iso8601

                        let response = try jsonDecoder.decode(NewsAPIResponse.self, from: data)
                        DispatchQueue.main.async {
                            self.articles = []
                            self.articles.append(contentsOf: response.articles ?? [])
                            self.objectWillChange.send()
                        }
                    } catch {
                        print("Error decoding search news response: \(error.localizedDescription)")
                    }
                }
            }.resume()
        }
    }
}
Step 7: Creating NewsArticleView view
a. Create a new View Swift file called “NewsArticleView.swift” in your project.
b. Define a SwiftUI view named NewsArticleView.swift.
c. The NewsArticleView struct represents a custom news list item component.
d. It shows the list of news items to the user using this component. Each item is composed of the CachedAsyncImage, and two Text labels, which load the thumbnail image of the article, news title and description. The title and description of the news item are aligned using the .leading (left-aligned) property.
e. The above-mentioned three items are then composed inside the vertical stack called VStack.
import SwiftUI
import CachedAsyncImage
struct NewsArticleView: View {
    let article: Article

    var body: some View {
        VStack(alignment: .trailing, spacing: 8) {
            CachedAsyncImage(url: article.imageURL,transaction: Transaction(animation: .easeInOut)) { phase in
                if let image = phase.image {
                    image
                        .resizable()
                        .scaledToFit()
                        .clipShape(RoundedRectangle(cornerRadius: 25))
                        .transition(.opacity)
                } else {
                    HStack {
                        Spacer()
                        Image(systemName: "photo")
                            .imageScale(.large)
                        Spacer()
                        // Insert your placeholder here
                    }
                }
            }

            Text(article.title)
                .font(.headline)
                .foregroundColor(.primary)
                .multilineTextAlignment(.leading)


            Text(article.descriptionText)
                .font(.subheadline)
                .foregroundColor(.secondary)
                .multilineTextAlignment(.leading)

        }
        .padding(.vertical, 8)
    }
}
Step 8: Integrating the ViewModel with the View
a. Open the “ContentView.swift” file.
b. Inside the ContentView struct, create an instance of the NewsViewModel and use it to populate the list view with the fetched news articles.
c. Implement the search functionality by binding the search bar text to a variable and invoking the searchNews function in the view model.
d. The ContentView struct represents the main view of the app.
e. It contains a state object viewModel of type NewsViewModel to manage the news data.
f. The searchText state variable is used to store the user’s search query.
g. The navigationTitle computed property determines the title of the navigation bar based on the search text.
h. The body of the view consists of a NavigationView with a VStack containing a SearchBar and a List of news articles.
i. Each news article is wrapped in a NavigationLink that opens the article in a WebView.
j. The onAppear modifier is used to fetch the top headlines when the view appears.
k. The searches function is called when the user performs a search.
import SwiftUI
struct ContentView: View {
    @StateObject private var viewModel = NewsViewModel()
    @State private var searchText = ""

    var navigationTitle: String {
        searchText.isEmpty ? "Trending News" : "News for \"\(searchText)\""
    }

    var body: some View {
        NavigationView {
            VStack {
                SearchBar(text: $searchText, onSearch: searchNews)
                    .padding()

                List(viewModel.articles) { article in
                    NavigationLink(destination: WebView(url: article.articleURL)) {
                        NewsArticleView(article: article)
                    }
                }
                .cornerRadius(25)
            }
            .navigationTitle(navigationTitle)
        }
        .onAppear(perform: viewModel.fetchTopHeadlines)

    }

    private func searchNews() {
        viewModel.searchNews(query: searchText)
    }
}
struct ContentView_Previews: PreviewProvider {
    static var previews: some View {
        ContentView()
    }
}
Now, The app is ready for your daily dose of news.
Features of this Swift Public News App
Some important features of the app are as follows-
- Displays a list of news articles with a thumbnail, title, and description.
- Opens articles in a web view when clicked so users can read it from the original source.
- It lets users search for news articles using the search bar.
- It uses the new SwiftUI for the user interface.
- Integrates with NewsApi to fetch current news.
- Offers a modern and clean design for easy reading.
Output


Summary
Congratulations! You have successfully created a Public News app using SwiftUI and NewsAPI. In this Swift Public News App, we covered the steps to set up the project, design the user interface, create the view model, integrate it with the view, and open news articles in a web view. You now have a solid foundation for building new applications and can further enhance the app by adding more features according to your needs.
I have this project