Swift Heart Disease Prediction App Project
FREE Online Courses: Your Passport to Excellence - Start Now
In this project, we will guide you through the process of building a Heart Disease Prediction app using SwiftUI and training a machine learning model for that. The app will allow users to input various parameters related to a person’s health and predict whether they are suffering from heart disease.
By following this Heart Disease Prediction App Project, you will gain hands-on experience in creating a functional and user-friendly iOS app that leverages machine learning for accurate predictions.
About Heart Disease Prediction App Using Swift
The objective of this project is to create a Heart Disease Prediction app that provides users with a quick and convenient way to assess the likelihood of heart disease based on their health parameters. By the end of this Heart Disease Prediction App Project, you will have a fully functional app that predicts heart disease using a machine-learning model.
Prerequisites For Swift Heart Disease Prediction Project
To follow along with this Swift Heart Disease Prediction App Project, you should have the following.
- Basic understanding of Swift programming language and SwiftUI framework.
- Xcode is installed on your Mac.
- Dataset for Training the ML Model. It can be downloaded from here. It is also included in the project download link.
Download Swift Heart Disease Prediction App Project
Please download the source code of the Swift Heart Disease Prediction App Project: Swift Heart Disease Prediction App Project Code.
Steps to Create Swift Heart Disease Prediction App Project
Step 1: Creating a Heart Disease Prediction ML model using Xcode playground and dataset.
Step 2: Create a new SwiftUI project in Xcode.
Step 3: Import the ML model into the project
Step 4: Implementing the User Interface
Step 5: Handling User Input by Creating Input Data Model
Step 6: Predicting Heart Disease
Step 7: Finalizing the User Interface by Integrating the InputFieldsView view in the ContentView view
Step 1: Creating a Heart Disease Prediction ML model using Xcode playground and dataset.
a. Open Xcode and select “Create a new Xcode playground.”


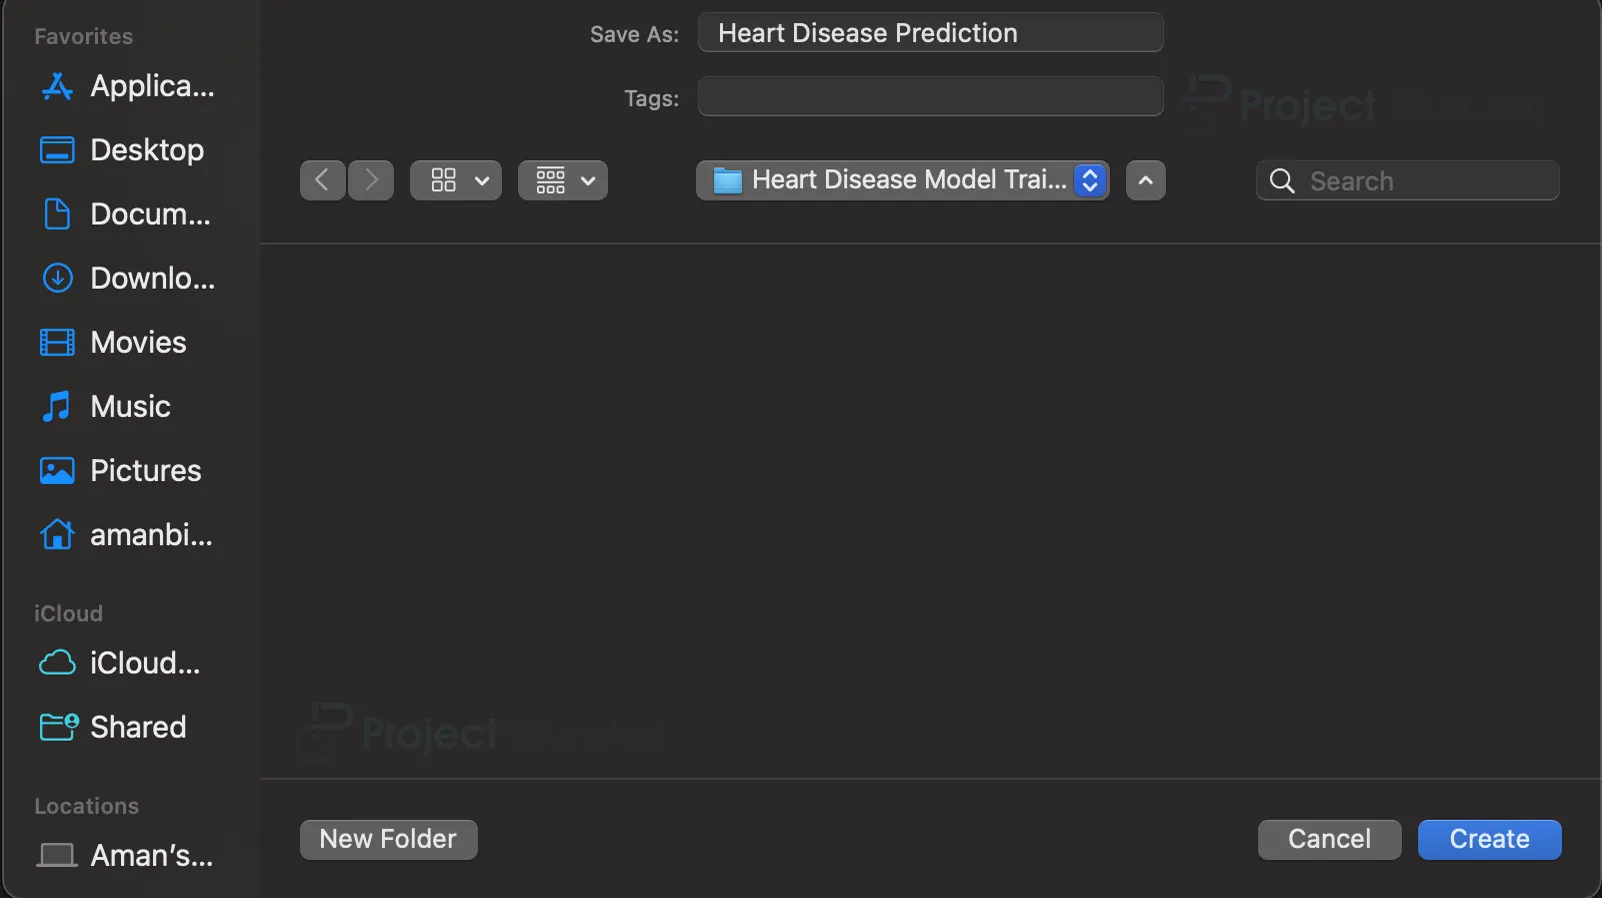
b. Choose a name and a location to save the playground
Now you will see something like this.
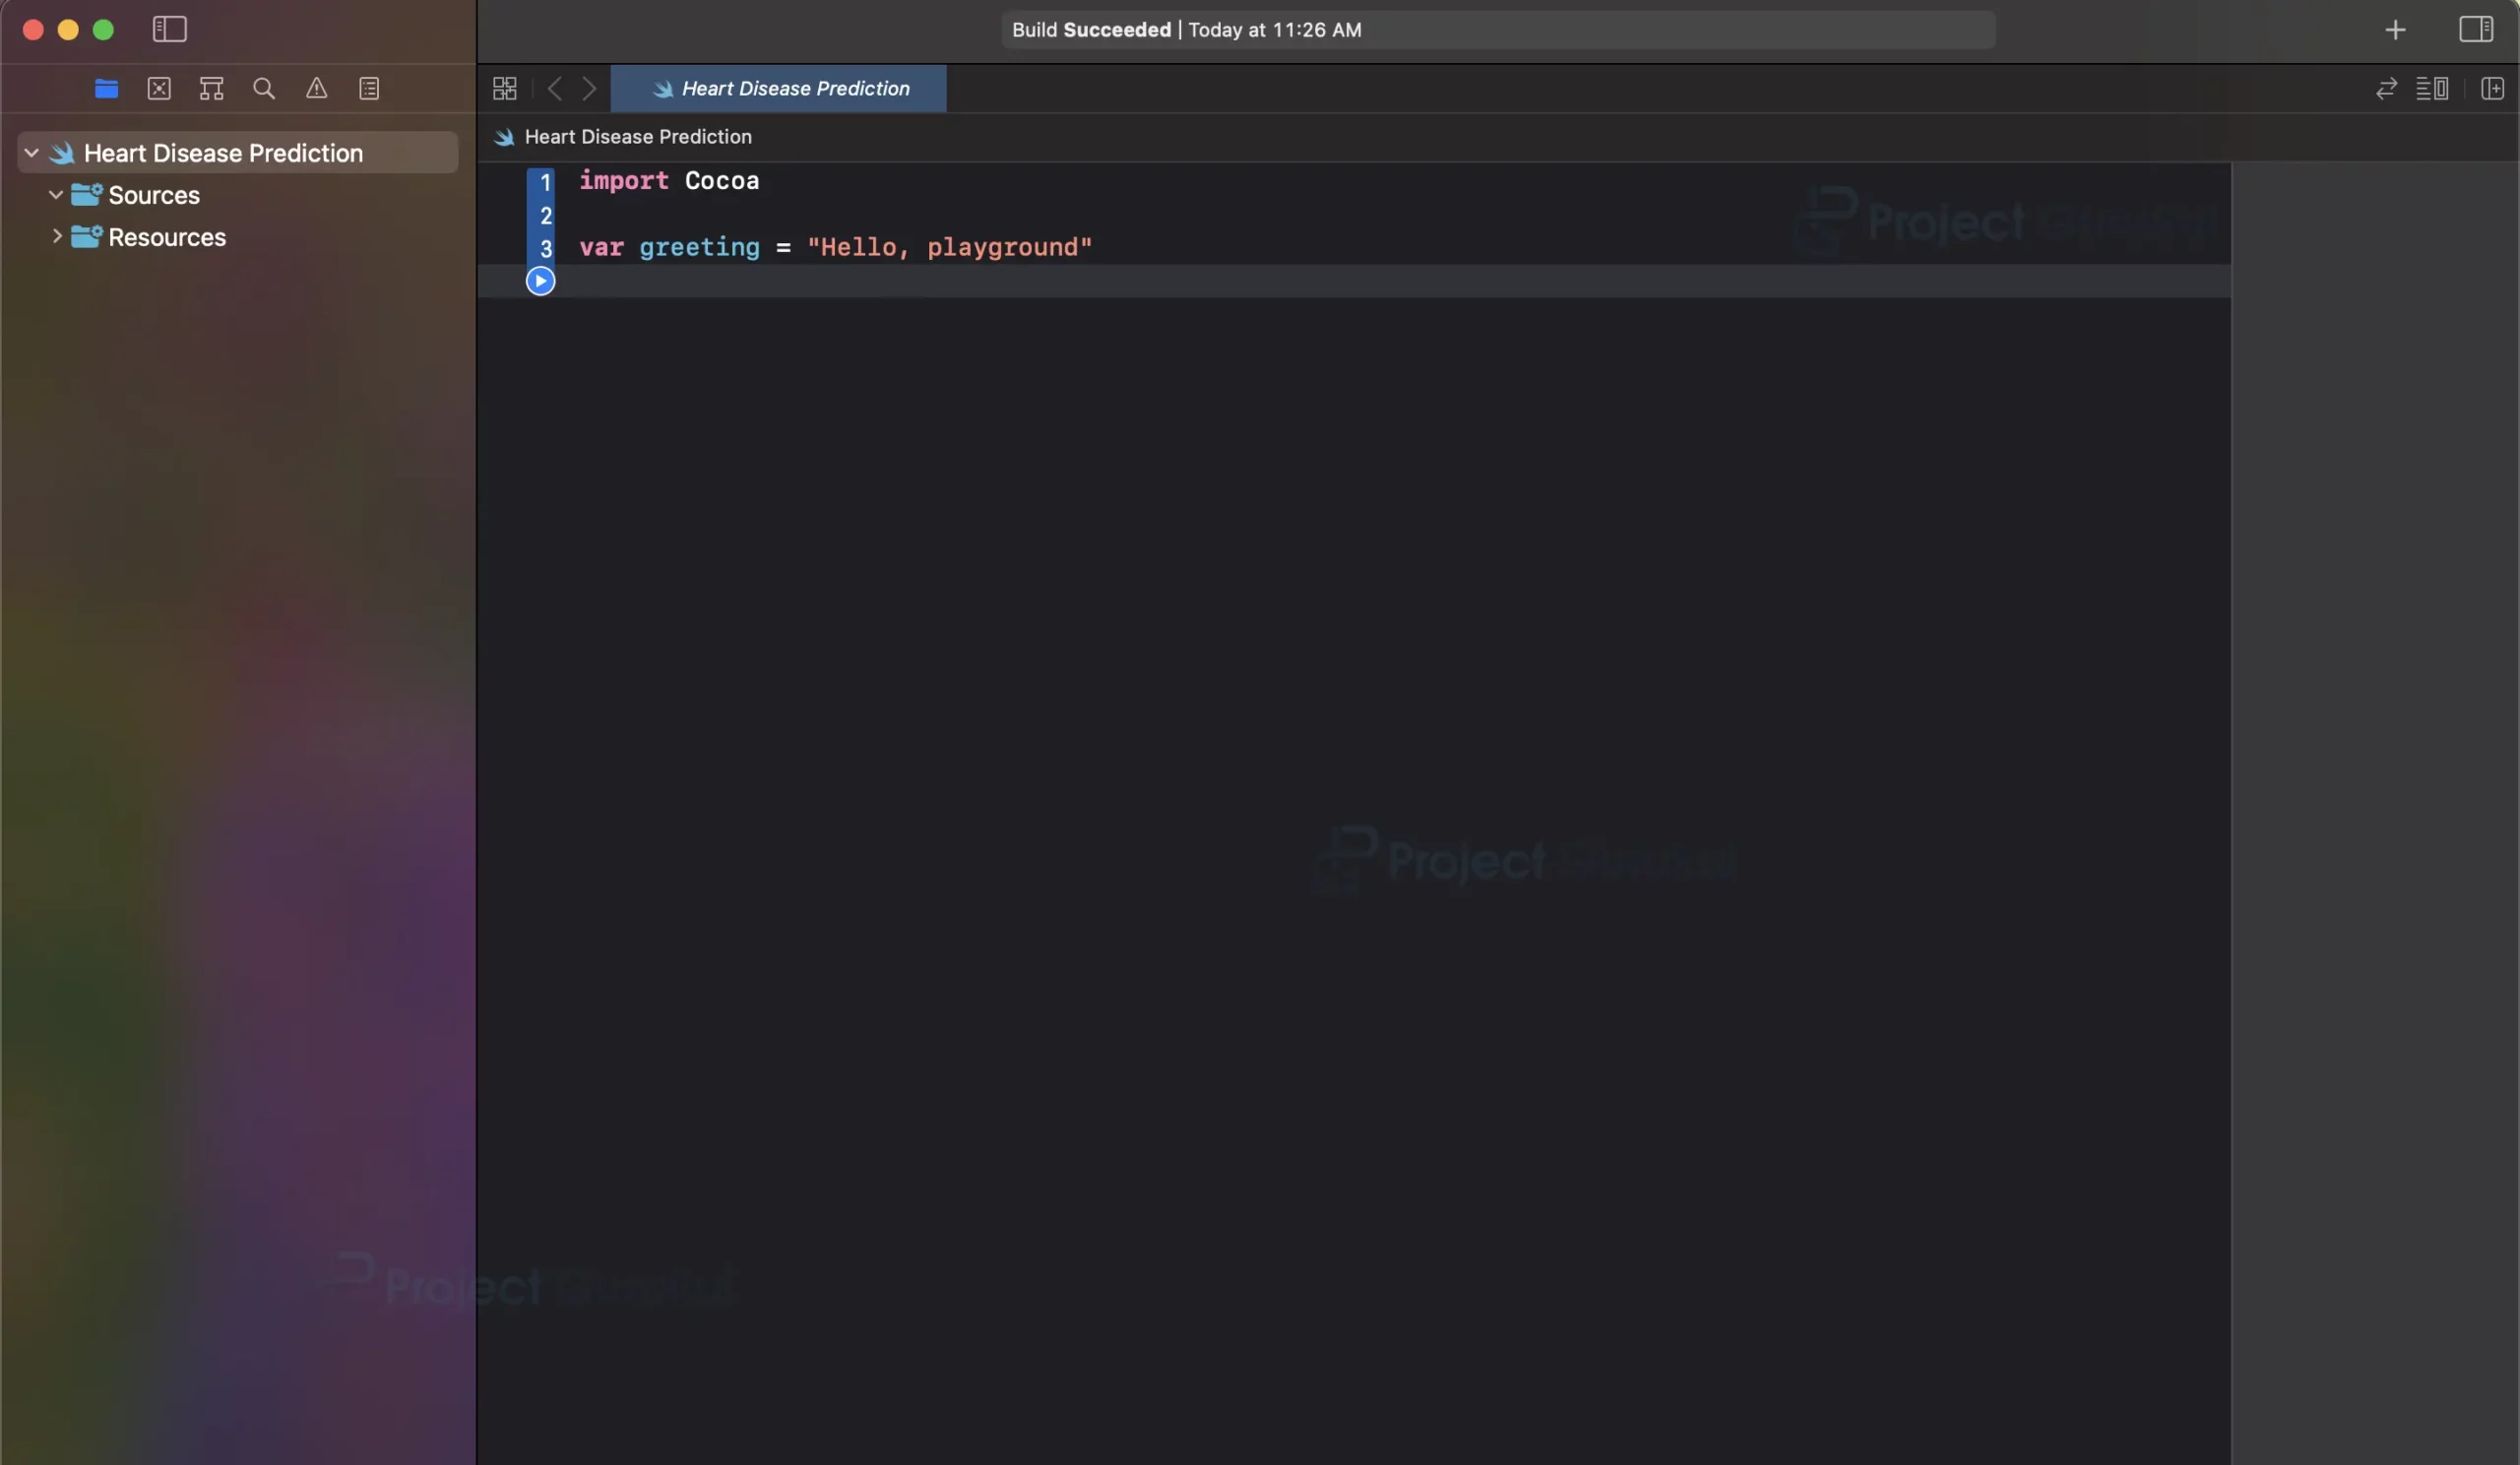
c. In the first cell, import the necessary libraries:
//Importing the required libraries
import Cocoa
import CreateML
import Foundation
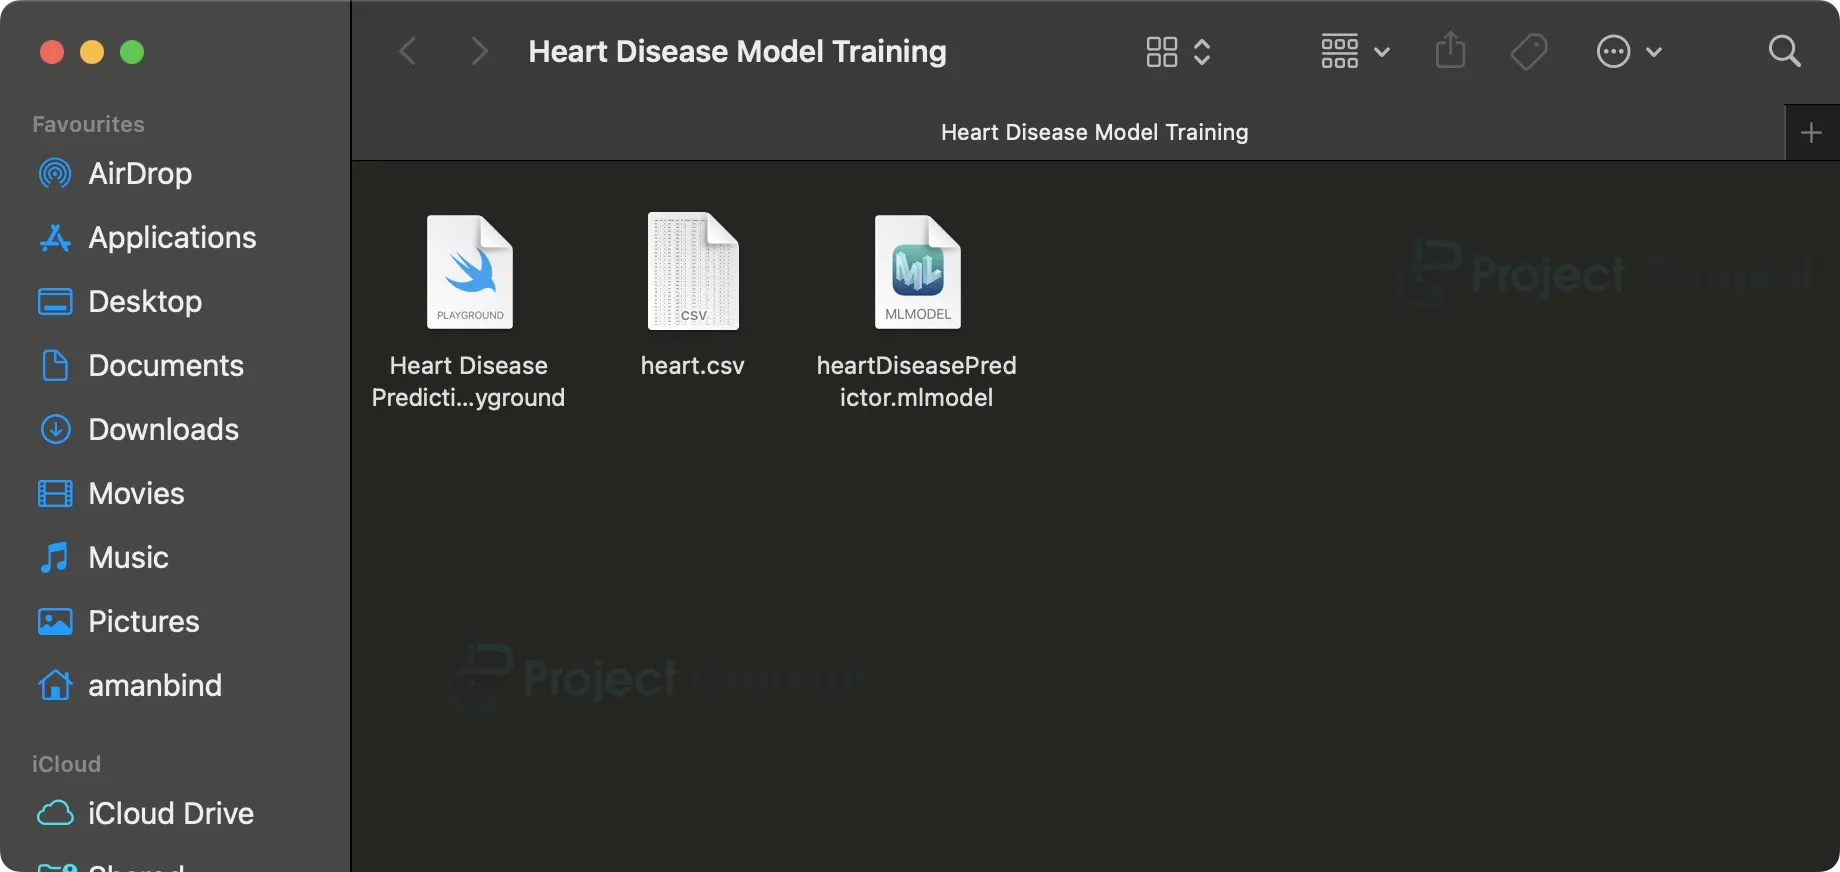
d. Provide the path for the dataset and output model.
// Setting the input and output file paths
let inputFilePath = "/Users/amanbind/Desktop/Heart Disease Model Training/heart.csv"
let outputFilePath = "/Users/amanbind/Desktop/Heart Disease Model Training/heartDiseasePredictor.mlmodel"
e. Load the data into a DataFrame and split it into training and testing data
// Reading the data from the csv file
let data = try MLDataTable(contentsOf: URL(fileURLWithPath: inputFilePath))


// Splitting the data into training and testing data
let (trainingData, testingData) = data.randomSplit(by: 0.9, seed: 5)
f. In the third cell, create a sentiment analysis model using the data and set the metadata of the model.
// Creating the model
let heartDiseasePredictor = try MLLogisticRegressionClassifier(trainingData: trainingData, targetColumn: "target")


// Setting the model's metadata
let metadata = MLModelMetadata(author: "Project Gurukul", shortDescription: "A model trained to predict heart disease", version: "1.0")
g. Testing the accuracy of the trained model
// Testing the model
let evaluationMetrics = heartDiseasePredictor.evaluation(on: testingData)
let evaluationAccuracy = (1.0 - evaluationMetrics.classificationError) * 100
h. Save the model to your local machine:
// Saving the model
try heartDiseasePredictor.write(to: URL(fileURLWithPath: outputFilePath), metadata: metadata)
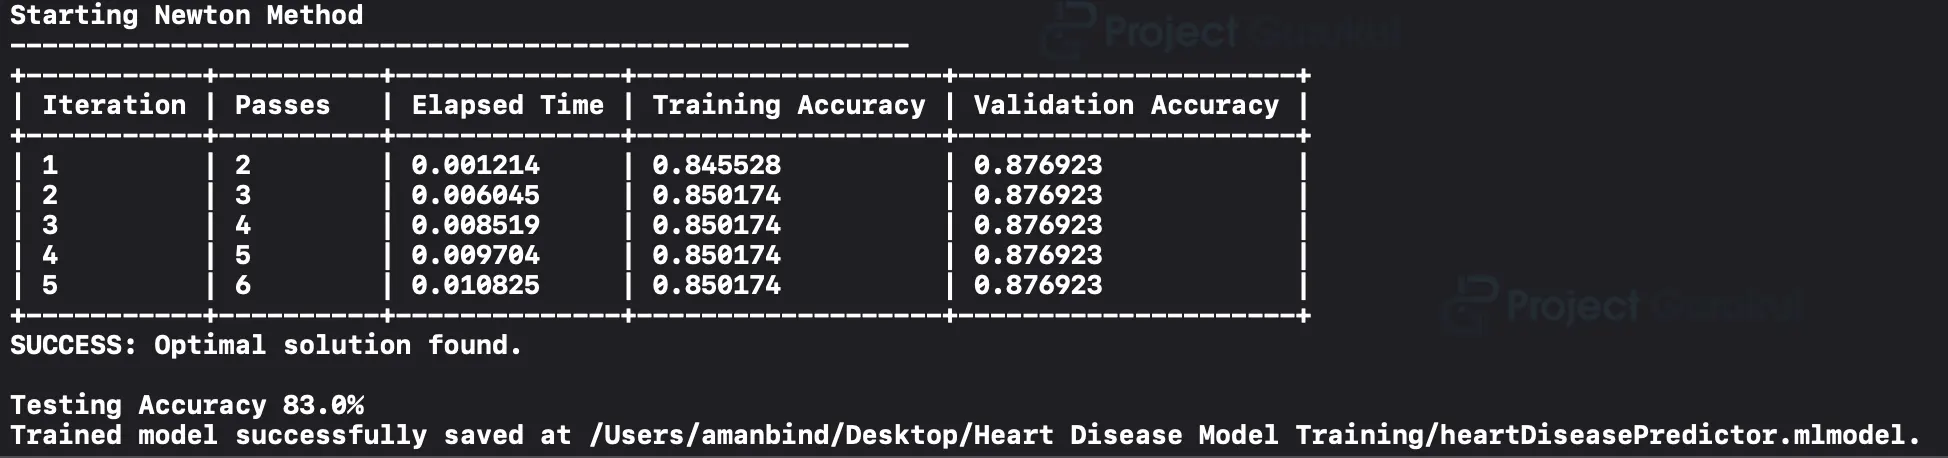
i. Run the playground file. It will train the model and generate the ML model file in the specified folder
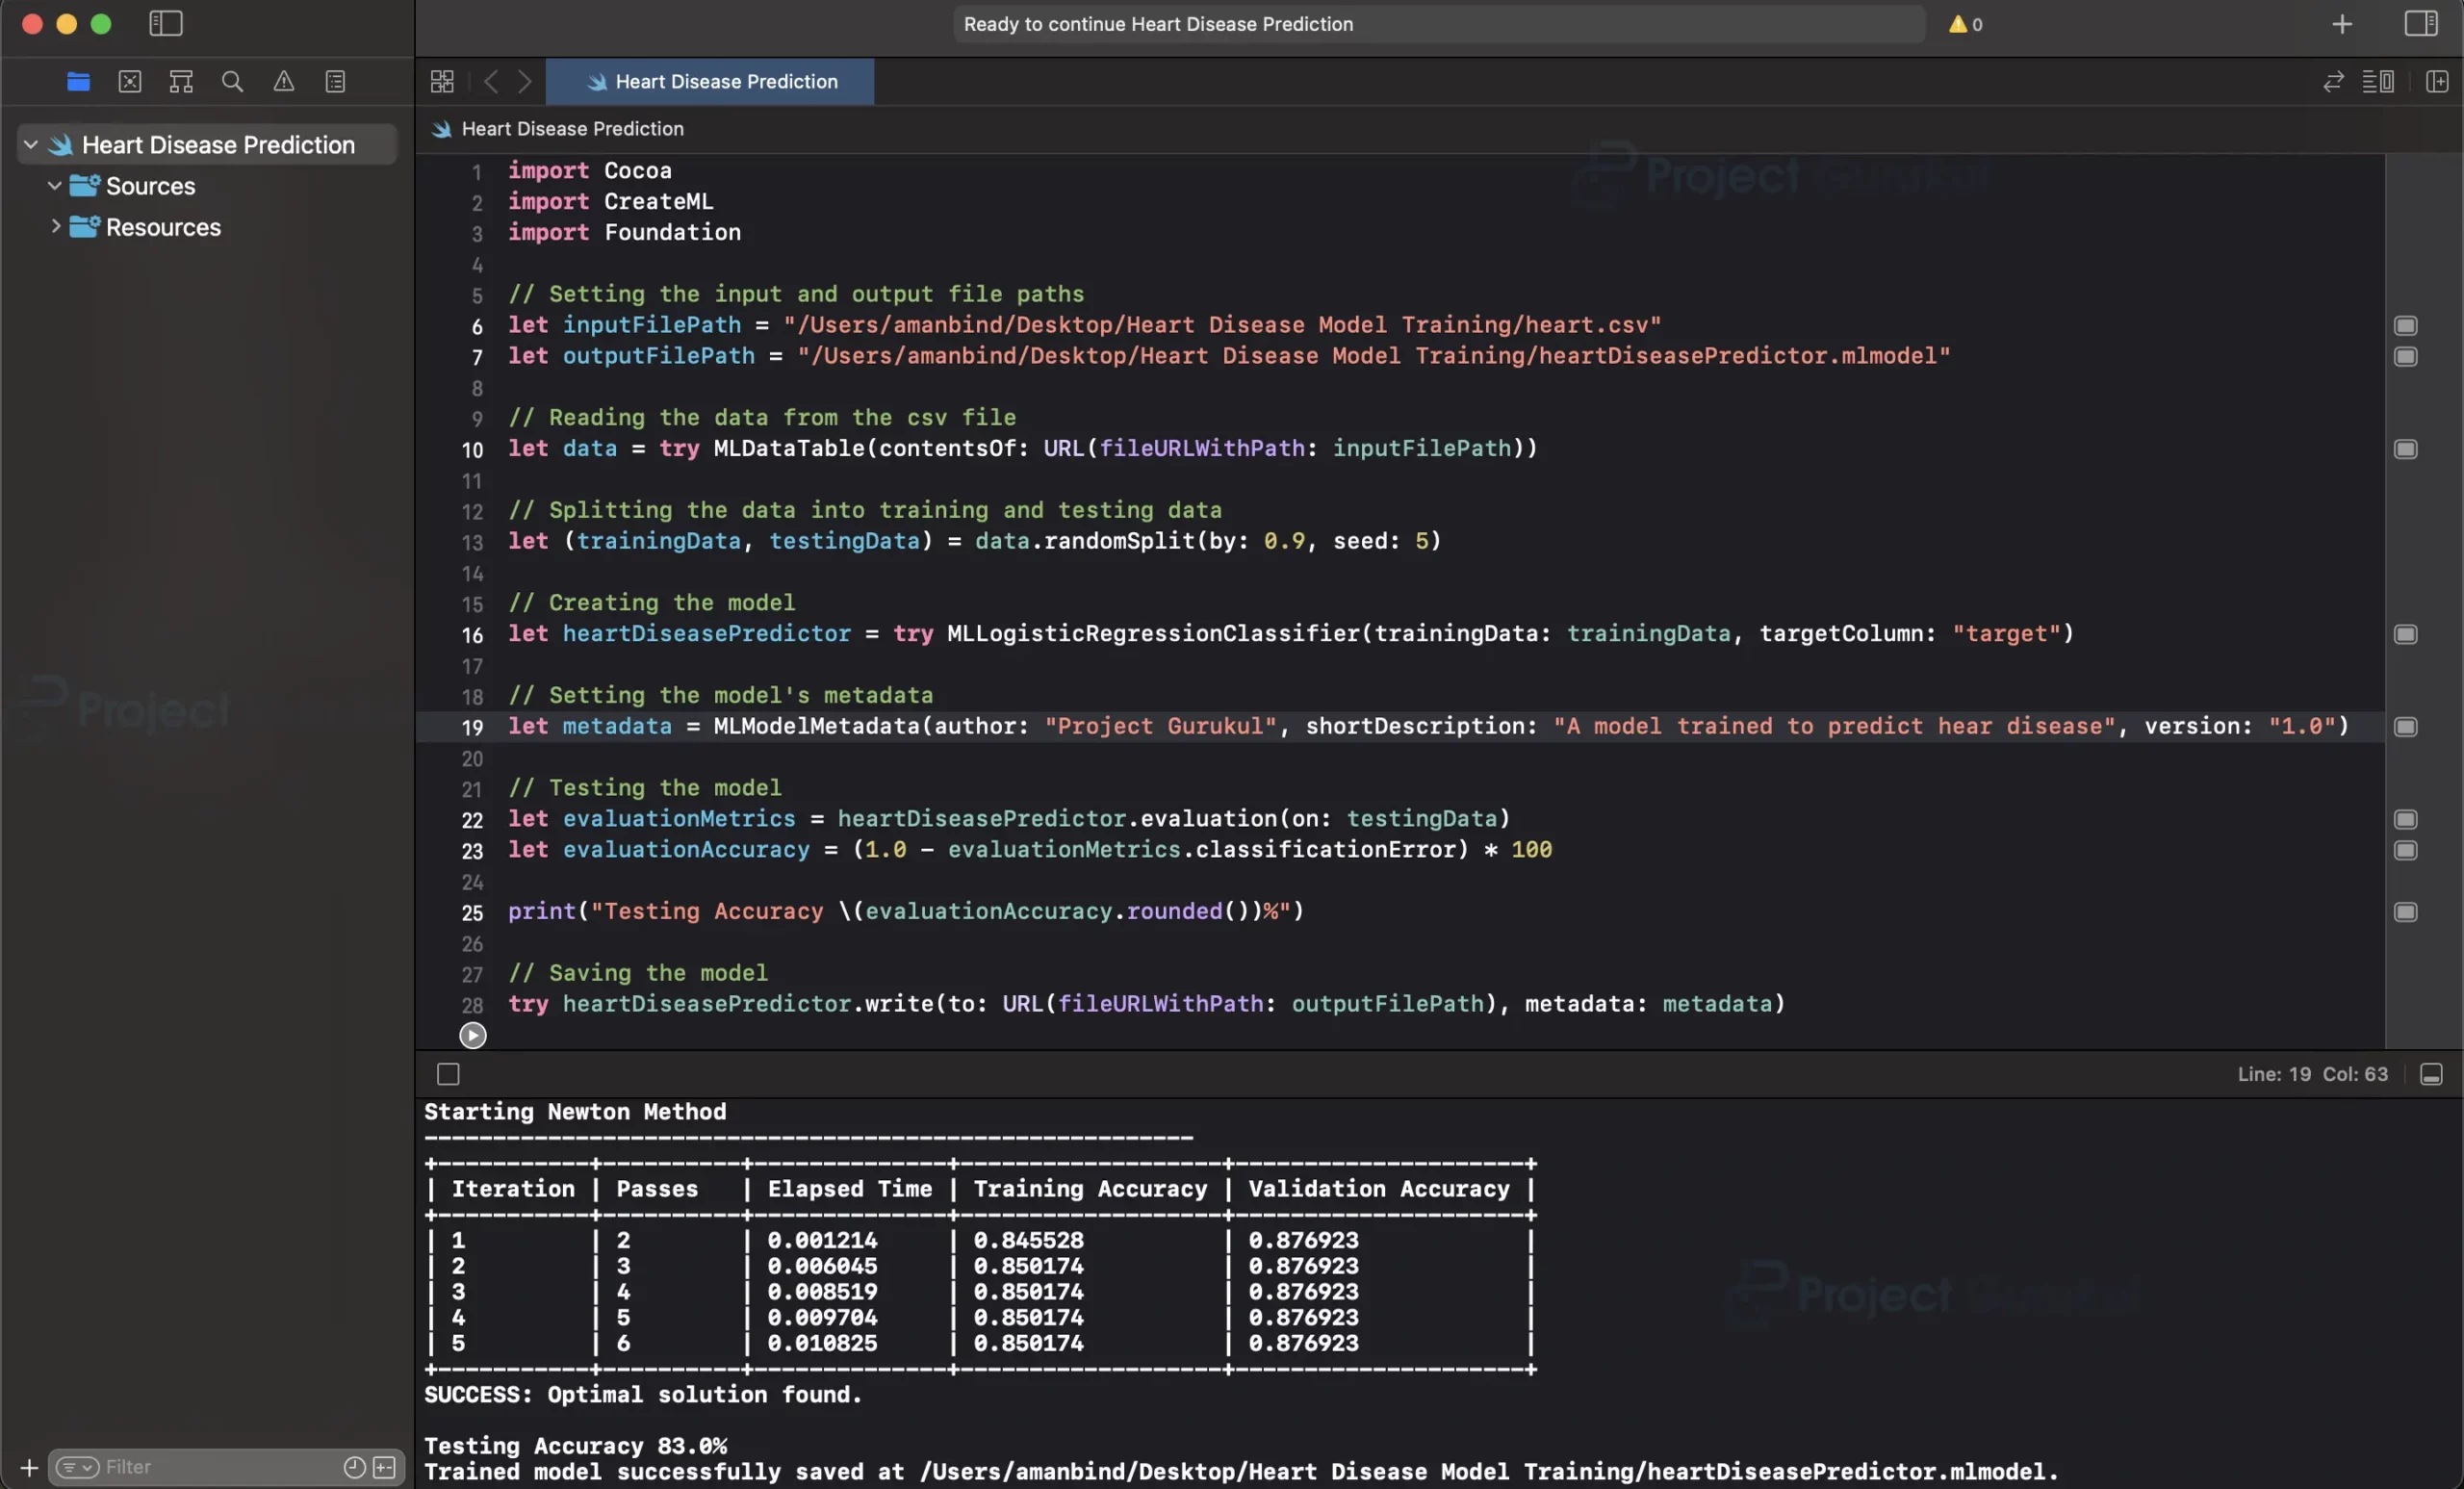
After the training, the accuracy of our model after five training iterations is 85%.93%, and our Testing accuracy is 83.0%
Step 2: Create a new SwiftUI project in Xcode.
a. Open Xcode and click on the “Create a new Xcode Project” option.

b. Now select platform as “iOS” and application type as “App”.

c. Now Enter the name of the app, and organization identifier, and select SwiftUI interface for
building the UI of the app. Also, select Swift as a language for creating the app.
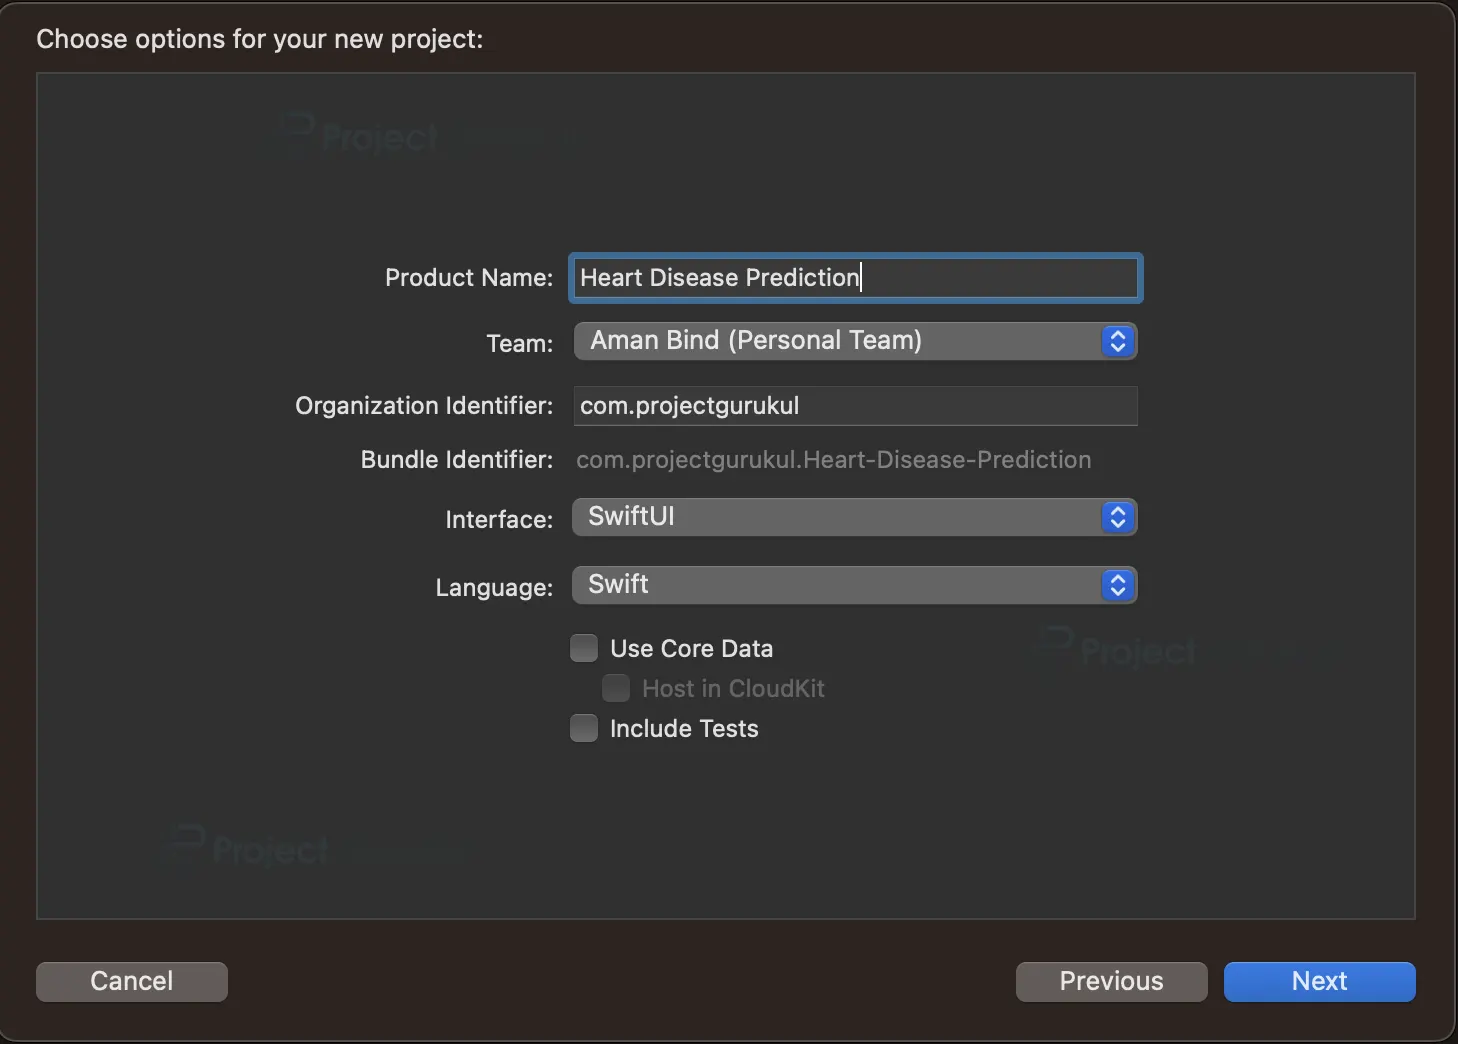
d. Select the folder where you want to save the app and click on Create.
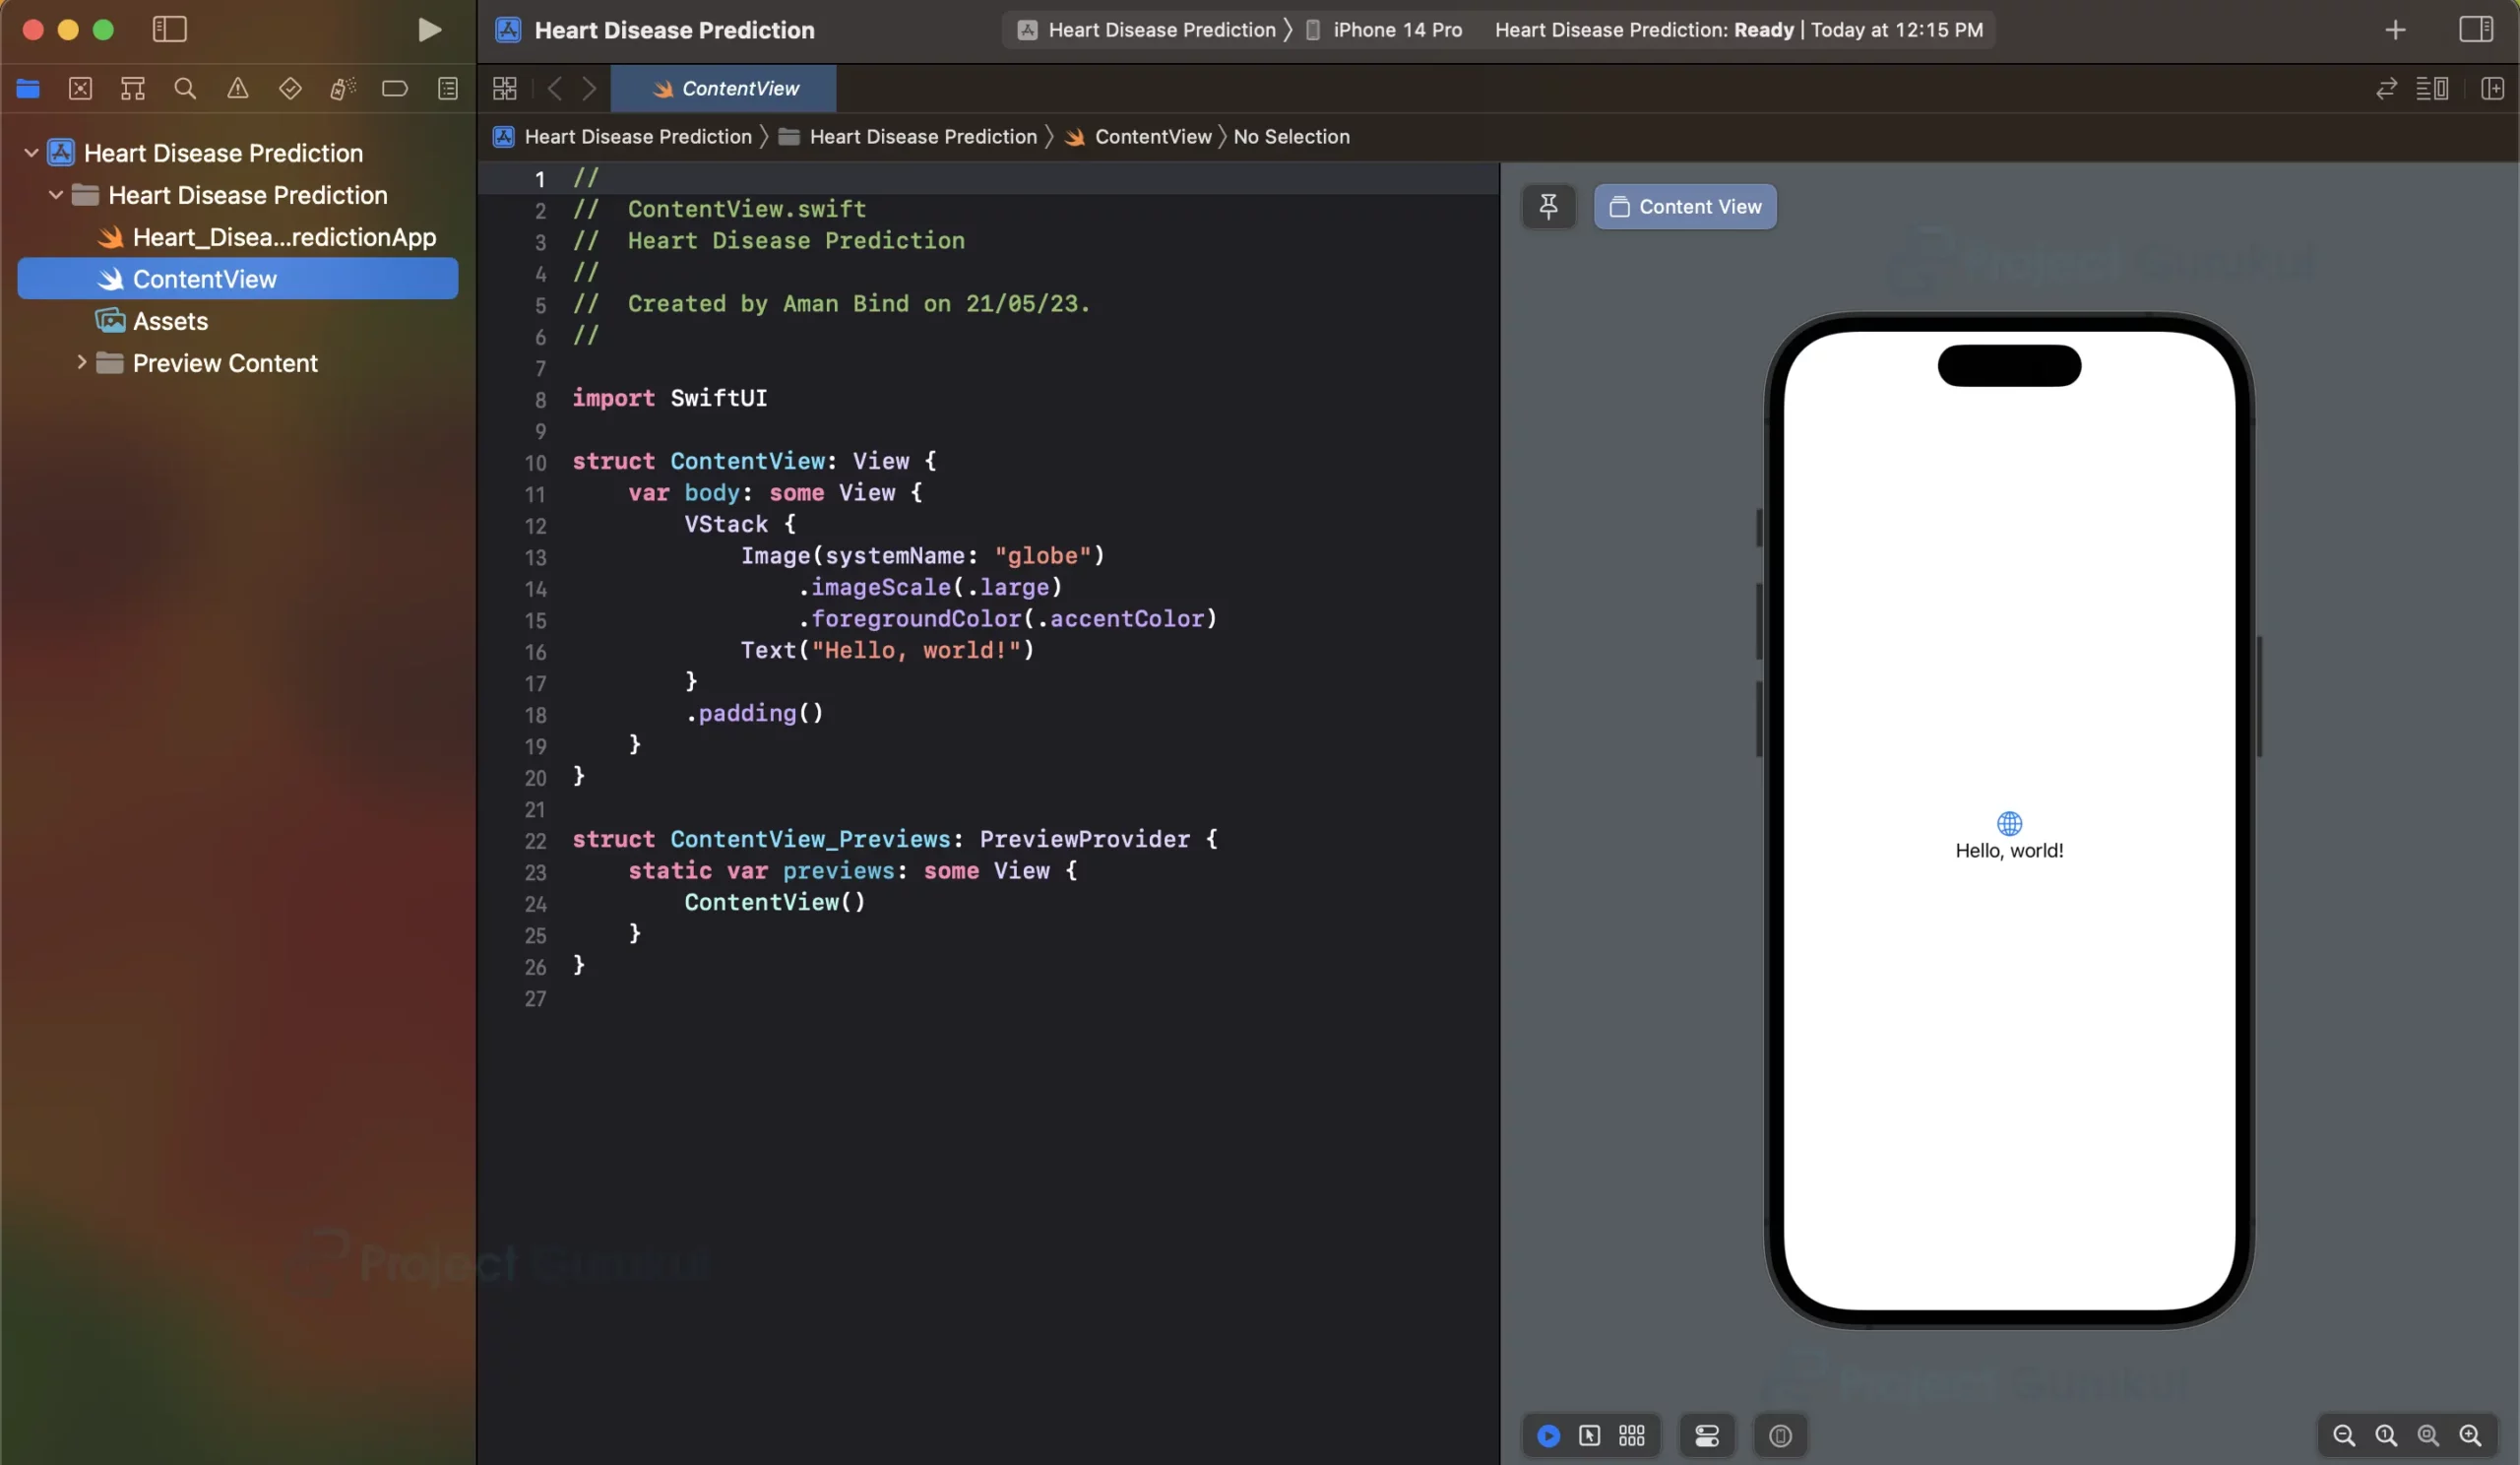
e. Now your project is ready for development, and you will see something like below.
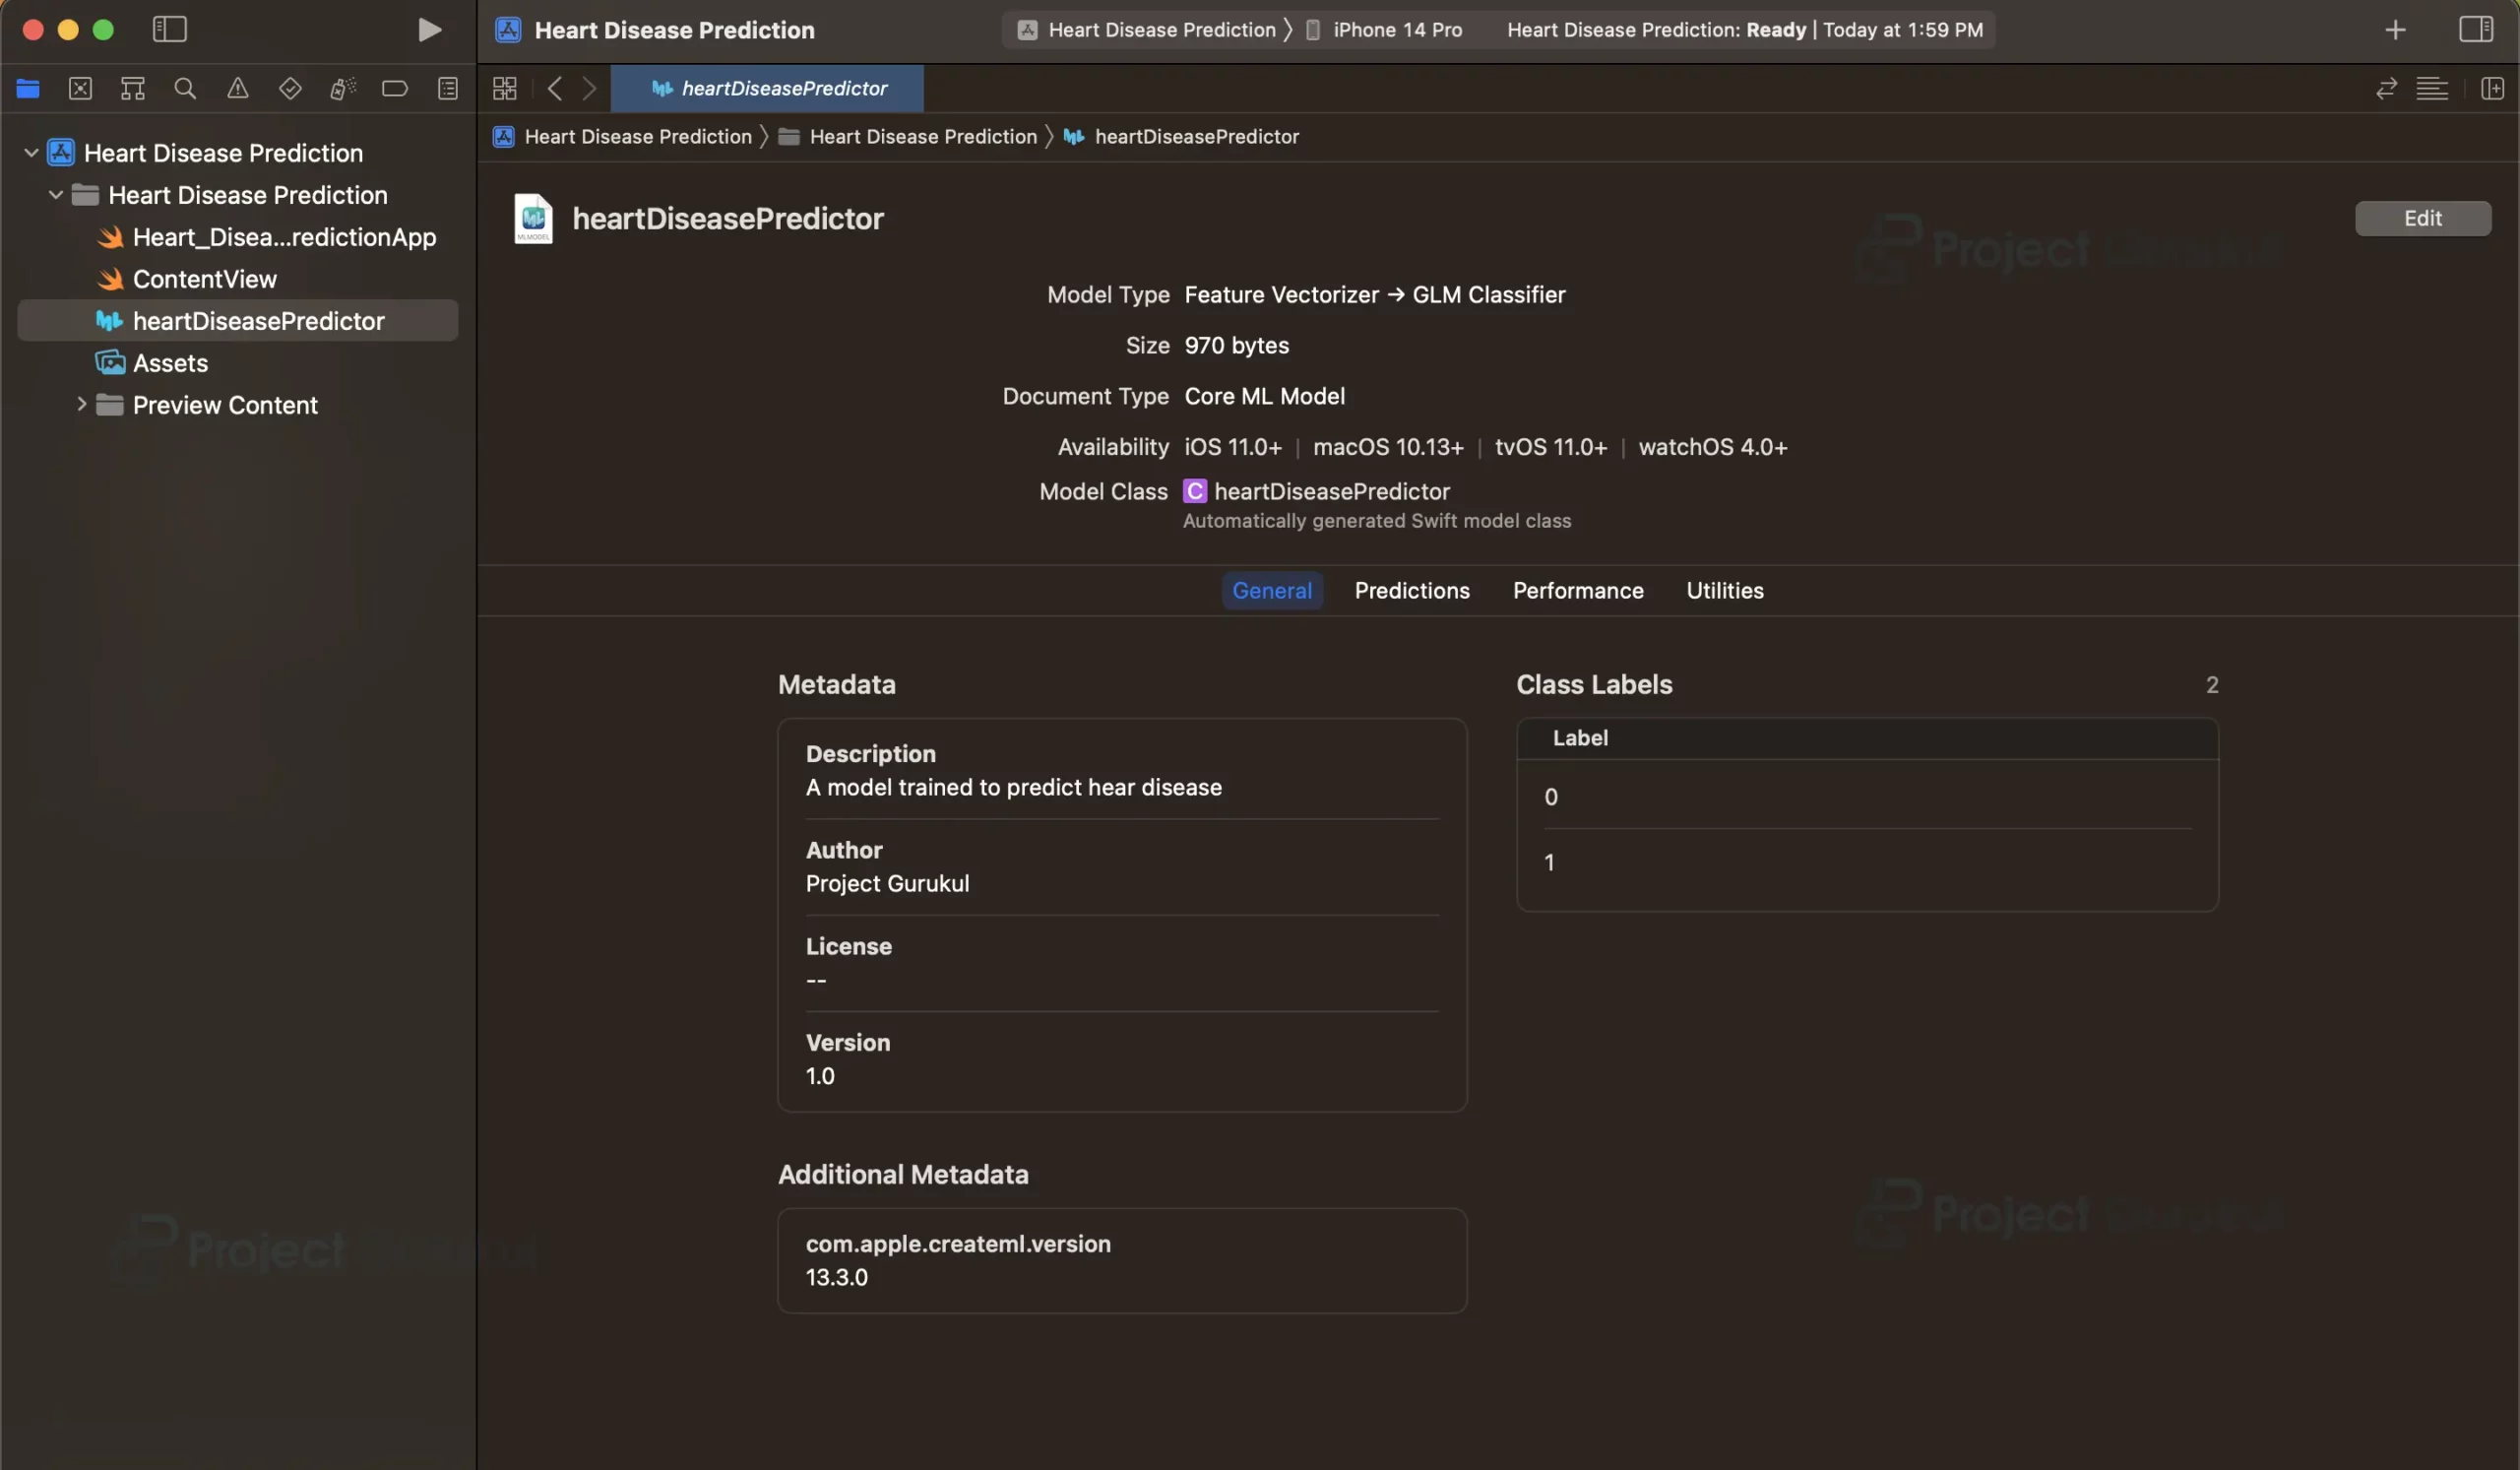
Step 3: Import the ML model into the project
Drag and drop the ML model file into the project navigator in Xcode
Step 4: Implementing the User Interface
a. Create a new file called “InputFieldsView.swift” for creating a User Interface of the app.
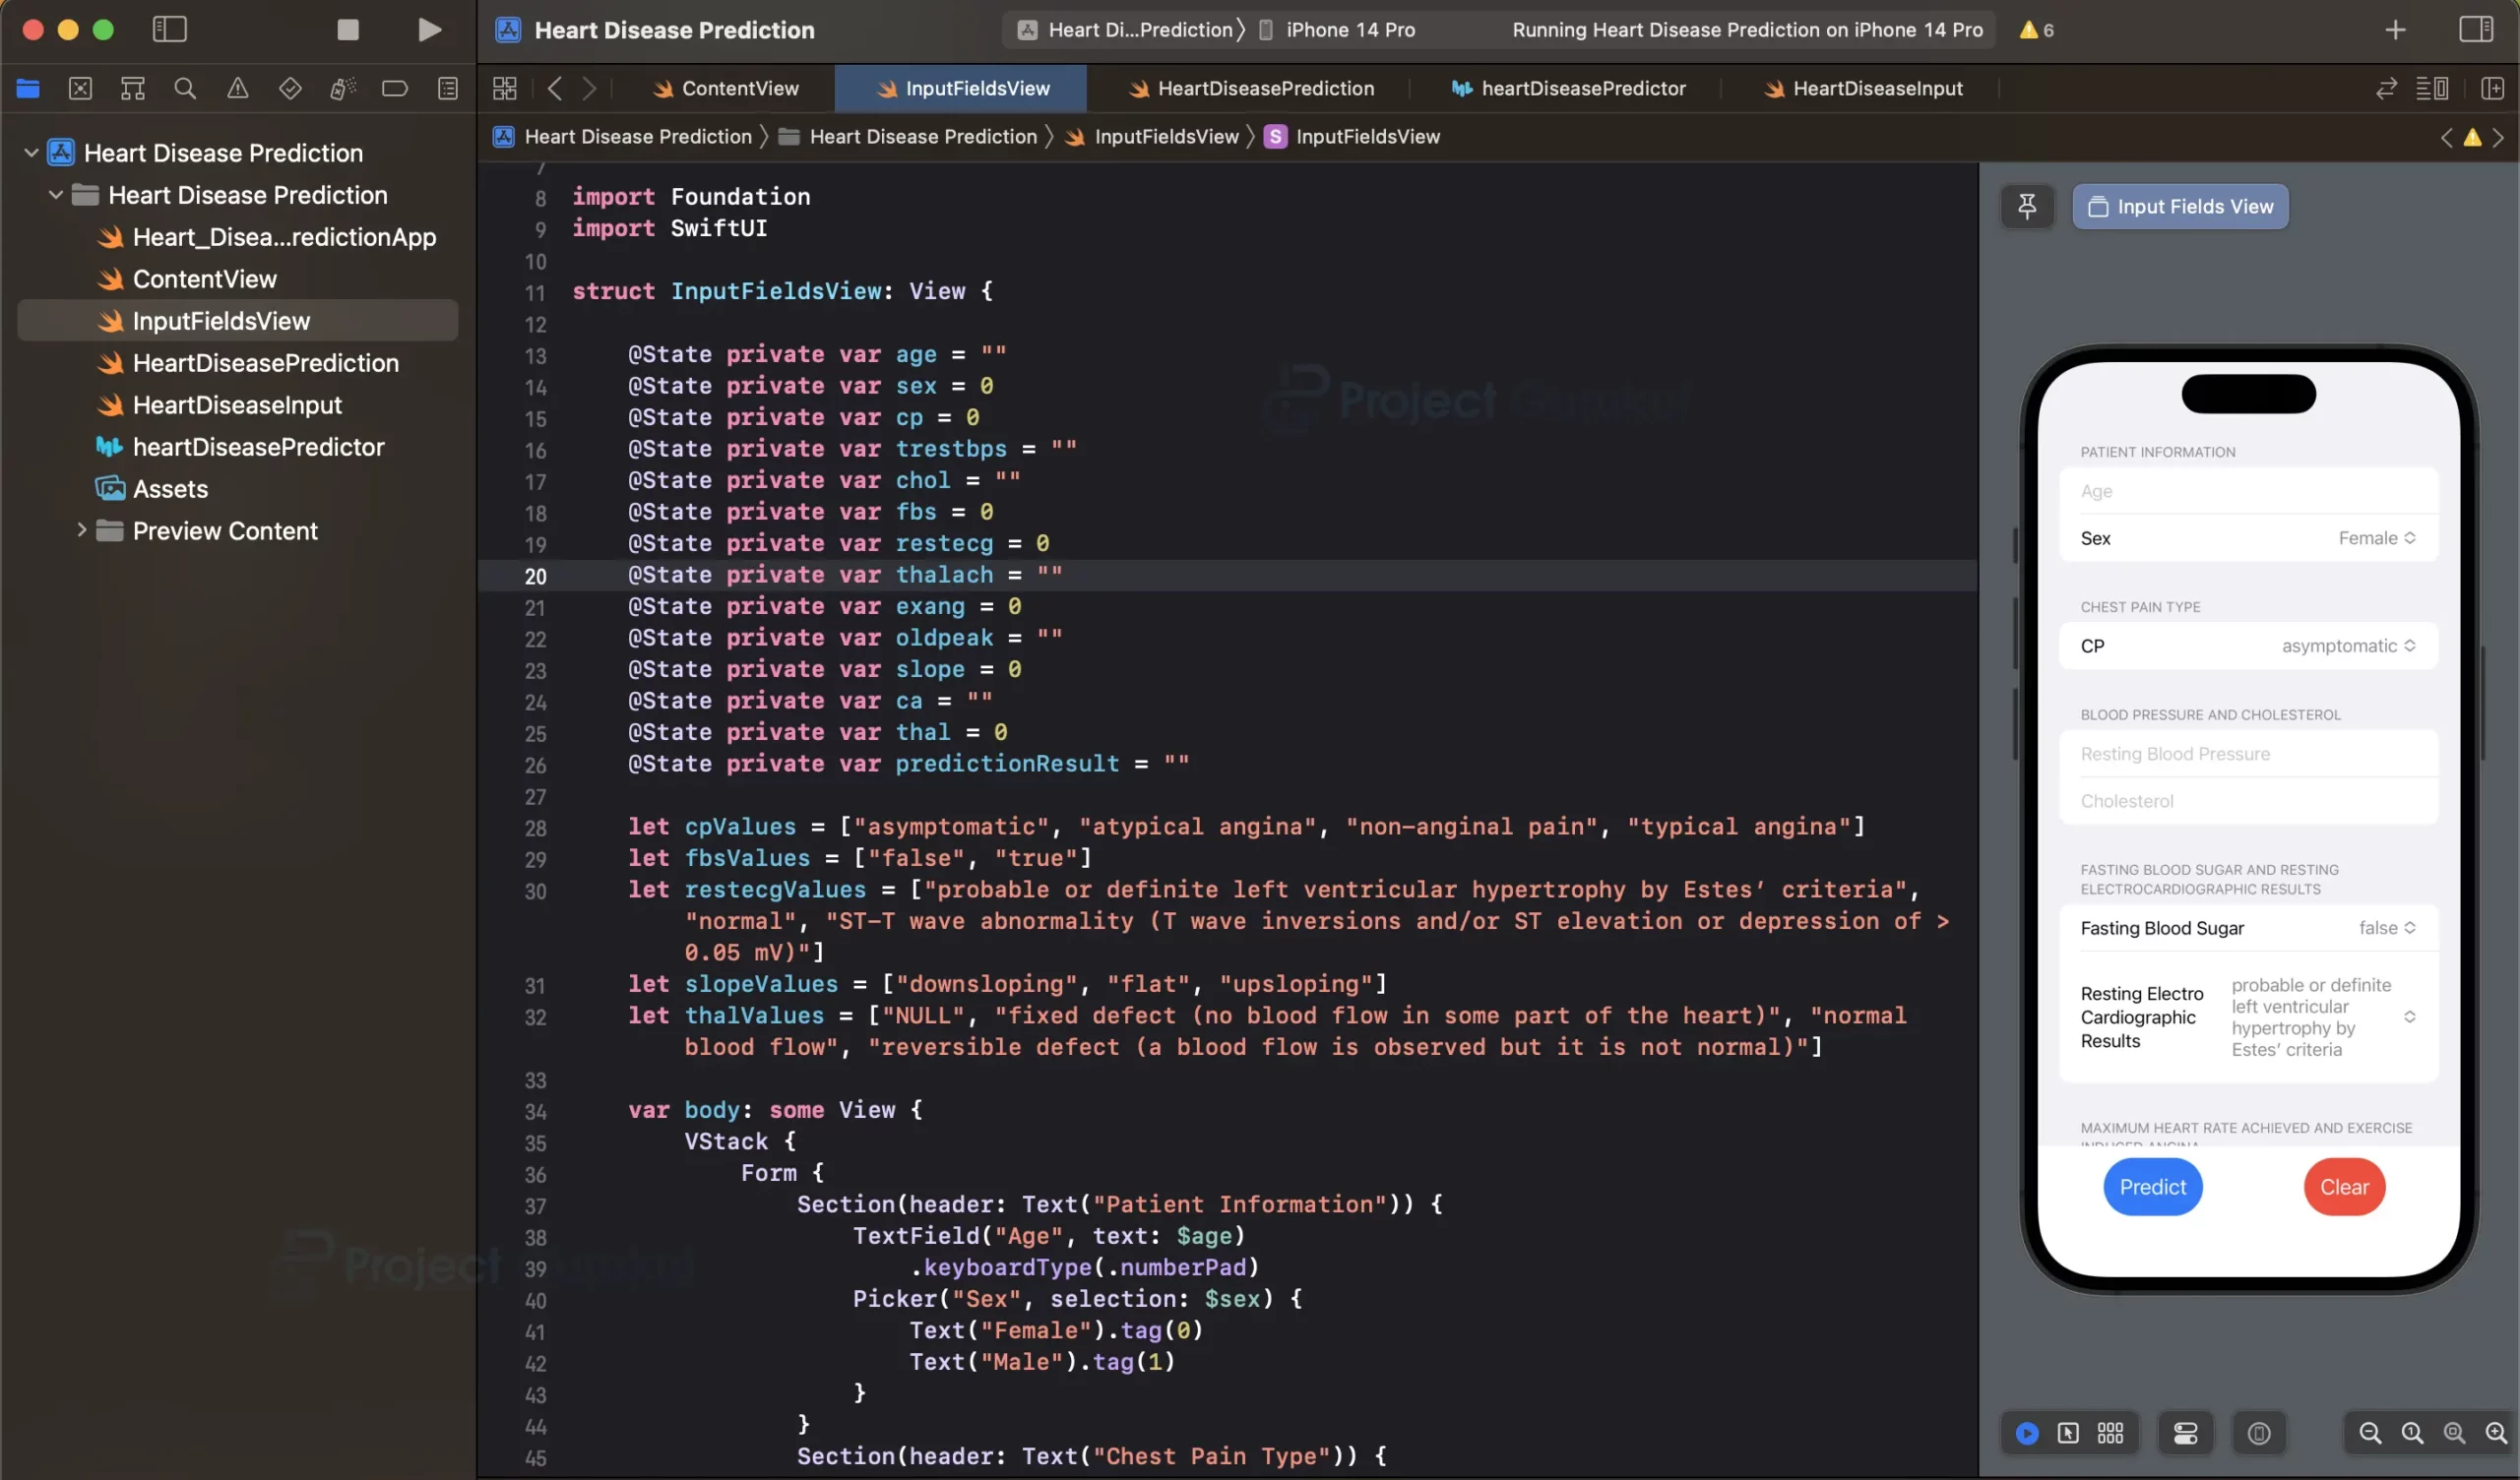
b. The InputFieldsView.swift file contains the SwiftUI view struct InputFieldsView that represents the user interface for the Heart Disease Prediction app.
c. The InputFieldsView struct defines various @State variables to store user input data, such as age, sex, chest pain type, blood pressure, cholesterol, etc.
d. The body property of InputFieldsView defines the layout of the user interface using SwiftUI’s VStack and Form components.
e. Each section in the form represents a group of related input fields, such as patient information, chest pain type, blood pressure and cholesterol, etc.
f. The user can input data using SwiftUI’s TextField and Picker components, and the input is stored in the respective @State variables.
g. At the bottom of the view, there are two buttons: “Predict” and “Clear” for performing prediction and clearing the input fields.
h. The prediction result is displayed using a Text view at the bottom of the view.
import Foundation
import SwiftUI


struct InputFieldsView: View {

    @State private var age = ""
    @State private var sex = 0
    @State private var cp = 0
    @State private var trestbps = ""
    @State private var chol = ""
    @State private var fbs = 0
    @State private var restecg = 0
    @State private var thalach = ""
    @State private var exang = 0
    @State private var oldpeak = ""
    @State private var slope = 0
    @State private var ca = ""
    @State private var thal = 0
    @State private var predictionResult = ""

    let cpValues = ["asymptomatic", "atypical angina", "non-anginal pain", "typical angina"]
    let fbsValues = ["false", "true"]
    let restecgValues = ["probable or definite left ventricular hypertrophy by Estes’ criteria", "normal", "ST-T wave abnormality (T wave inversions and/or ST elevation or depression of > 0.05 mV)"]
    let slopeValues = ["downsloping", "flat", "upsloping"]
    let thalValues = ["NULL", "fixed defect (no blood flow in some part of the heart)", "normal blood flow", "reversible defect (a blood flow is observed but it is not normal)"]

    var body: some View {
        VStack {
            Form {
                Section(header: Text("Patient Information")) {
                    TextField("Age", text: $age)
                        .keyboardType(.numberPad)
                    Picker("Sex", selection: $sex) {
                        Text("Female").tag(0)
                        Text("Male").tag(1)
                    }
                }
                Section(header: Text("Chest Pain Type")) {
                    Picker("CP", selection: $cp) {
                        ForEach(0..<cpValues.count) {
                            Text(self.cpValues[$0]).tag($0)
                        }
                    }
                }
                Section(header: Text("Blood Pressure and Cholesterol")) {
                    TextField("Resting Blood Pressure", text: $trestbps)
                        .keyboardType(.numberPad)
                    TextField("Cholesterol", text: $chol)
                        .keyboardType(.numberPad)
                }
                Section(header: Text("Fasting Blood Sugar and Resting Electrocardiographic Results")) {
                    Picker("Fasting Blood Sugar", selection: $fbs) {
                        ForEach(0..<fbsValues.count) {
                            Text(self.fbsValues[$0]).tag($0)
                        }
                    }
                    Picker("Resting Electro Cardiographic Results", selection: $restecg) {
                        ForEach(0..<restecgValues.count) {
                            Text(self.restecgValues[$0]).tag($0)
                        }
                    }
                    .frame(height: 100)
                }
                Section(header: Text("Maximum Heart Rate Achieved and Exercise Induced Angina")) {
                    TextField("Maximum Heart Rate Achieved", text: $thalach)
                        .keyboardType(.numberPad)
                    Picker("Exercise Induced Angina", selection: $exang) {
                        Text("No").tag(0)
                        Text("Yes").tag(1)
                    }

                }
                Section(header: Text("ST Depression and Slope of the Peak Exercise ST Segment")) {
                    TextField("ST Depression", text: $oldpeak)
                        .keyboardType(.numberPad)
                    Picker("Slope", selection: $slope) {
                        ForEach(0..<slopeValues.count) {
                            Text(self.slopeValues[$0]).tag($0)
                        }
                    }
                }
                Section(header: Text("Number of Major Vessels and Thalassemia")) {
                    TextField("Number of Major Vessels", text: $ca)
                        .keyboardType(.numberPad)
                    Picker("Thalassemia", selection: $thal) {
                        ForEach(0..<thalValues.count) {
                            Text(self.thalValues[$0]).tag($0)
                        }
                    }
                    .frame(height: 50)
                }
            }
            HStack {
                    Button(action: {
                        if age == "" || trestbps == "" || chol == "" || thalach == "" || oldpeak == "" || ca == "" {
                            predictionResult = "Please fill all the fields."
                            return
                        }
                        let input = HeartDiseaseInput(age: Double(age) ?? 0, sex: Double(sex), cp: Double(cp), trestbps: Double(trestbps) ?? 0, chol: Double(chol) ?? 0, fbs: Double(fbs), restecg: Double(restecg), thalach: Double(thalach) ?? 0, exang: Double(exang), oldpeak: Double(oldpeak) ?? 0, slope: Double(slope), ca: Double(ca) ?? 0, thal: Double(thal))
                        let prediction = HeartDiseasePrediction().predict(input: input)

                        predictionResult = prediction.output == 0 ? "No heart disease detected." : "Heart disease detected.\nAccuracy: \(prediction.probability.rounded())%"
                    }) {
                        Text("Predict")
                            .padding(15)
                            .font(Font.title3)
                            .foregroundColor(.white)
                            .background(Color.blue)
                            .cornerRadius(30)
                            .frame(width: 170, height: 50)
                    }

                    Button(action: {
                        age = ""
                        sex = 0
                        cp = 0
                        trestbps = ""
                        chol = ""
                        fbs = 0
                        restecg = 0
                        thalach = ""
                        exang = 0
                        oldpeak = ""
                        slope = 0
                        ca = ""
                        thal = 0
                        predictionResult = ""
                    }) {
                        Text("Clear")
                            .padding(15)
                            .font(Font.title3)
                            .foregroundColor(.white)
                            .background(Color.red)
                            .cornerRadius(30)
                            .frame(width: 170, height: 50, alignment: .center)
                    }
            }
            .padding(.top, 5)

            Text(predictionResult)
                .padding(.top, 3)
                .font(.headline)
                .foregroundColor(predictionResult.contains("Please fill all the fields.") ? .blue : (predictionResult.contains("No heart disease detected.") ? .green : .red))
                .multilineTextAlignment(.center)
                .lineLimit(nil)
                .fixedSize(horizontal: false, vertical: true)
        }
    }
}
struct InputFieldsView_Previews: PreviewProvider {
    static var previews: some View {
        InputFieldsView()
    }
}
Step 5: Handling User Input by Creating Input Data Model
a. Create a new swift file called “HeartDiseaseInput.swift”.
b. The HeartDiseaseInput.swift file contains the HeartDiseaseInput struct, which represents the input data model for heart disease prediction.
c. The struct defines properties for each input parameter, such as age, sex, chest pain type, blood pressure, cholesterol, etc.
d. This file is responsible for creating a structured data model that can hold the user’s input values and be passed to the prediction function.
import Foundation


struct HeartDiseaseInput {
    let age: Double
    let sex: Double
    let cp: Double
    let trestbps: Double
    let chol: Double
    let fbs: Double
    let restecg: Double
    let thalach: Double
    let exang: Double
    let oldpeak: Double
    let slope: Double
    let ca: Double
    let thal: Double
}
Step 6: Predicting Heart Disease
a. Create a new swift file called “HeartDiseasePrediction.swift”.
b. The HeartDiseasePrediction.swift file contains the HeartDiseasePrediction struct, which provides the method predicts for predicting heart disease based on the input data.
c. The prediction method takes an instance of HeartDiseaseInput as input and returns a tuple containing the predicted result output(0 or 1) and the probability.
d. Inside the prediction method, our trained machine learning model (heartDiseasePredictor) is instantiated.
e. The prediction method uses the machine learning model to make predictions by passing the input data to the model’s prediction method.
f. The predicted disease, whether the user has heart disease or not, i.e., output (0 or 1) and probability are returned as a result.
g. This file is responsible for encapsulating the prediction logic and providing a convenient interface for making predictions based on the user’s input data.
import Foundation


struct HeartDiseasePrediction {
    func predict(input: HeartDiseaseInput) -> (output:Int, probability: Double){

        let model = heartDiseasePredictor()
        let prediction = try? model.prediction(age: input.age, sex: input.sex, cp: input.cp, trestbps: input.trestbps, chol: input.chol, fbs: input.fbs, restecg: input.restecg, thalach: input.thalach, exang: input.exang, oldpeak: input.oldpeak, slope: input.slope, ca: input.ca, thal: input.thal)
        return (Int(prediction!.target), prediction!.targetProbability[Int64(Int(prediction!.target))]! * 100)

    }
}
Step 7: Finalize the User Interface by Integrating the InputFieldsView view in ContentView view
a. Open the “ContentView.swift” file and integrate it with the InputFieldsView.
b. The body property of ContentView returns an instance of InputFieldsView, which displays the user interface defined in Step 4.
import SwiftUI
struct ContentView: View {
    var body: some View {
        InputFieldsView()
    }
}
struct ContentView_Previews: PreviewProvider {
    static var previews: some View {
        ContentView()
    }
}

Swift Heart Disease Prediction App Output


Summary
Congratulations! You have successfully created a Heart Disease Prediction app using SwiftUI and machine learning. You have built a user interface that allows users to input their health parameters, implemented the logic to predict heart disease based on those inputs using our self-trained machine-learning model, and displayed the prediction result to the user.
Late of error in this swift program