Swift Project – Food Delivery App
FREE Online Courses: Enroll Now, Thank us Later!
This project will guide you in developing a basic food delivery application using SwiftUI. With this app, users can easily peruse a selection of fast food items, search for fast food items, add them to a cart, and order their desired choices. The order data will be stored in Firebase Firestore. By following this swift food delivery app project, you will gain hands-on experience in building a basic iOS app with SwiftUI and integrating it with Firebase.
About Food Delivery App using Swift
The aim of this swift food delivery app project is to build a food delivery application using SwiftUI and Firebase that empowers users to explore various food items, add them to their cart, and seamlessly place orders.
Prerequisites for Swift Food Delivery App Project
To follow along with this project, you should have the following:
- Basic knowledge of SwiftUI and iOS app development
- Xcode installed on your Mac
- An active Firebase account
Download Swift Food Delivery App Project
Please download the source code of the Swift Food Delivery App Project: Swift Food Delivery App Project Code.
Steps to Create a Food Delivery App Using Swift
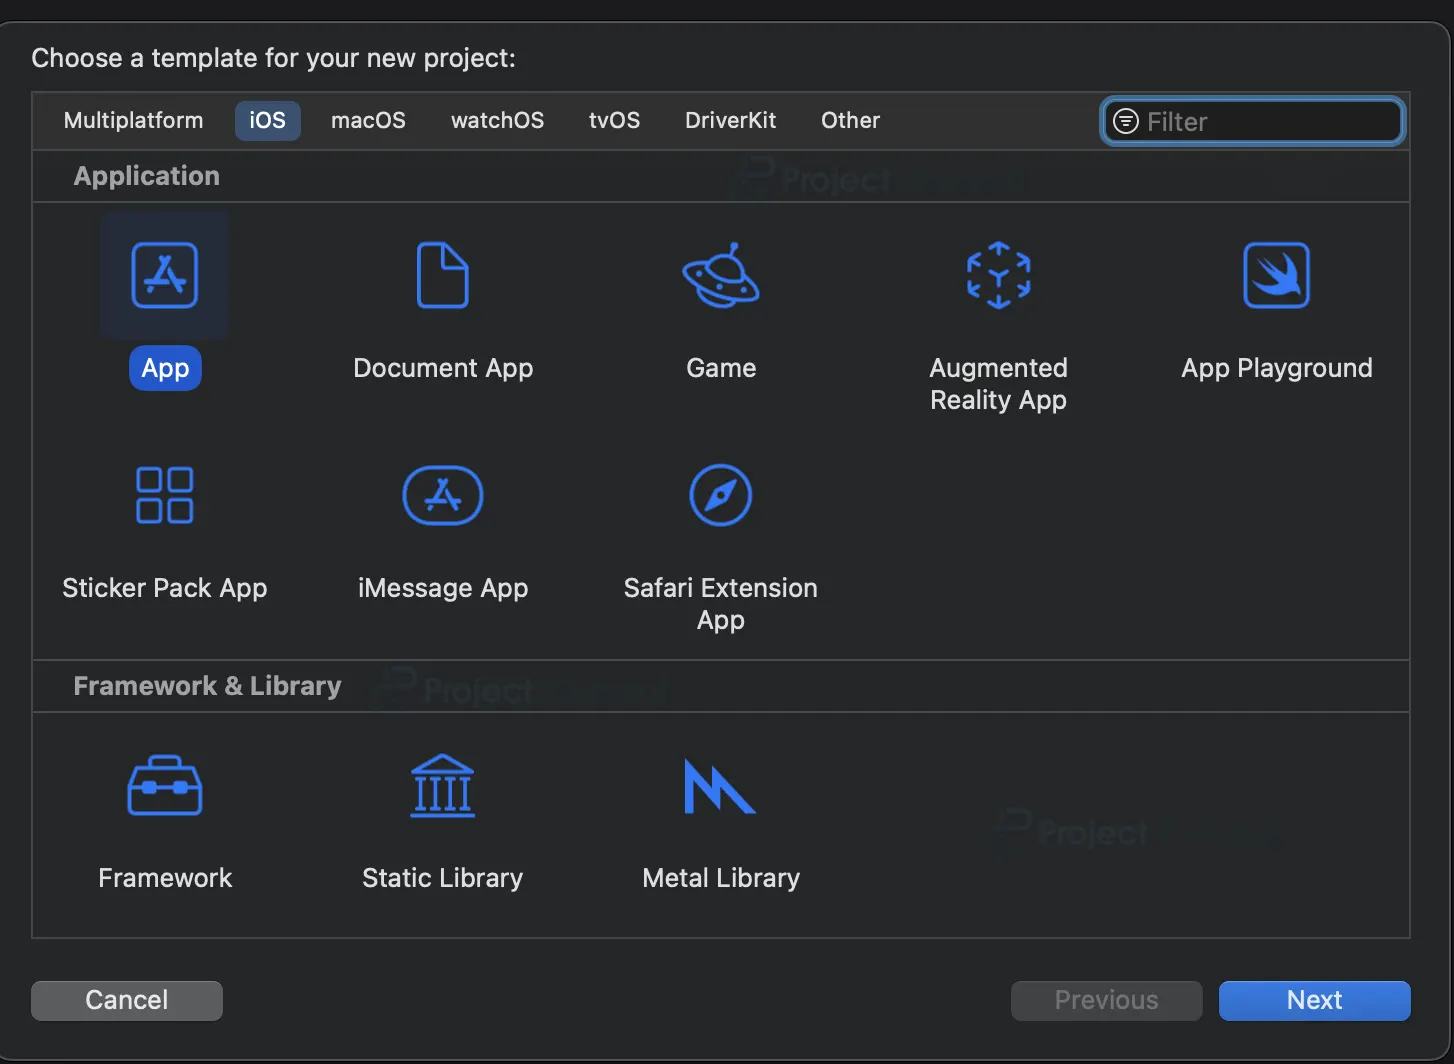
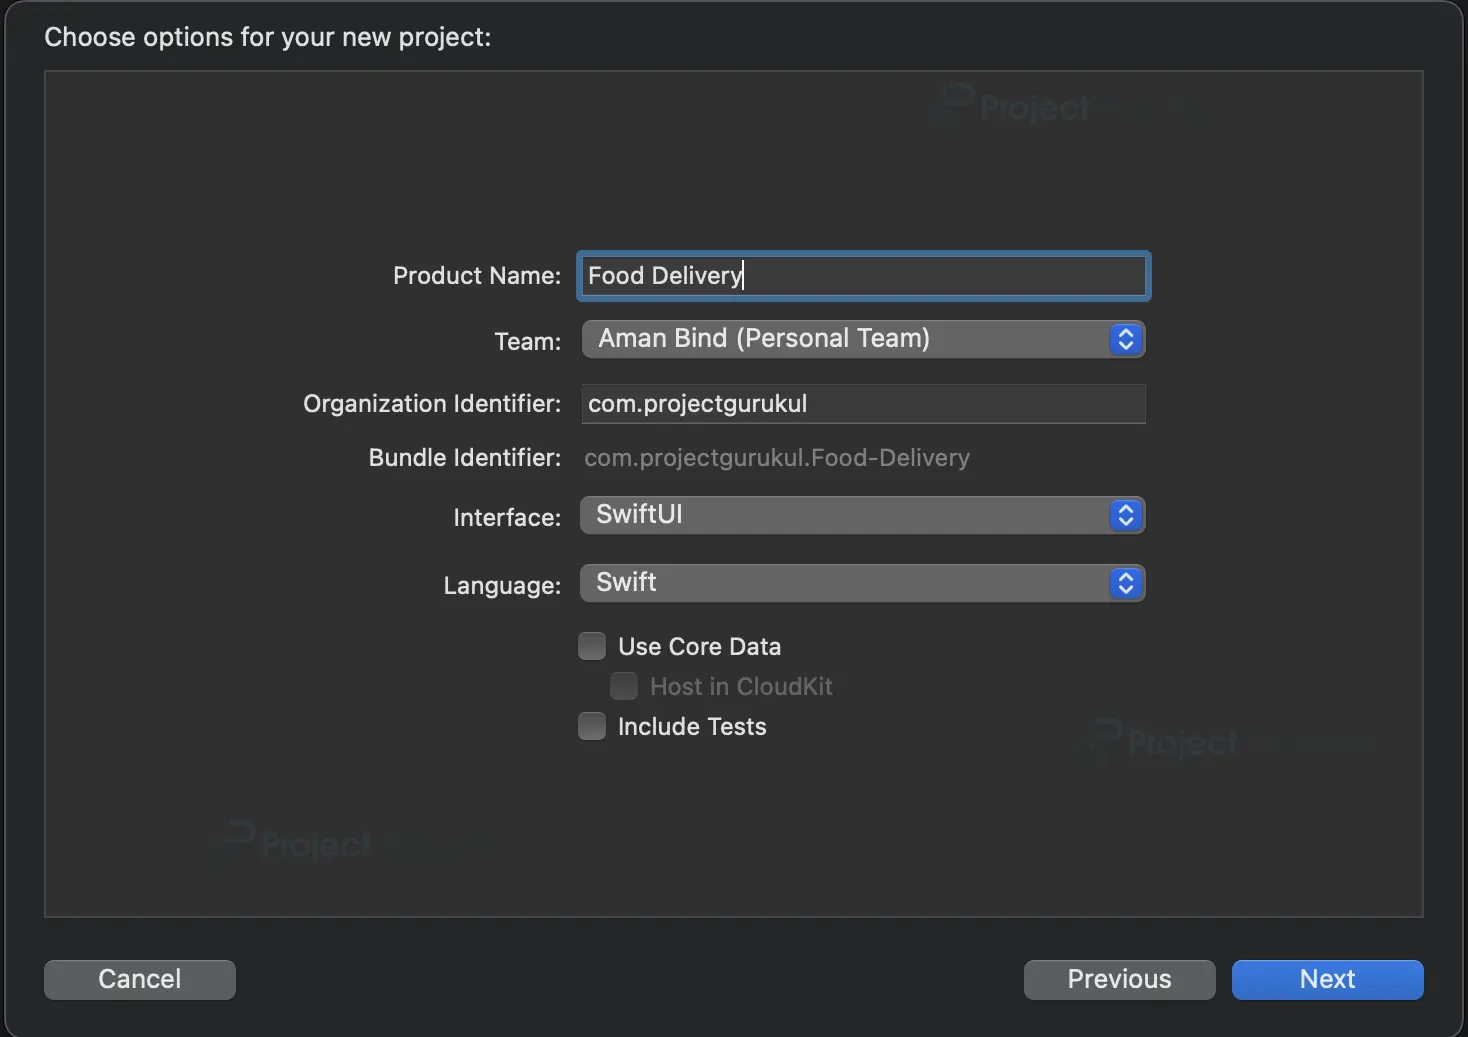
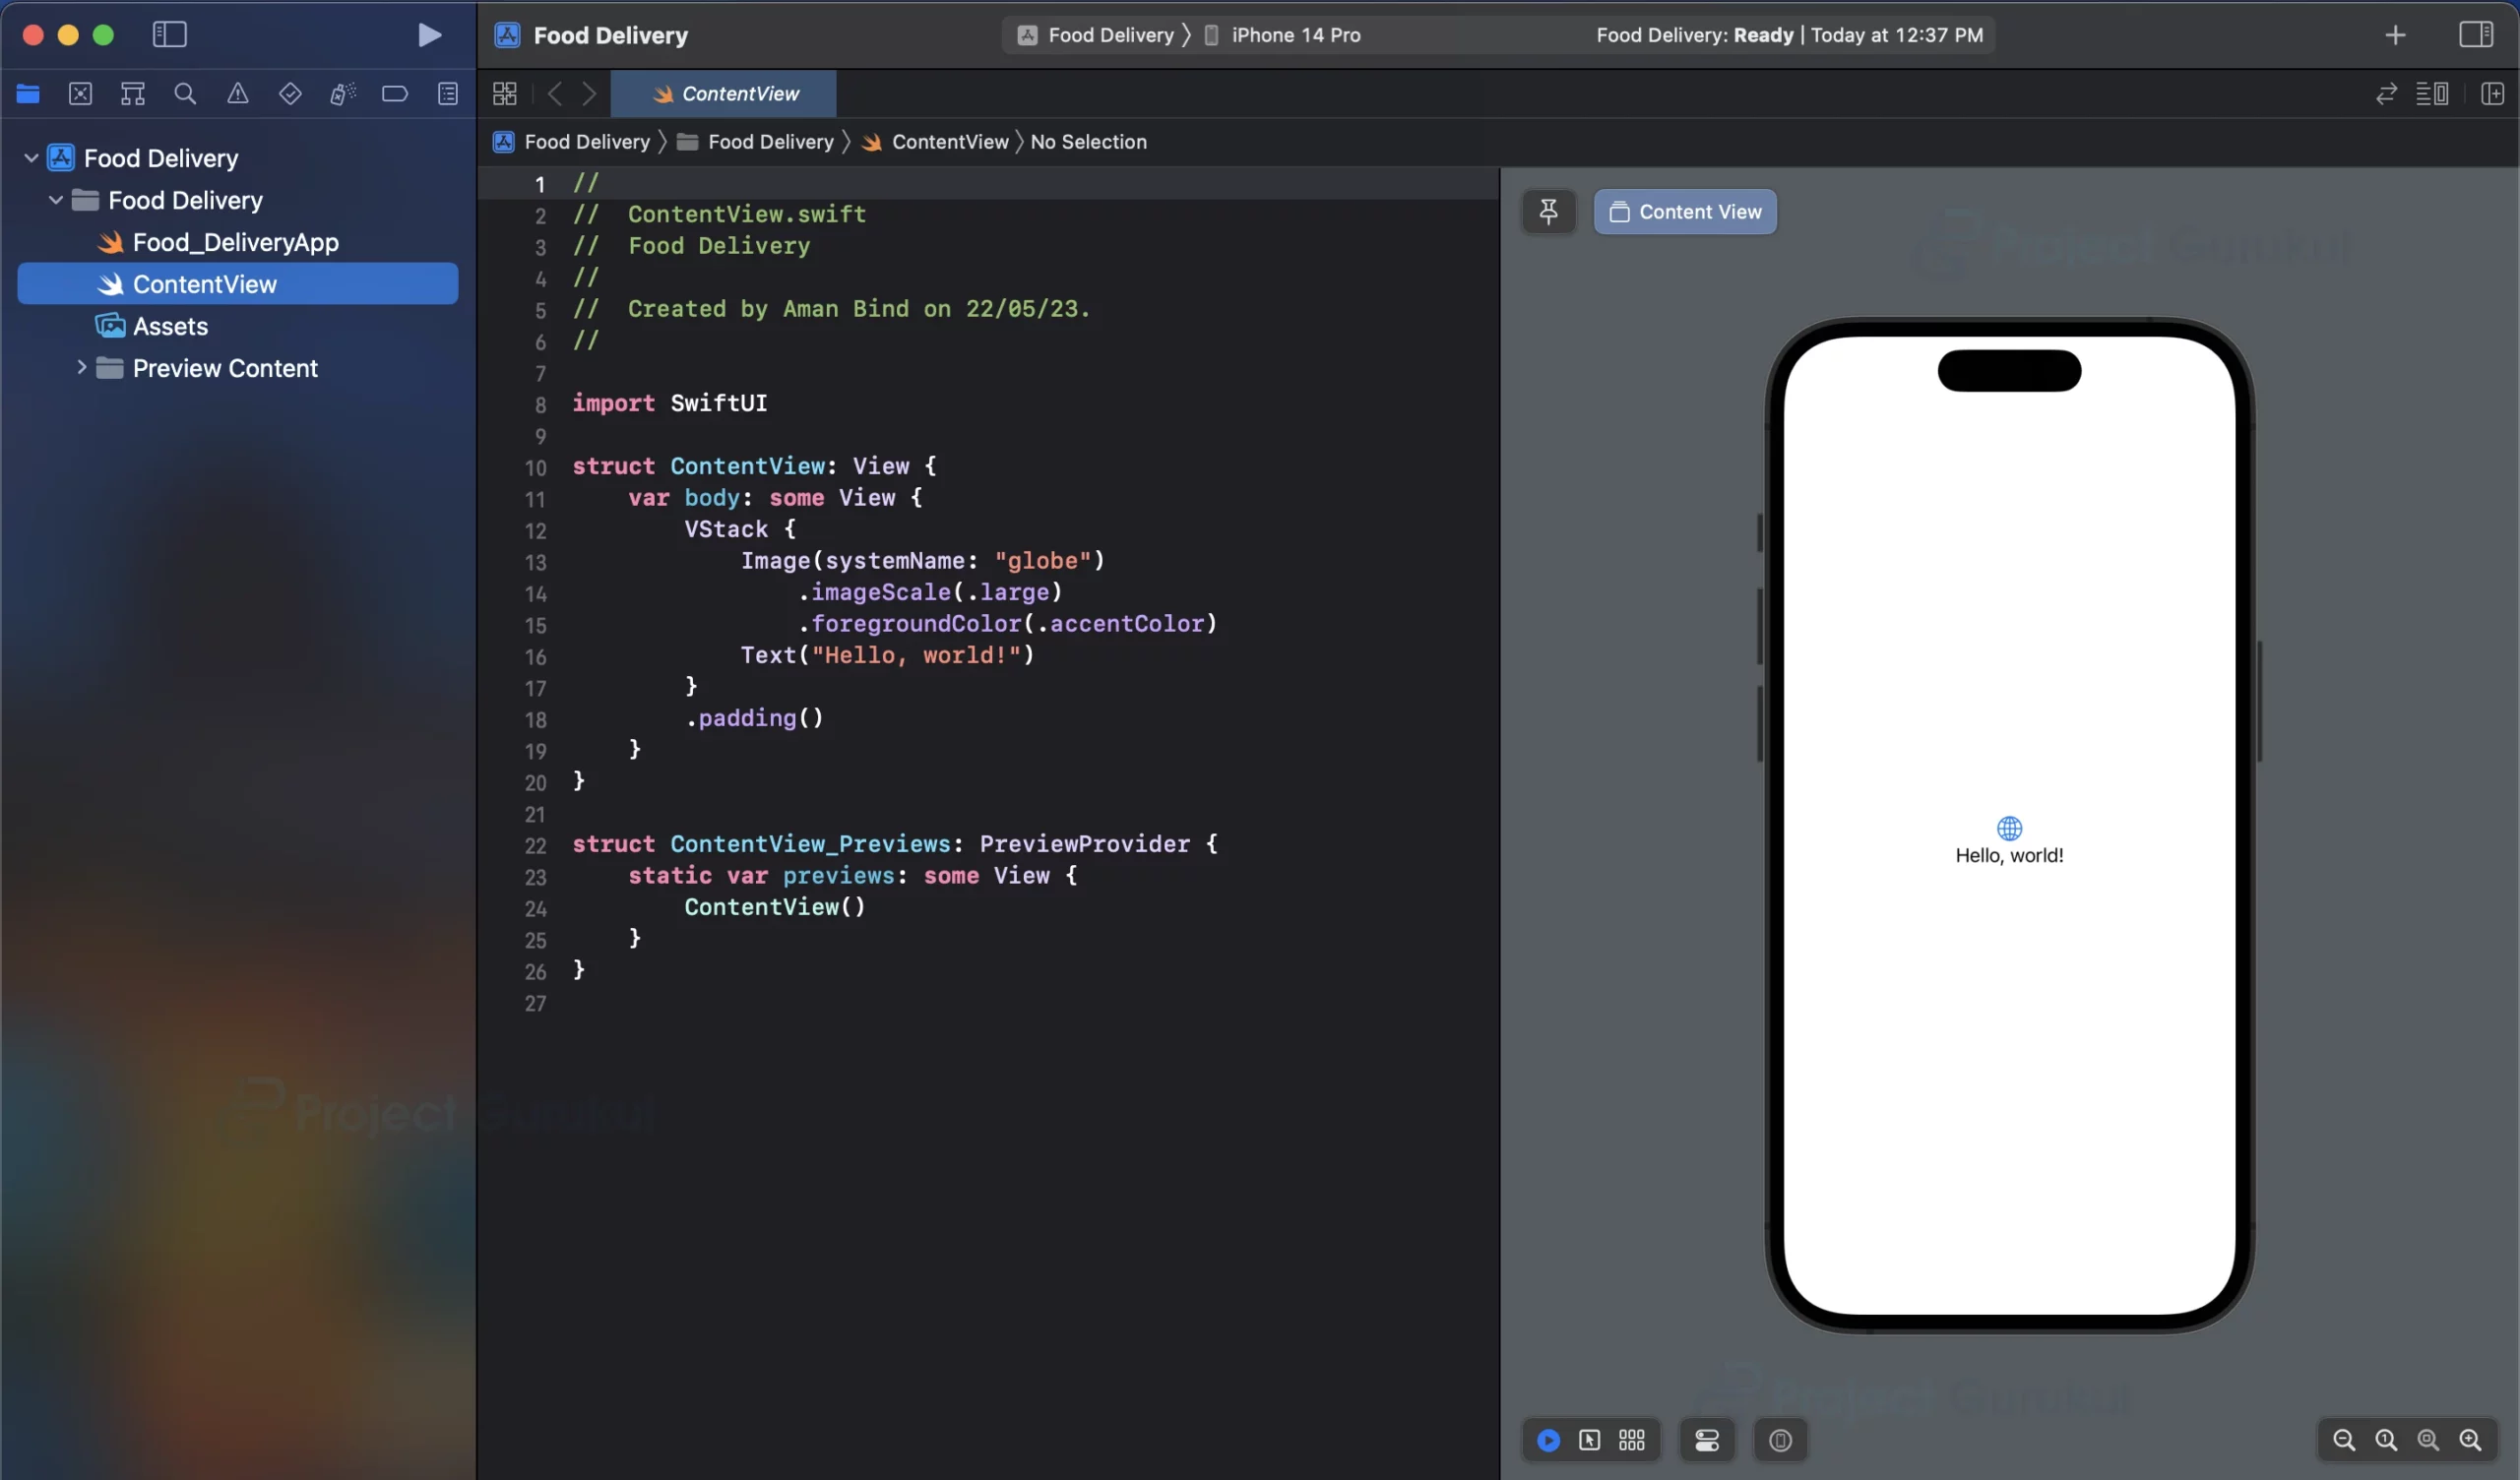
Step 1: Launch Xcode and initiate a new SwiftUI project.
Step 2: Set Up Firebase Firestore
Step 3: Create a FoodItem Model to store Food Items.
Step 4: Create a Location Manager to get the user’s location
Step 5: Designing the FoodItemRow view.
Step 6: Designing the CartItemRow view.
Step 7: Designing the FoodtemDetail view.
Step 8: Create a Cart Manager to manage the user’s items in the Cart
Step 9: Connecting Views in ContentView
Step 1: Launch Xcode and initiate a new SwiftUI project.
a. Click on the “Create a new Xcode Project” option after opening Xcode.
b. Now select platform as “iOS” and application type as “App”.
c. Now, Enter the name of the app, and organization identifier, and select SwiftUI interface for building the UI of the app. Also, select Swift as a language for creating the app.
d. Select the folder where you want to save the app and click on Create.
e. Now your project is ready for development, and you will see something like below.
Step 2: Set Up Firebase Firestore
a. Go to the Firebase console (https://console.firebase.google.com/) and create a new project.

b. After adding a new project in the Firebase, the overview page for your project will open. Select the iOS platform for adding Firebase to your app.

c. Complete All the Steps in the order it guides you to complete
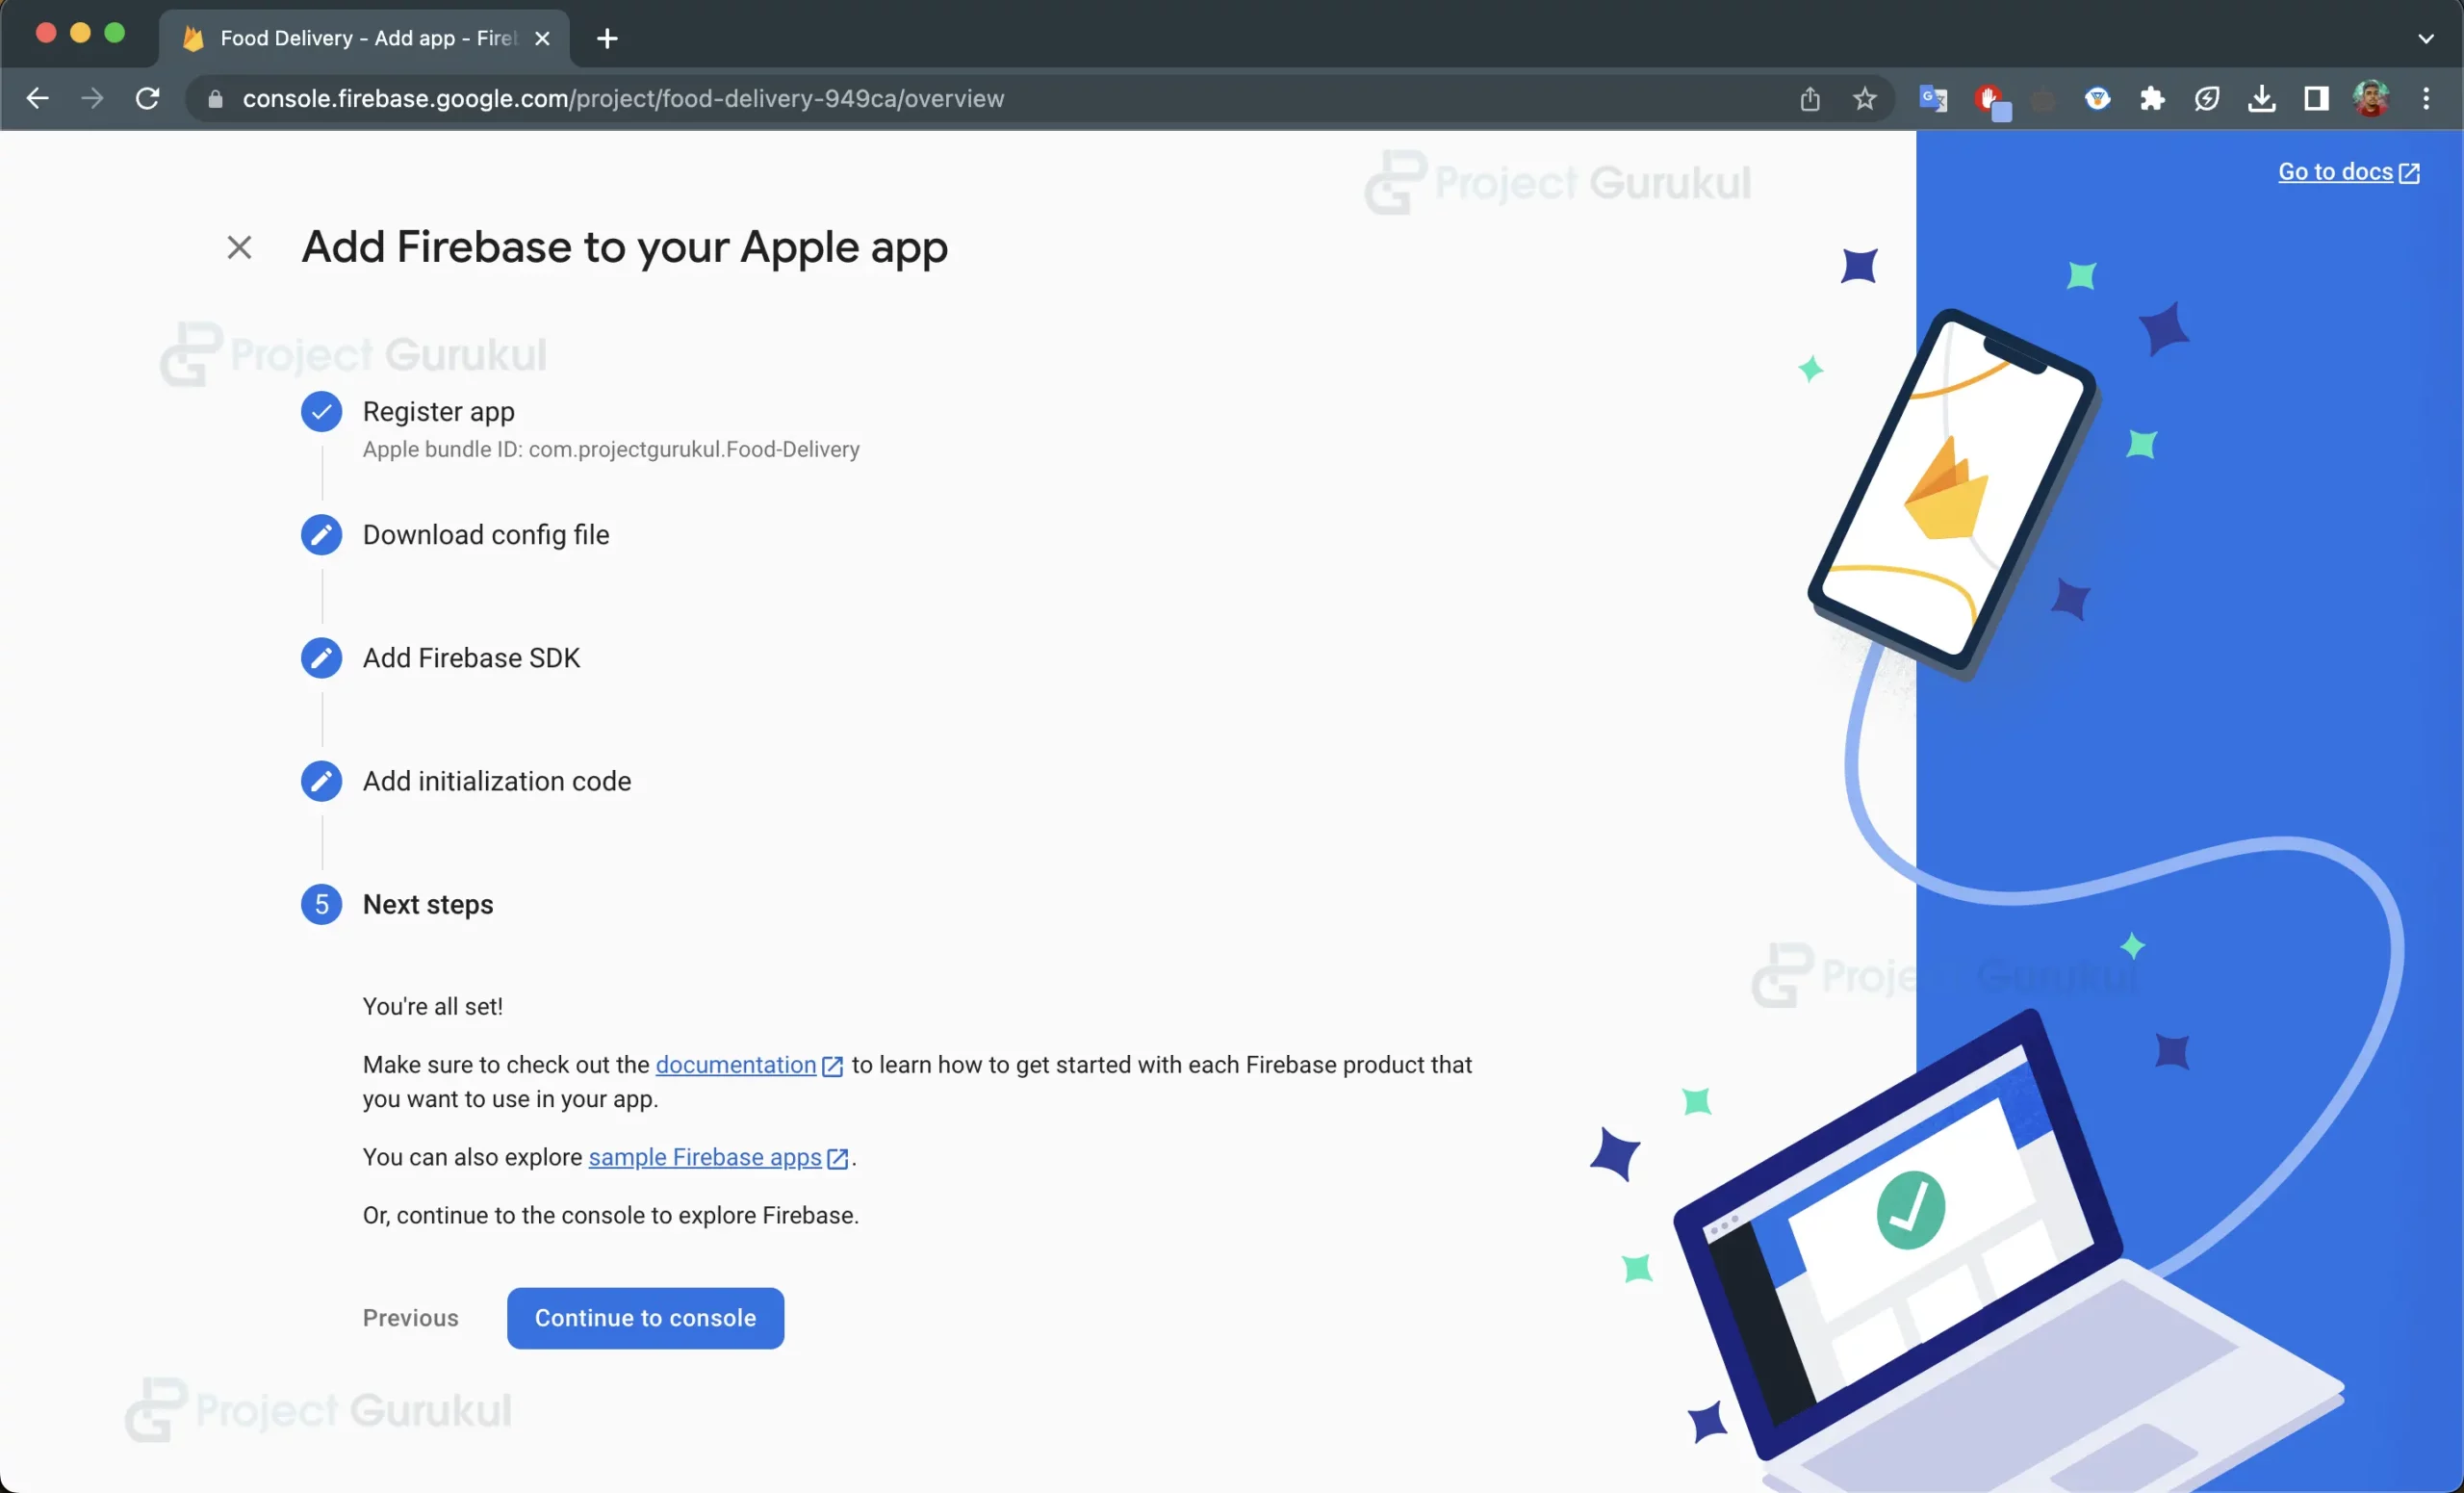
d. After Completing all the tasks, your project in Xcode will look like this.

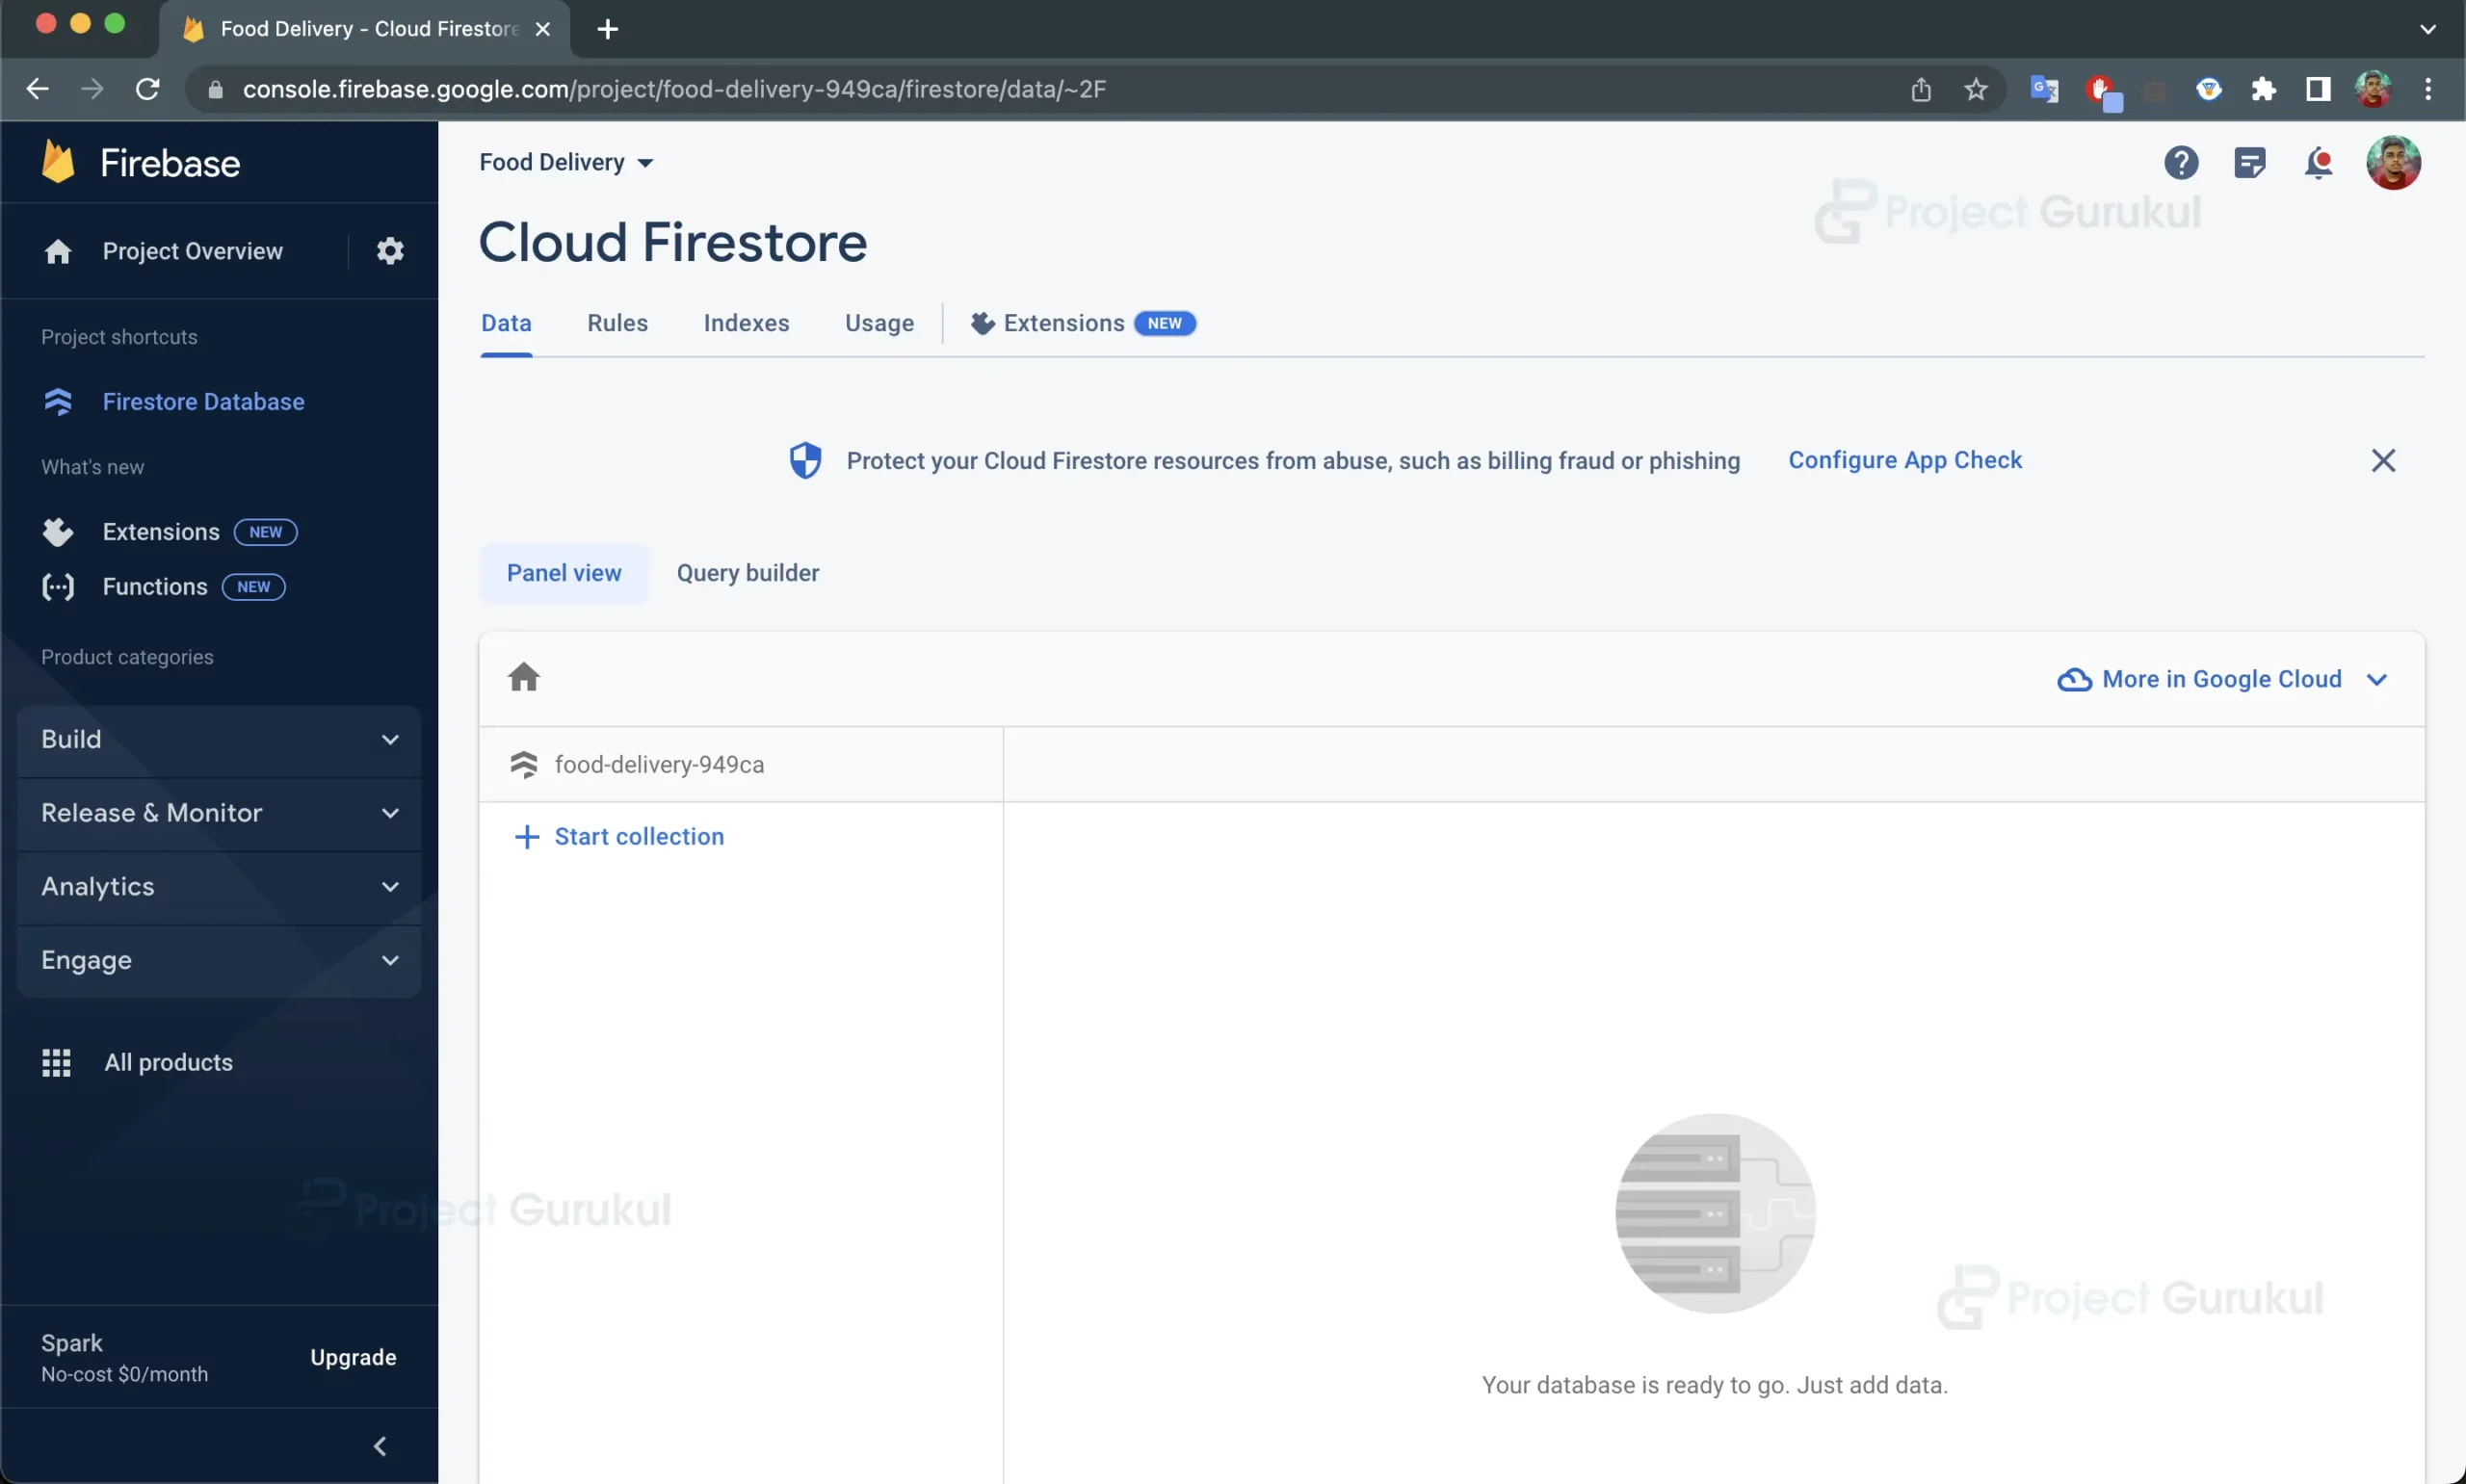
e. Enable Firebase Firestore for your project by selecting the Firestore Database in the sidebar, then following the guide. Now your database will be created and will look like below.
Step 3: Create a FoodItem Model to store Food Items.
a. Create a new swift file called “FoodItem.swift”.
b. It includes properties such as name, description, price, and image to store the food item.
c. It adopts Identifiable, Decodable, and Equatable protocols.
import Foundation


struct FoodItem: Identifiable, Decodable, Equatable {
    let id = UUID()
    let name: String
    let description: String
    let price: Int
    let image: String
}
Step 4: Create a Location Manager to get the user’s location
a. Create a new swift file called “LocationManager.swift”.
b. Inside this file, the LocationManager class is created to manage location-related functionality.
c. It adopts the ObservableObject and CLLocationManagerDelegate protocols.
d. The latitude and longitude properties hold the user’s current location.
e. In the init method, the location manager is set up, and the user’s location is continuously updated.
f. The locationManager(_:didUpdateLocations:) method updates the latitude and longitude properties when a new location is received.
import Foundation
import CoreLocation


class LocationManager: NSObject, ObservableObject, CLLocationManagerDelegate {
    var latitude: Double = 0.0
    var longitude: Double = 0.0
    private let locationManager = CLLocationManager()
    override init() {
        super.init()
        self.locationManager.delegate = self
        self.locationManager.requestWhenInUseAuthorization()
        self.locationManager.startUpdatingLocation()
        self.locationManager.requestAlwaysAuthorization()
    }
    func locationManager(_ manager: CLLocationManager, didUpdateLocations locations: [CLLocation]) {
        guard let location = locations.last else { return }
        latitude = location.coordinate.latitude
        longitude = location.coordinate.longitude
    }
}
Step 5: Designing the FoodItemRow view.
This view will display a single food item in a list format, including the image, name, and price.
a. Create a new swift view file called “FoodItemRow.swift”.
b. Define FoodItemRow Struct view.
c. It displays an image, name, and price of a food item in a vertical stack.
d. The image is loaded from a URL, and the view is designed to be resizable and have a corner radius. We have used the CachedAsyncImage library to cache the images from the internet.
import Foundation
import SwiftUI
import CachedAsyncImage

struct FoodItemRow: View {
    let item: FoodItem

    var body: some View {
        VStack {
            Spacer(minLength: 7)


            CachedAsyncImage(url: URL(string: item.image),transaction: Transaction(animation: .easeInOut)) { phase in
                if let image = phase.image {
                    image
                        .resizable()
                        .aspectRatio(contentMode: .fit)
                        .frame(width: .infinity, height: .infinity, alignment: .center)
                        .cornerRadius(10)
                } else {
                    HStack {
                        Spacer()
                        Image(systemName: "photo")
                            .imageScale(.large)
                        Spacer()
                        // Insert your placeholder here
                    }
                }
            }


            Text(item.name)
                .font(.title3)
                .fontWeight(.heavy)
                .frame(alignment: .center)
            Text("₹ \(item.price)")
                .font(.headline)
            Spacer(minLength: 5)
        }
    }
}
Step 6: Designing the CartItemRow view.
a. Create a new swift view file called “CartItemRow.swift”.
b. Define CartItemRow Struct view.
c. It displays an image, name, description, and price of a food item in a horizontal stack.
The image is loaded from a URL, and the view is designed to have a fixed width and height. We have used the CachedAsyncImage library to cache the images from the internet.
import Foundation
import SwiftUI
import CachedAsyncImage


struct CartItemRow: View {
    let item: FoodItem
    let cart: Cart

    var body: some View {
        HStack {


            CachedAsyncImage(url: URL(string: item.image),transaction: Transaction(animation: .easeInOut)) { phase in
                if let image = phase.image {
                    image
                        .resizable()
                        .aspectRatio(contentMode: .fit)
                        .frame(width: 80, height: 80)
                } else {
                    HStack {
                        Spacer()
                        Image(systemName: "photo")
                            .imageScale(.large)
                        Spacer()
                        // Insert your placeholder here
                    }
                }
            }


            VStack(alignment: .leading) {
                Text(item.name)
                    .font(.headline)
                Text(item.description)
                    .font(.subheadline)
                    .foregroundColor(.secondary)
            }
            Spacer()
            Text("₹ \(item.price)")
                .font(.headline)
        }
    }
}
Step 7: Designing the FoodtemDetail view.
a. Create a new swift view file called “FoodItemDetail.swift”.
b. Define FoodItemDetails Struct view.
c. It displays detailed information about a food item, including the image, name, description, and an “Add to Cart” button.
d. The image is loaded from a URL, and the view is designed with various text styles and padding. We have used the CachedAsyncImage library to cache the images from the internet.
e. The “Add to Cart” button triggers the addItem(_:) method in the Cart class when tapped.
import Foundation
import SwiftUI
import CachedAsyncImage


struct FoodItemDetail: View {
    let item: FoodItem
    let cart: Cart

    var body: some View {
        VStack {
            HStack{
                Spacer(minLength: 20)
                CachedAsyncImage(url: URL(string: item.image),transaction: Transaction(animation: .easeInOut)) { phase in
                    if let image = phase.image {
                        image
                            .resizable()
                            .aspectRatio(contentMode: .fit)
                            .frame(width: .infinity, height: .infinity, alignment: .center)
                            .cornerRadius(15)
                    } else {
                        HStack {
                            Spacer()
                            Image(systemName: "photo")
                                .imageScale(.large)
                            Spacer()
                            // Insert your placeholder here
                        }
                    }
                }
                Spacer(minLength: 20)
            }
            Text(item.name)
                .font(.title)
                .fontWeight(.bold)
                .padding(10)
            Text(item.description)
                .font(.subheadline)
                .foregroundColor(.secondary)
            Spacer()
            Button(action: {
                cart.addItem(item)
            }) {
                Text("Add to Cart (₹ \(item.price))")
                    .font(.headline)
                    .foregroundColor(.white)
                    .padding()
                    .background(Color.blue)
                    .cornerRadius(50)
            }
            .padding()
        }
    }
}
Step 8: Create a Cart Manager to manage the user’s items in the Cart
a. Create a new swift view file called “Cart.swift”.
b. Create a class Cart to manage the cart items and place orders.
c. The items property is an array of FoodItem objects that represent the items in the cart.
d. The totalPrice attribute computes the overall cost of all the products present in the shopping cart.
e. The addItem(_:) method adds a food item to the cart.
f. The removeItem(at:) method removes a food item from the cart at a specific index.
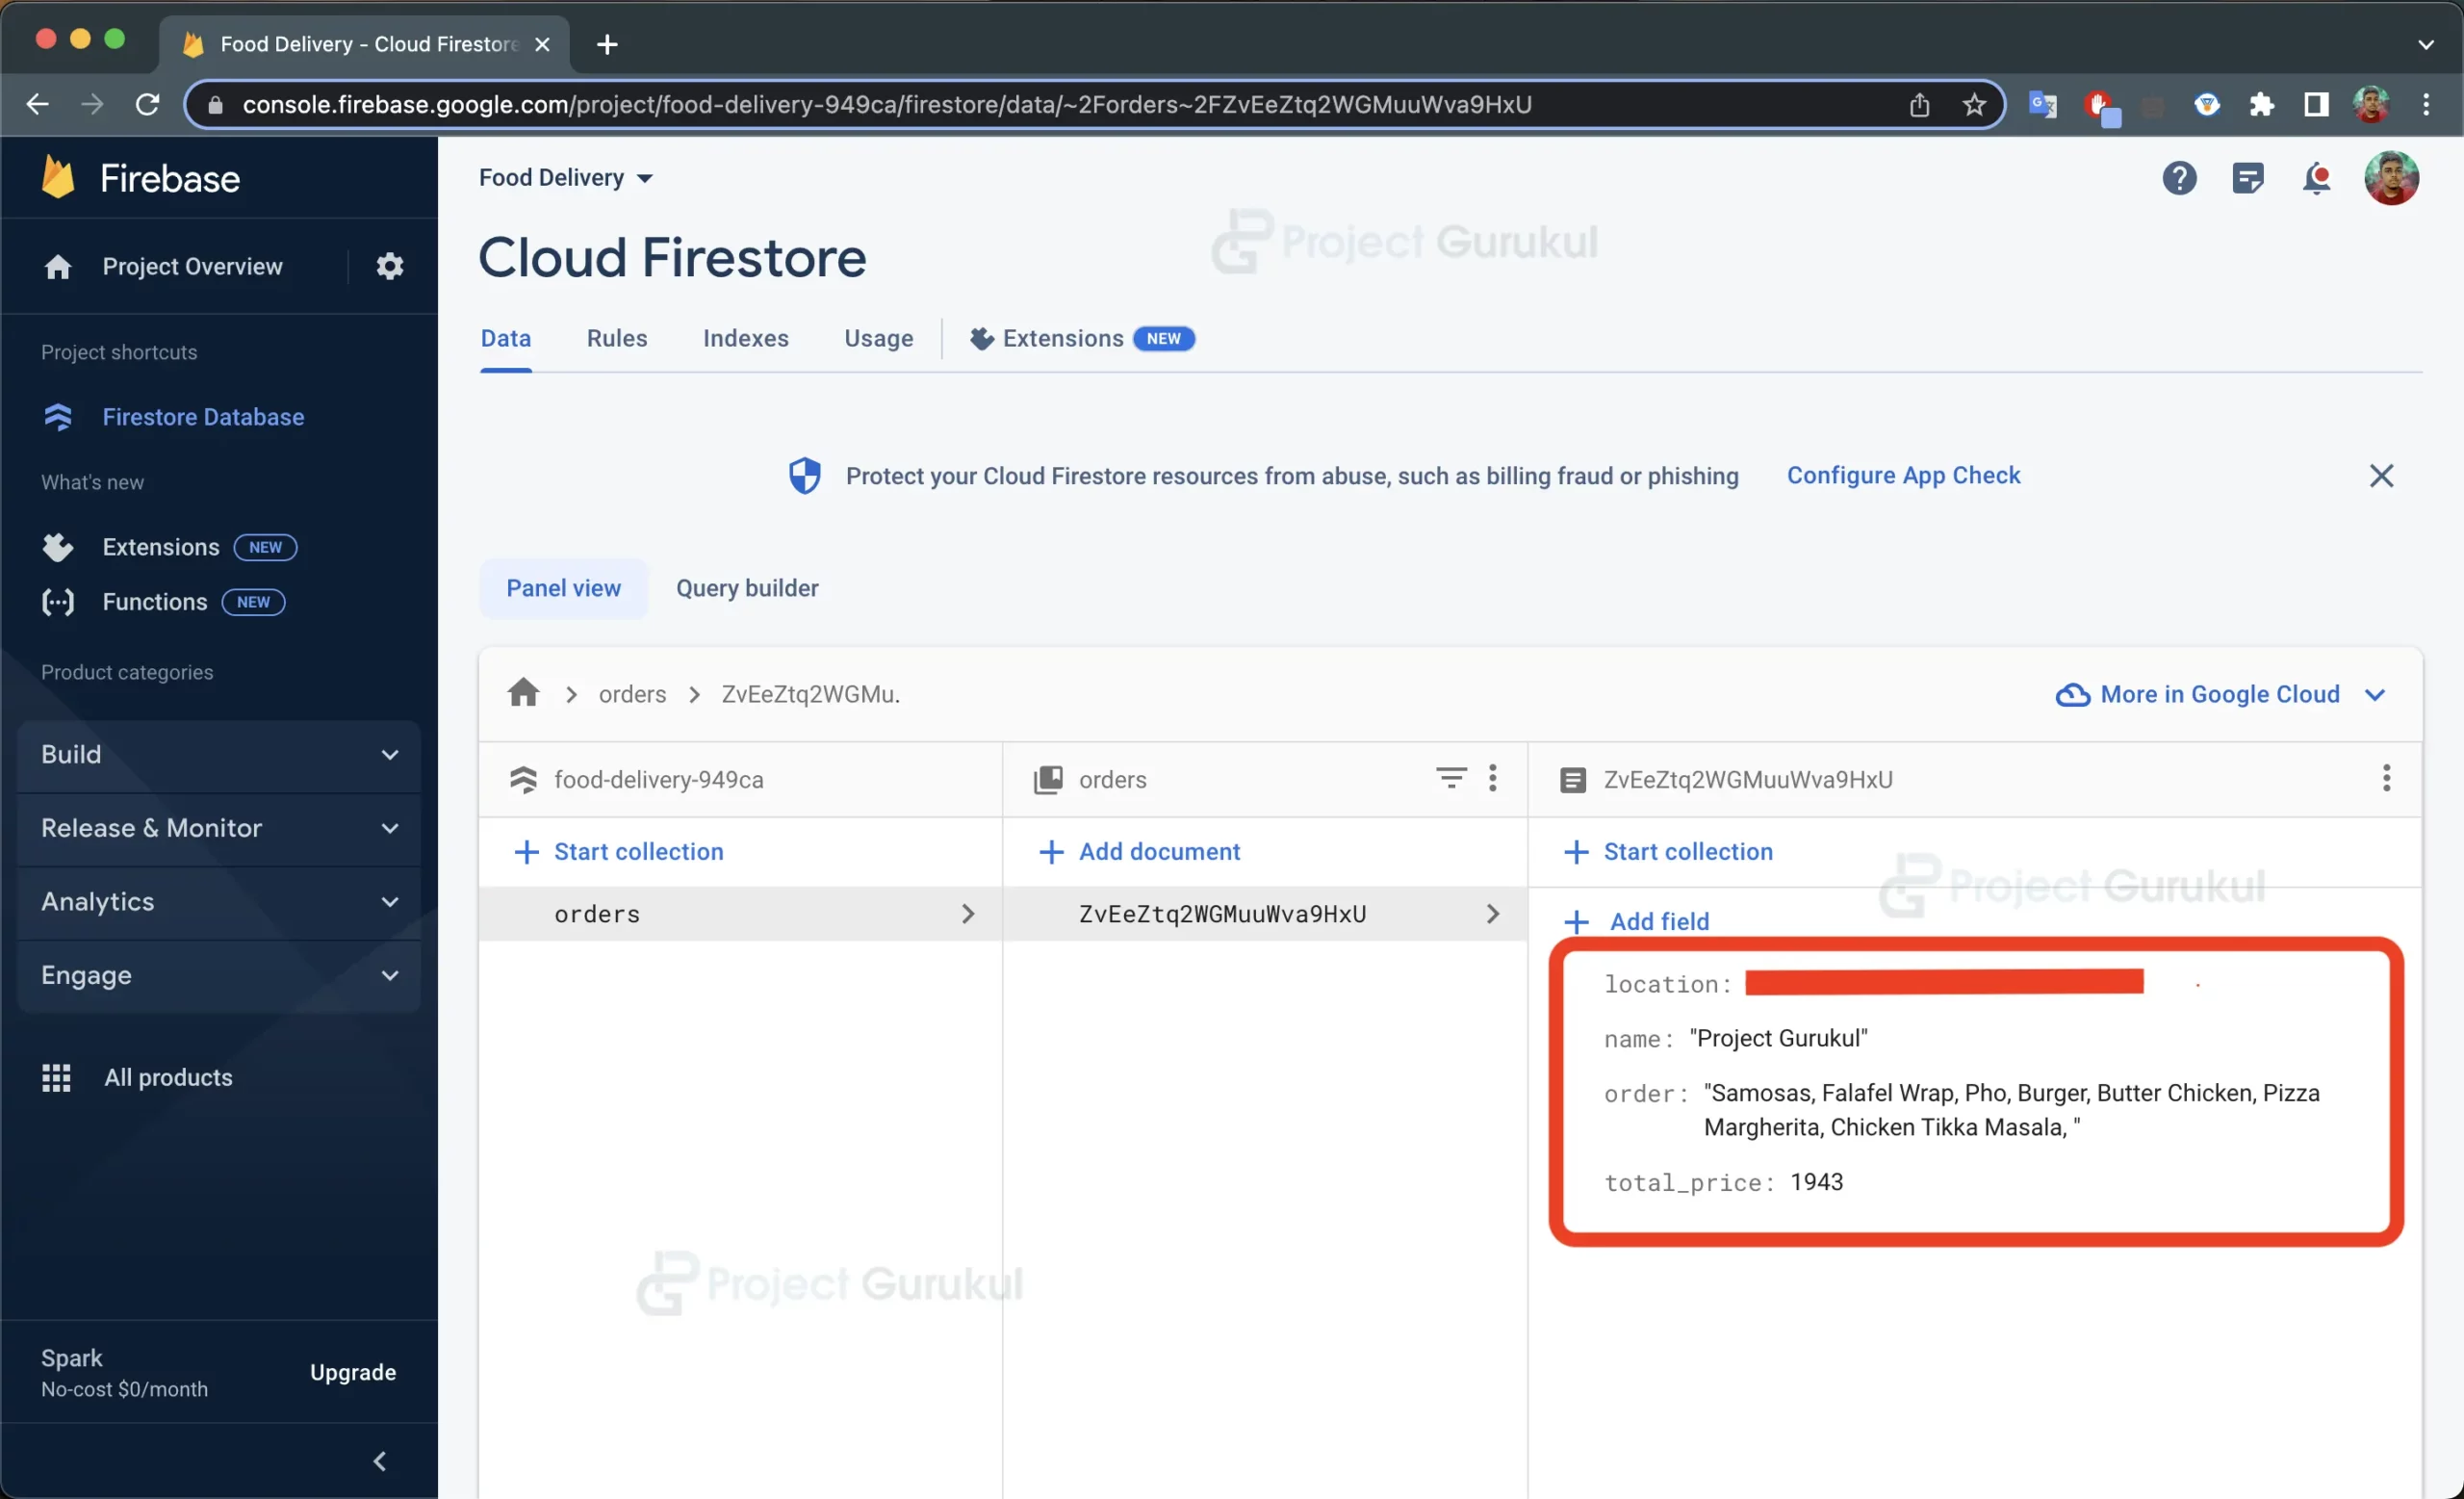
g. The placeOrder() method sends the order data to Firebase Firestore.
import Foundation
import Firebase
class Cart: ObservableObject {
    @Published var items: [FoodItem] = []
    var totalPrice: Int {
        items.reduce(0) { $0 + $1.price }
    }

    func addItem(_ item: FoodItem) {
        items.append(item)
    }

    func removeItem(at index: Int) {
        items.remove(at: index)
    }

    func placeOrder() {
        let db = Firestore.firestore()

        let location = LocationManager()
        let latitude = location.latitude
        let longitude = location.longitude

        var order = ""

        for item in items {
            order += item.name+", "
        }

        let orderData: [String: Any] = [
            "name": "Project Gurukul",
            "location": "\(latitude), \(longitude)",
            "total_price": totalPrice,
            "order": order

        ]
        db.collection("orders").addDocument(data: orderData)
    }
}
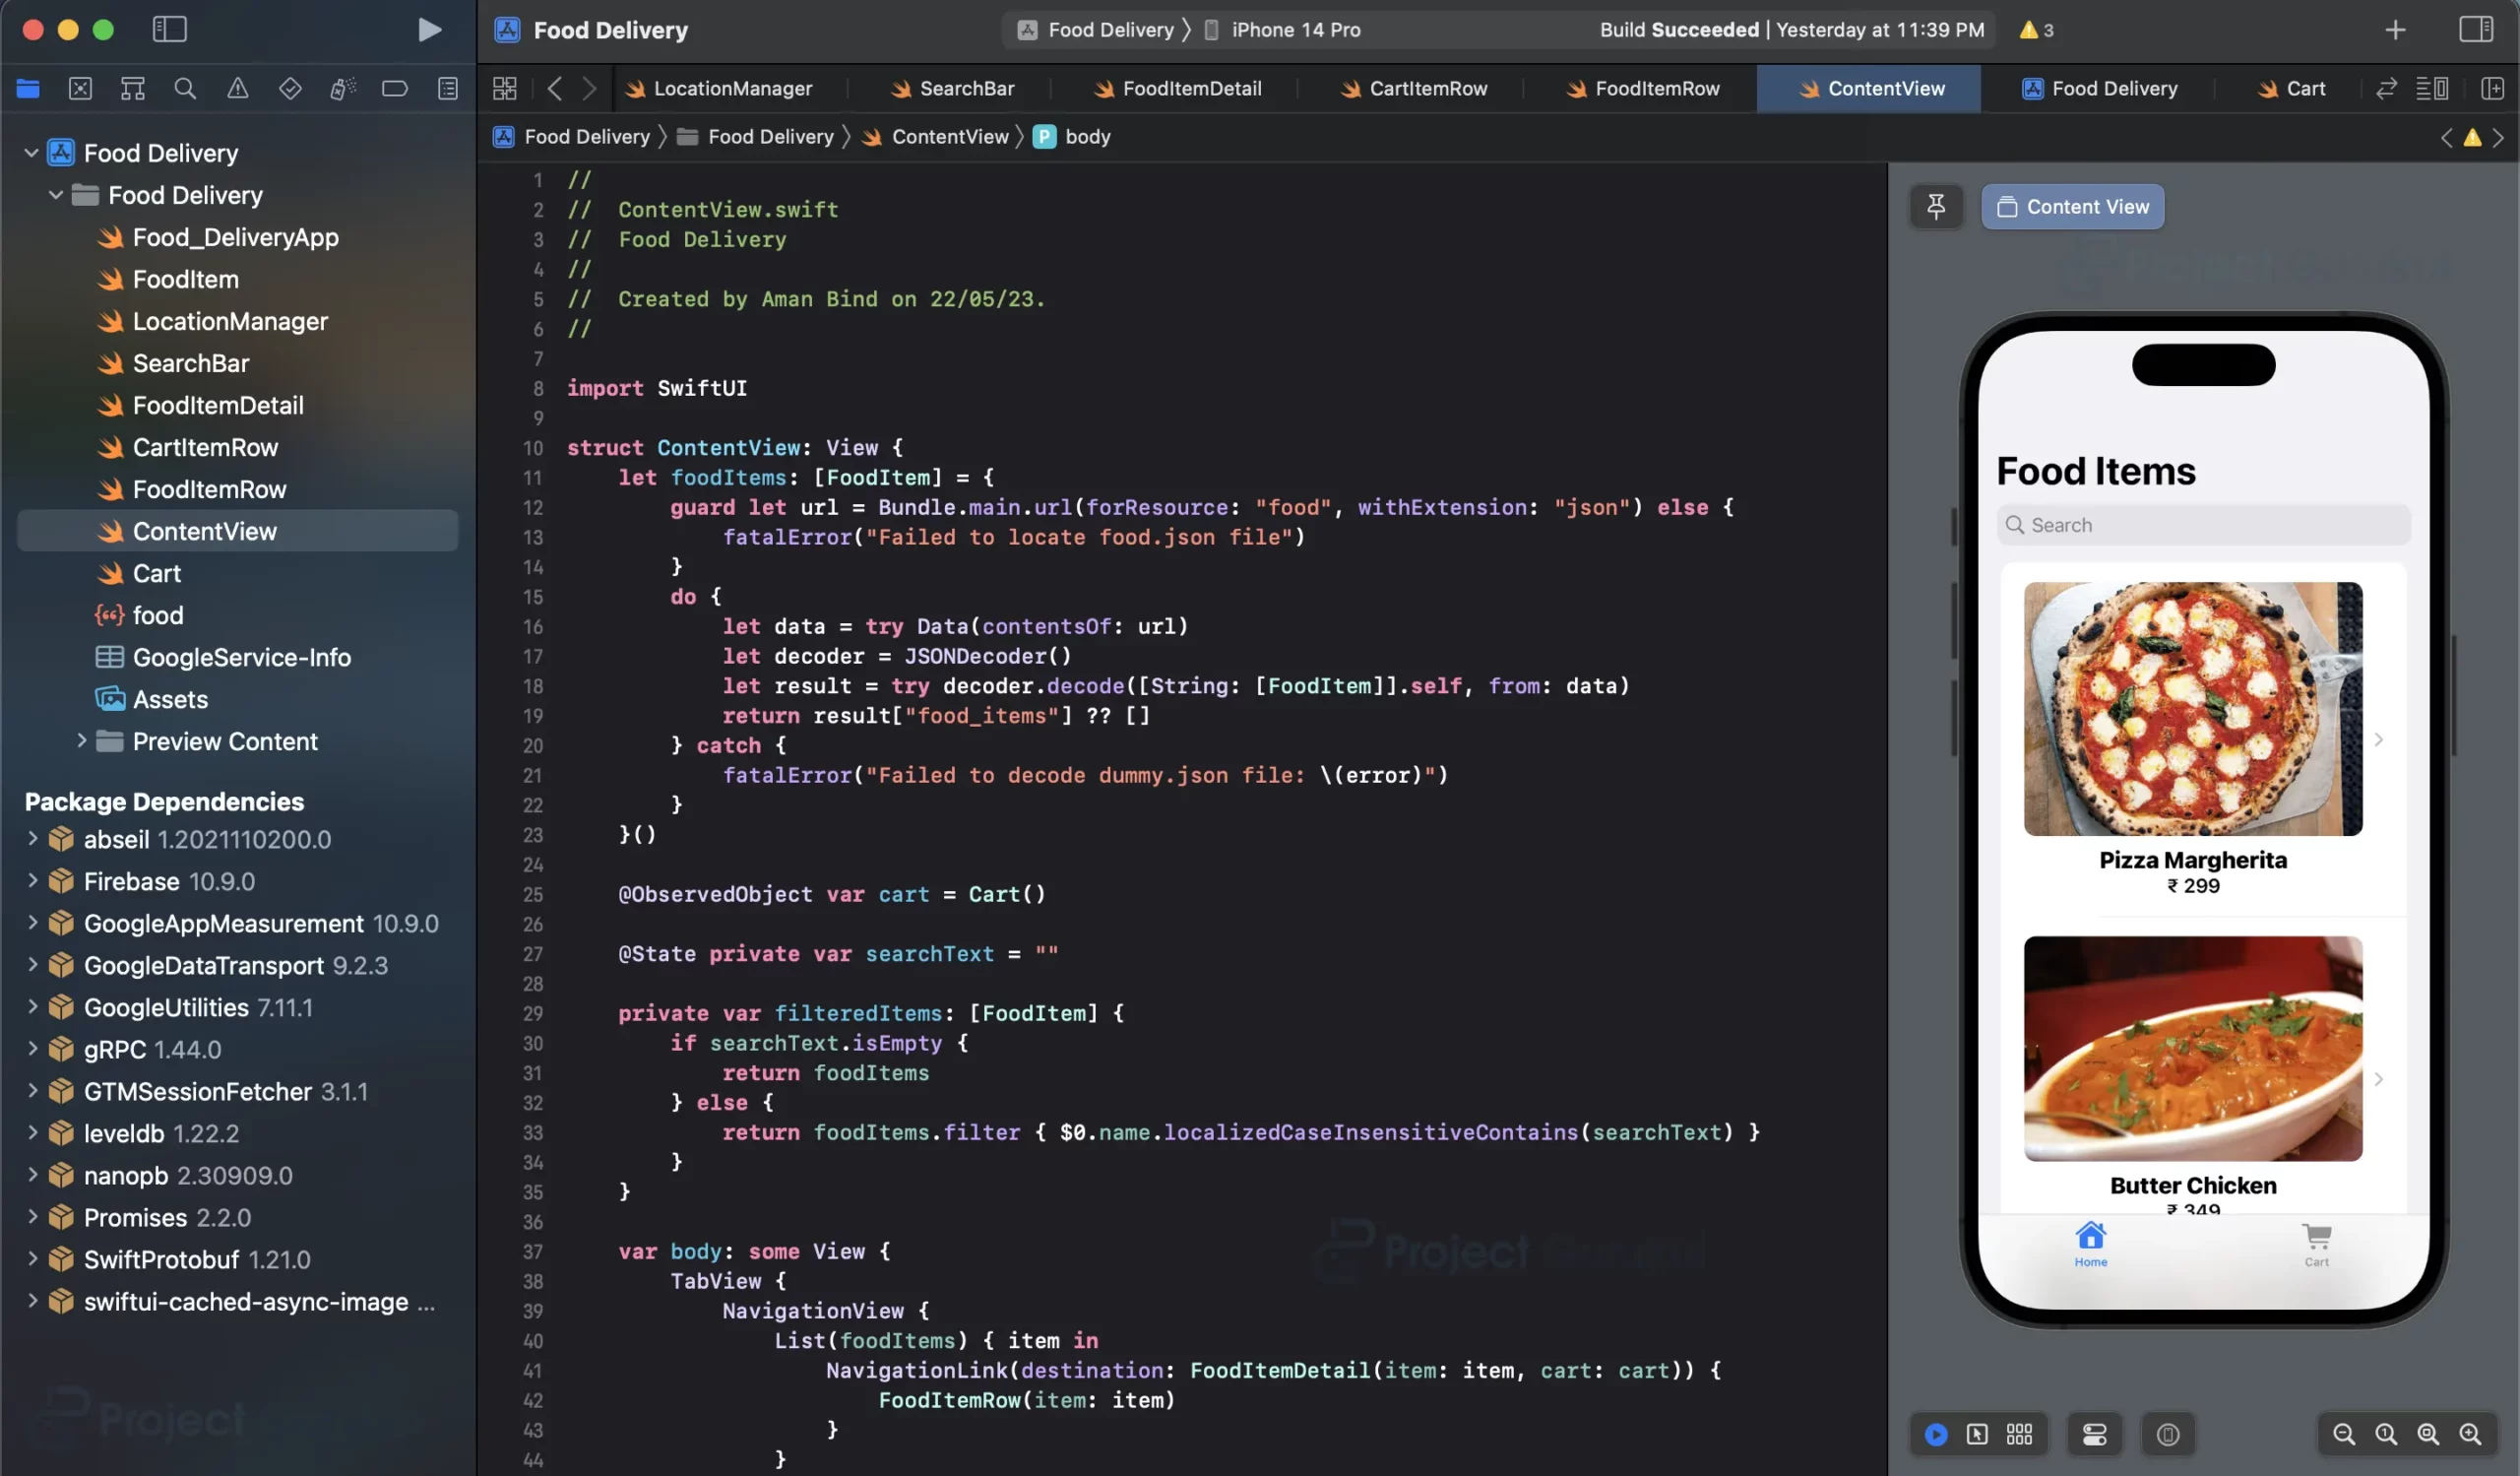
Step 9: Connecting Views in ContentView
a. Open the “ContentView.swift” file.
b. Replace the default implementation of the ContentView struct with a new implementation that returns tab view with the instance of FoodItemRow and CartItemRow.
c. It uses a tab view with two tabs: one for displaying food items and another for the cart.
d. The foodItems property is an array of FoodItem objects loaded from a JSON file.
e. The cart property is an instance of the Cart class to manage the cart items.
f. In the food items tab, the foodItems array is listed using the FoodItemRow view.
g. Tapping on a food item navigates to the FoodItemDetail view.
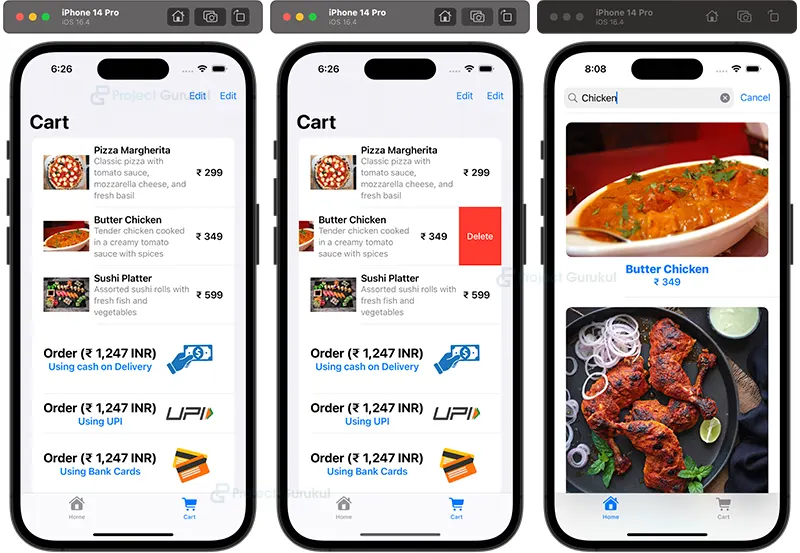
h. In the cart tab, the cart items are listed using the CartItemRow view, and swipe-to-delete functionality is implemented.
i. There are three order buttons that show different modes of payment for the food. The options are Cash-on-Delivery, UPI and Bank Cards (i.e., Credit/Debit Cards). The user will have various choices for the mode of payment.
j. An “Order” button triggers the placeOrder() method in the Cart class, and the cart items are cleared after placing the order.
import SwiftUI
struct ContentView: View {
    let foodItems: [FoodItem] = {
        guard let url = Bundle.main.url(forResource: "food", withExtension: "json") else {
            fatalError("Failed to locate dummy.json file")
        }
        do {
            let data = try Data(contentsOf: url)
            let decoder = JSONDecoder()
            let result = try decoder.decode([String: [FoodItem]].self, from: data)
            return result["food_items"] ?? []
        } catch {
            fatalError("Failed to decode dummy.json file: \(error)")
        }
    }()

    @ObservedObject var cart = Cart()


    @State private var searchText = ""


    private var filteredItems: [FoodItem] {
        if searchText.isEmpty {
            return foodItems
        } else {
            return foodItems.filter { $0.name.localizedCaseInsensitiveContains(searchText) }
        }
    }

    var body: some View {
        TabView {
            NavigationView {
                List(foodItems) { item in
                    NavigationLink(destination: FoodItemDetail(item: item, cart: cart)) {
                        FoodItemRow(item: item)
                    }
                }
                .navigationTitle("Food Items")
                .searchable(text: $searchText) {
                    // Add searchable modifier
                    ForEach(filteredItems) { item in
                        // Use filteredItems instead of foodItems
                        NavigationLink(destination: FoodItemDetail(item: item, cart: cart)) {
                            FoodItemRow(item: item)
                        }
                    }
                }


            }
            .tabItem {
                Label("Home", systemImage: "house")
            }

            NavigationView {
                List {
                    ForEach(cart.items) { item in
                        CartItemRow(item: item, cart: cart)
                    }
                    .onDelete(perform: { indexSet in
                        cart.items.remove(atOffsets: indexSet)
                    })
                    Button(action: {
                        cart.placeOrder()
                        cart.items.removeAll()
                    }) {

                        HStack{
                            VStack{
                                Text("Order (₹ \(cart.totalPrice) INR)")
                                    .font(.title2)
                                    .bold()
                                Text("Using cash on Delivery")
                                    .foregroundColor(.blue)
                                    .bold()
                            }

                            Spacer()

                            Image(uiImage: UIImage(named: "cash.png")!)
                                .resizable()
                                .scaledToFit()
                                .padding(.trailing)
                                .frame(width: 100, height:100, alignment: .trailing)
                        }

                    }
                    Button(action: {
                        cart.placeOrder()
                        cart.items.removeAll()
                    }) {

                        HStack{
                            VStack{
                                Text("Order (₹ \(cart.totalPrice) INR)")
                                    .font(.title2)
                                    .bold()
                                Text("Using UPI")
                                    .foregroundColor(.blue)
                                    .bold()
                            }

                            Spacer()

                            Image(uiImage: UIImage(named: "upi.png")!)
                                .resizable()
                                .scaledToFit()
                                .padding(.trailing)
                                .frame(width: 100, alignment: .trailing)
                        }

                    }
                    Button(action: {
                        cart.placeOrder()
                        cart.items.removeAll()
                    }) {

                        HStack{
                            VStack{
                                Text("Order (₹ \(cart.totalPrice) INR)")
                                    .font(.title2)
                                    .bold()
                                Text("Using Bank Cards")
                                    .foregroundColor(.blue)
                                    .bold()
                            }

                            Spacer()

                            Image(uiImage: UIImage(named: "card.png")!)
                                .resizable()
                                .scaledToFit()
                                .padding(.trailing)
                                .frame(width: 100, alignment: .trailing)
                        }
                    }

                }
                .navigationTitle("Cart")
                .navigationBarItems(trailing: EditButton())
                .toolbar {
                    ToolbarItem(placement: .navigationBarTrailing) {
                        EditButton()
                    }
                }
                .onChange(of: cart.items) { _ in
                    cart.objectWillChange.send()
                }

            }
            .tabItem{
                Label("Cart", systemImage: "cart")
            }

        }
    }
}
struct ContentView_Previews: PreviewProvider {
    static var previews: some View {
        ContentView()
    }
}
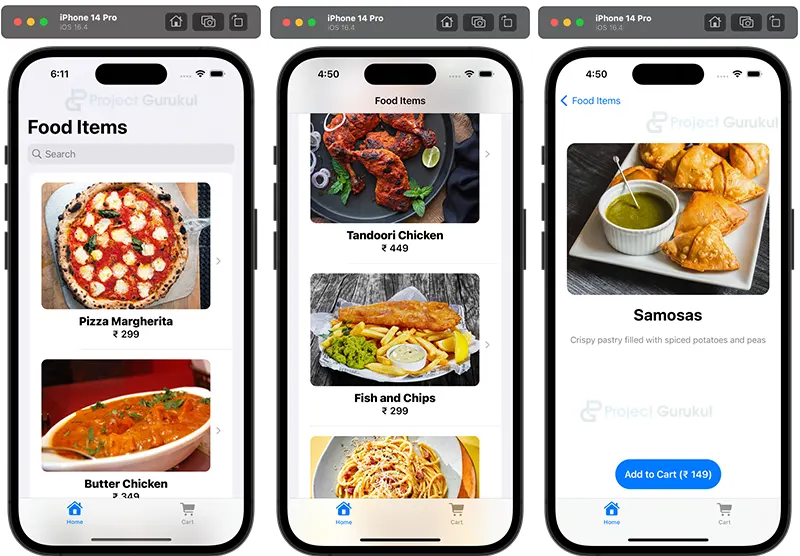
Swift Food Delivery App Output:
Summary
Congratulations! You have successfully created a food delivery app using SwiftUI. Throughout this Swift Food Delivery App Project, you learned how to design views, manage data using models, implement navigation, and integrate with Firebase. The app allows users to browse food items, add them to the cart, and place orders.
However, this is just the beginning. You can continue enhancing the app by adding features like user authentication, order history, and real-time updates from Firebase. With the knowledge gained from this Swift Food Delivery App Project, you have a solid foundation to build more advanced iOS apps. Happy coding!