Swift Project – Drawing Recognition App
FREE Online Courses: Knowledge Awaits – Click for Free Access!
Welcome to this project on creating a Drawing Recognition App using the Storyboard Interface for iOS. In this project, we’ll create an app where users can draw pictures on their device screen and classify them using their own machine learning model. By the end of the project, you’ll have a working app that can recognize drawings made by users.
About Swift Drawing Recognition App
This project aims to walk you through the steps of developing a Drawing Recognition App. You will learn how to integrate drawing functionality, capture and process user drawings, and use a machine learning model to classify the drawings.
Prerequisites for Drawing Recognition App using Swift
To participate in this project, it is recommended to have
- Basic knowledge of iOS app development using Swift and familiarity with the Storyboard Interface.
- Xcode is installed on your machine.
- Familiarity with Apple’s machine learning platforms and frameworks like CoreML, Vision framework and CreateML
- Dataset for Training the ML Model. It can be downloaded from here. It is also included in the Project Download Link.
Download Swift Drawing Recognition App
Please download the source code of the Swift Drawing Recognition App from the following link: Swift Drawing Recognition App Project Code.
Steps to Create a Drawing Recognition App Using Swift
Following are the steps for developing the Swift Drawing Recognition App:
Step 1: Create a Drawing Classifier model using CreateML.
Step 2: Setting up a new project in Xcode.
Step 3: Import the ML model into the project
Step 4: Design the User Interface
Step 5: Implement the Drawing Functionality
Step 6: Implement the Image Processing
Step 7: Implement an Extension to Convert UIView to UIImage
Step 8: Implement the View Controller
Step 1: Creating a Drawing Classifier model using CreateML
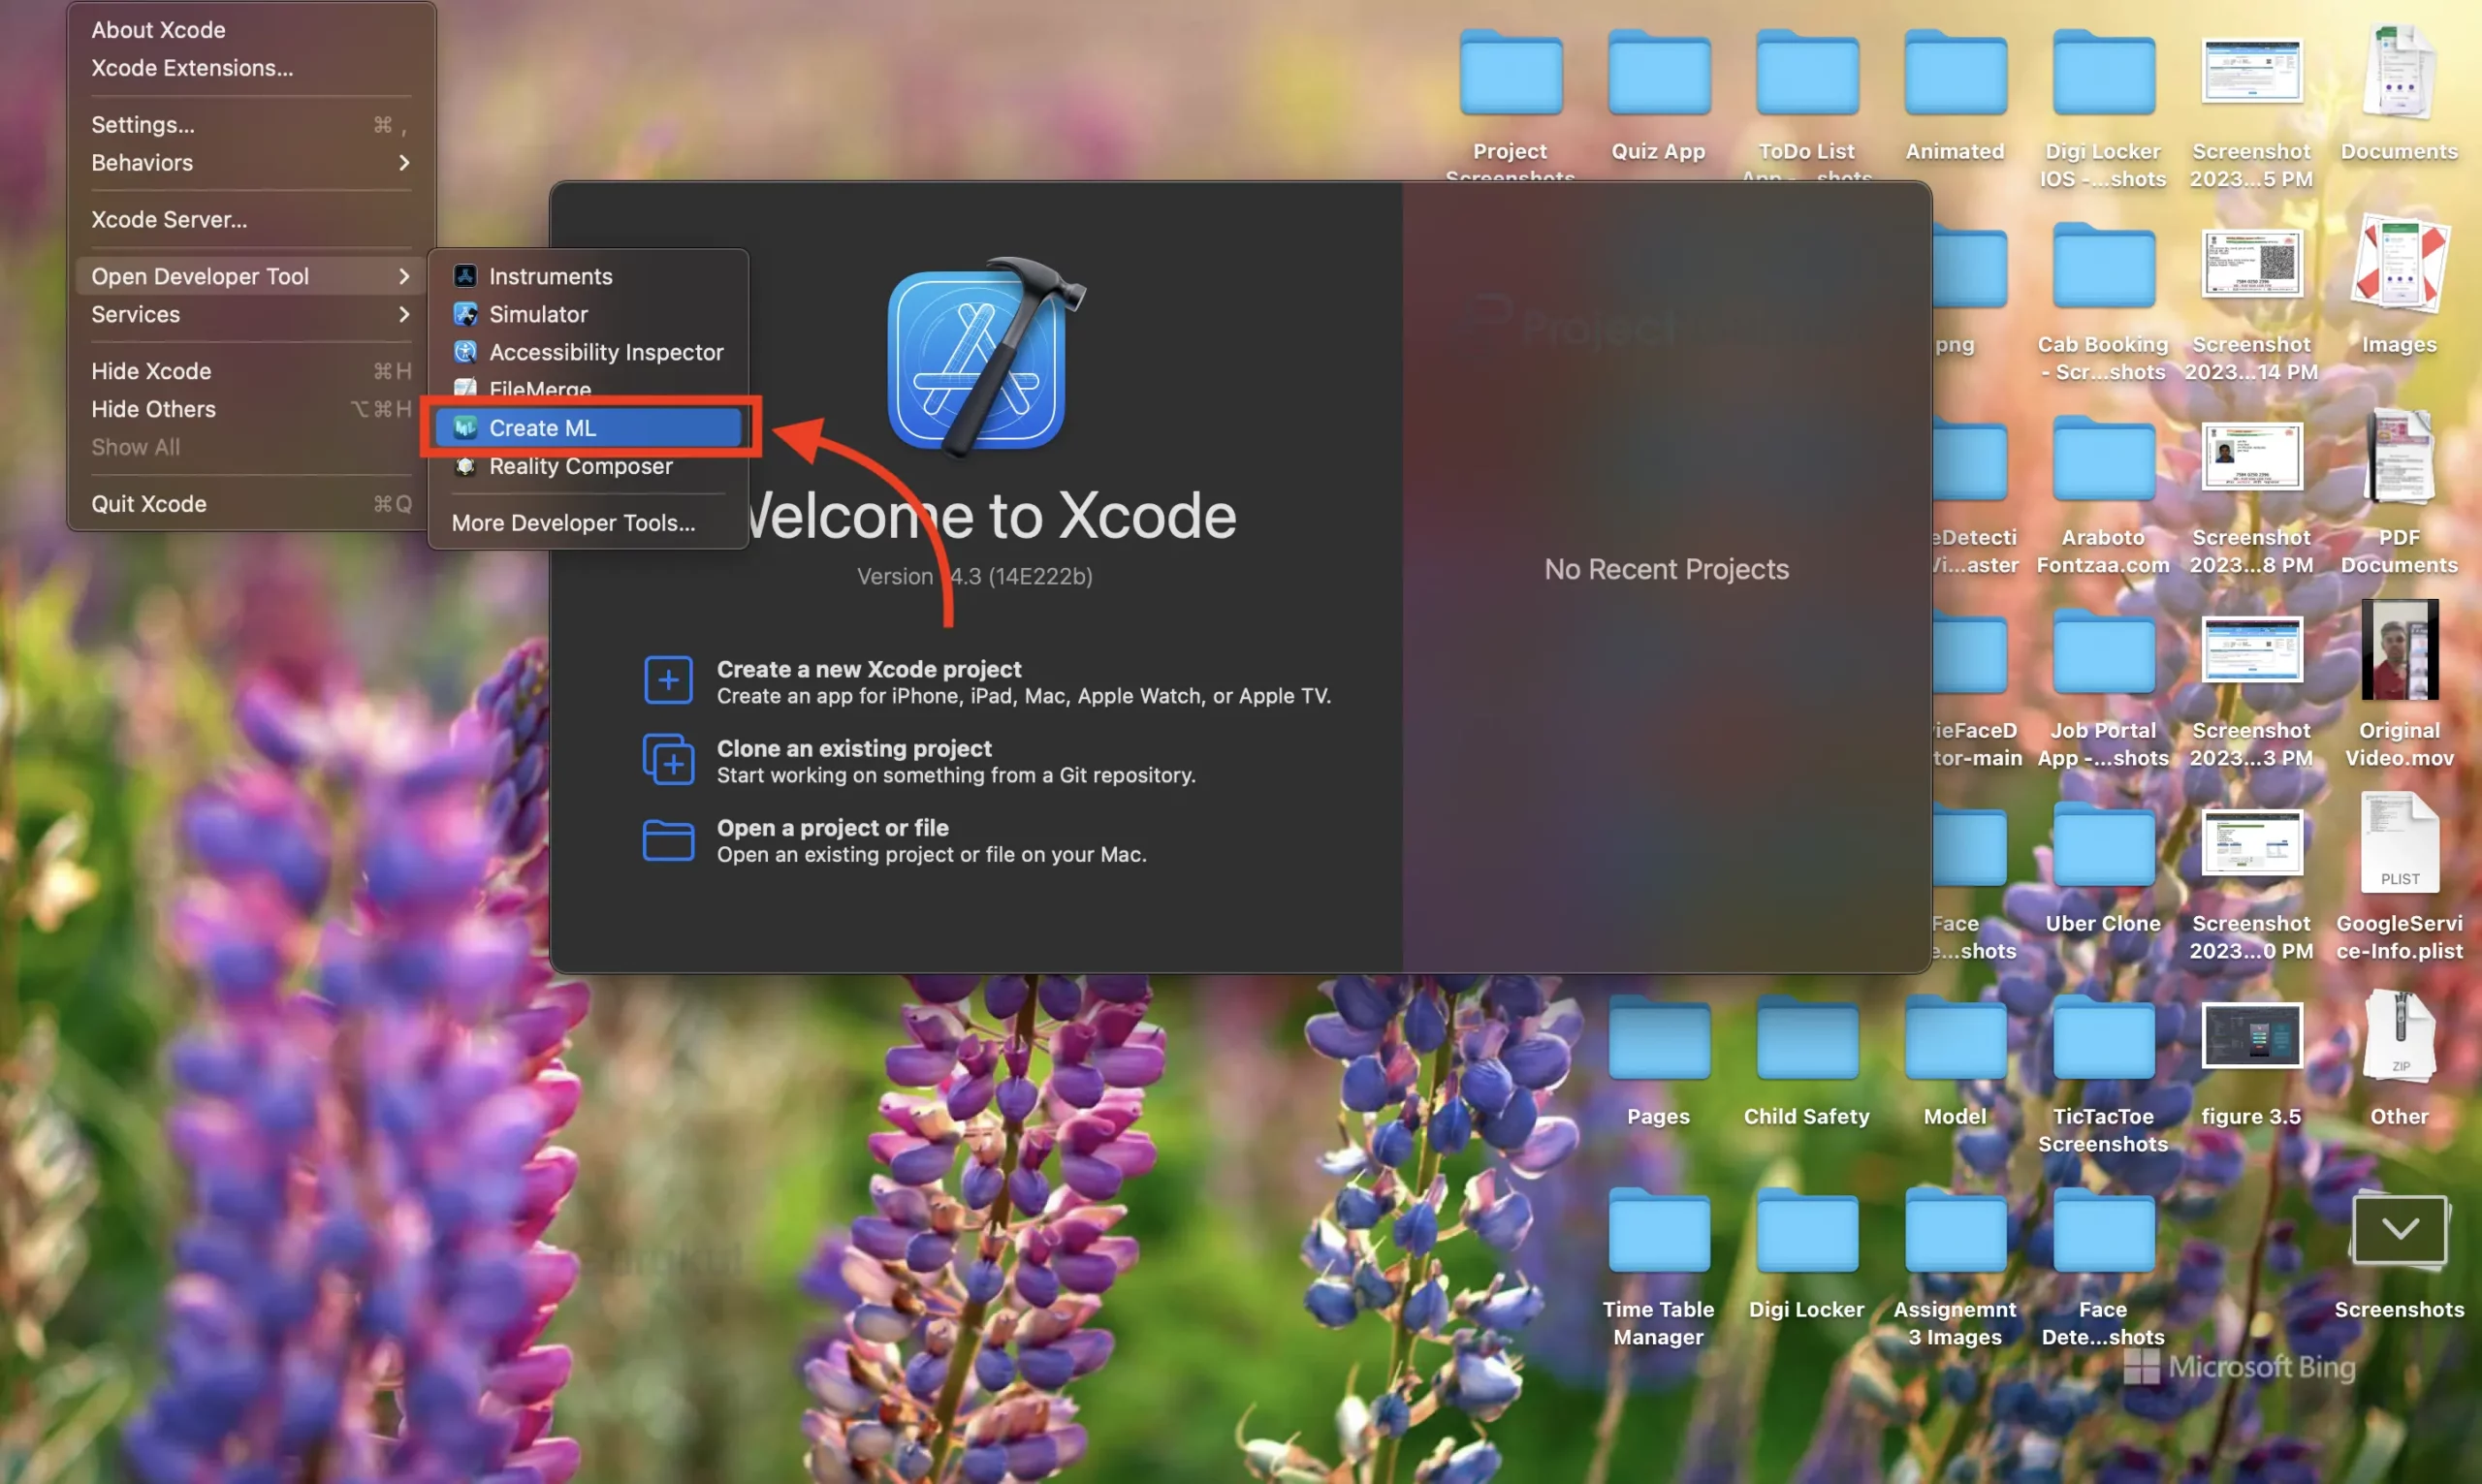
a. Open Xcode, Click on the menu bar, select “Open Developer Tools”, and then Click on CreateML
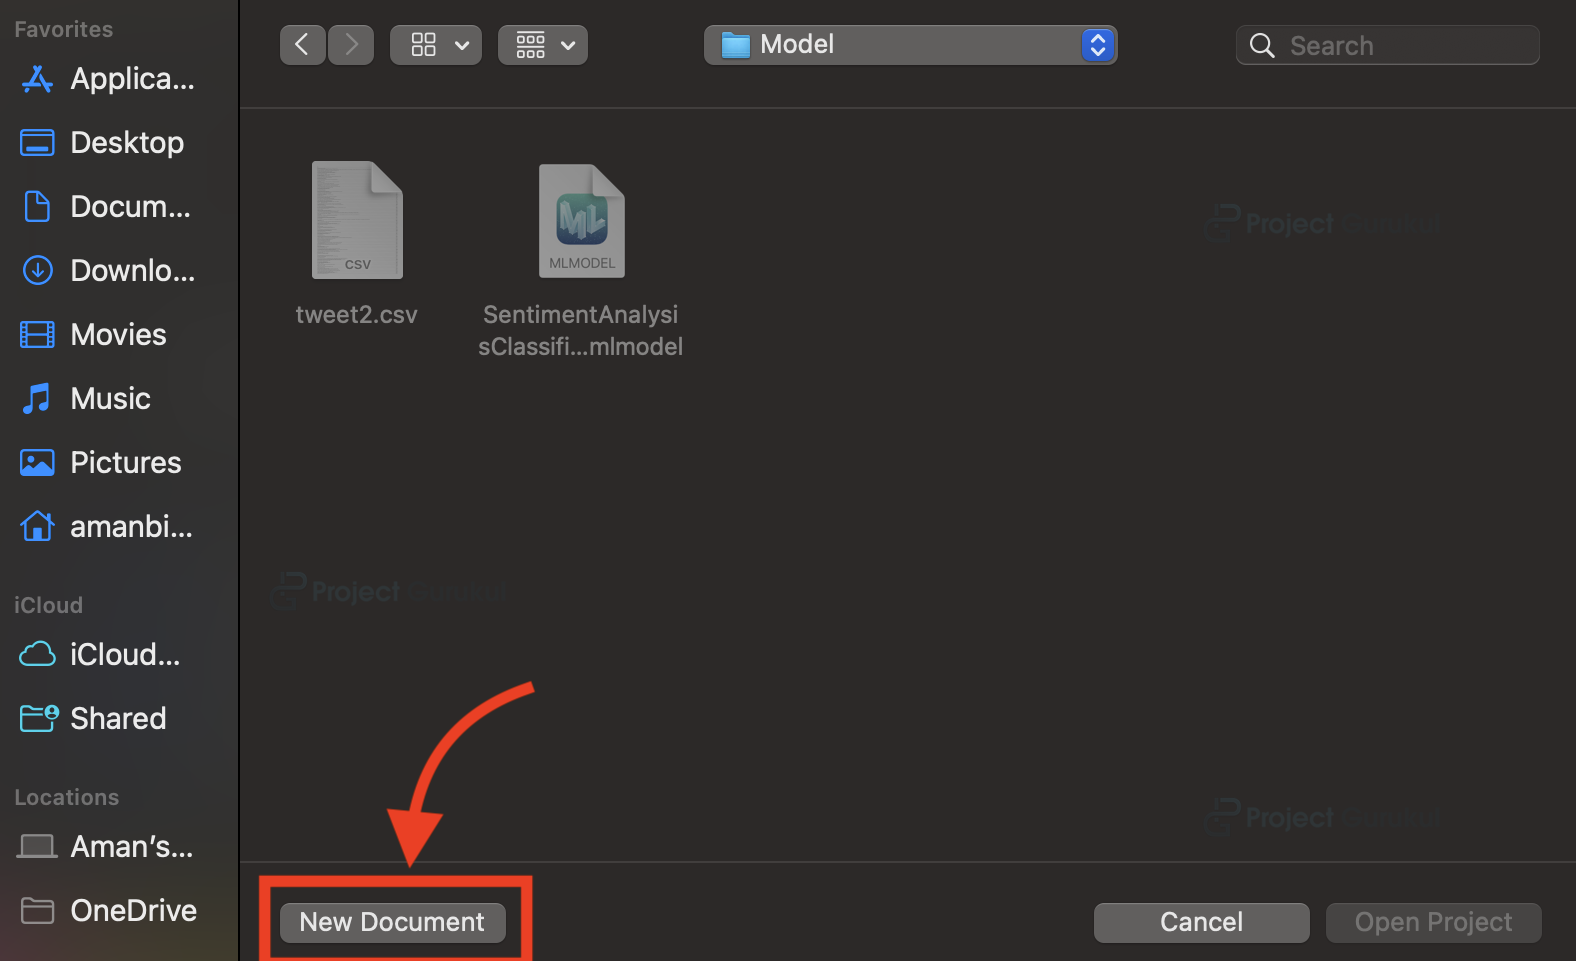
b. Now a file dialog will open. Click on “New Document” to create a new ML Project.
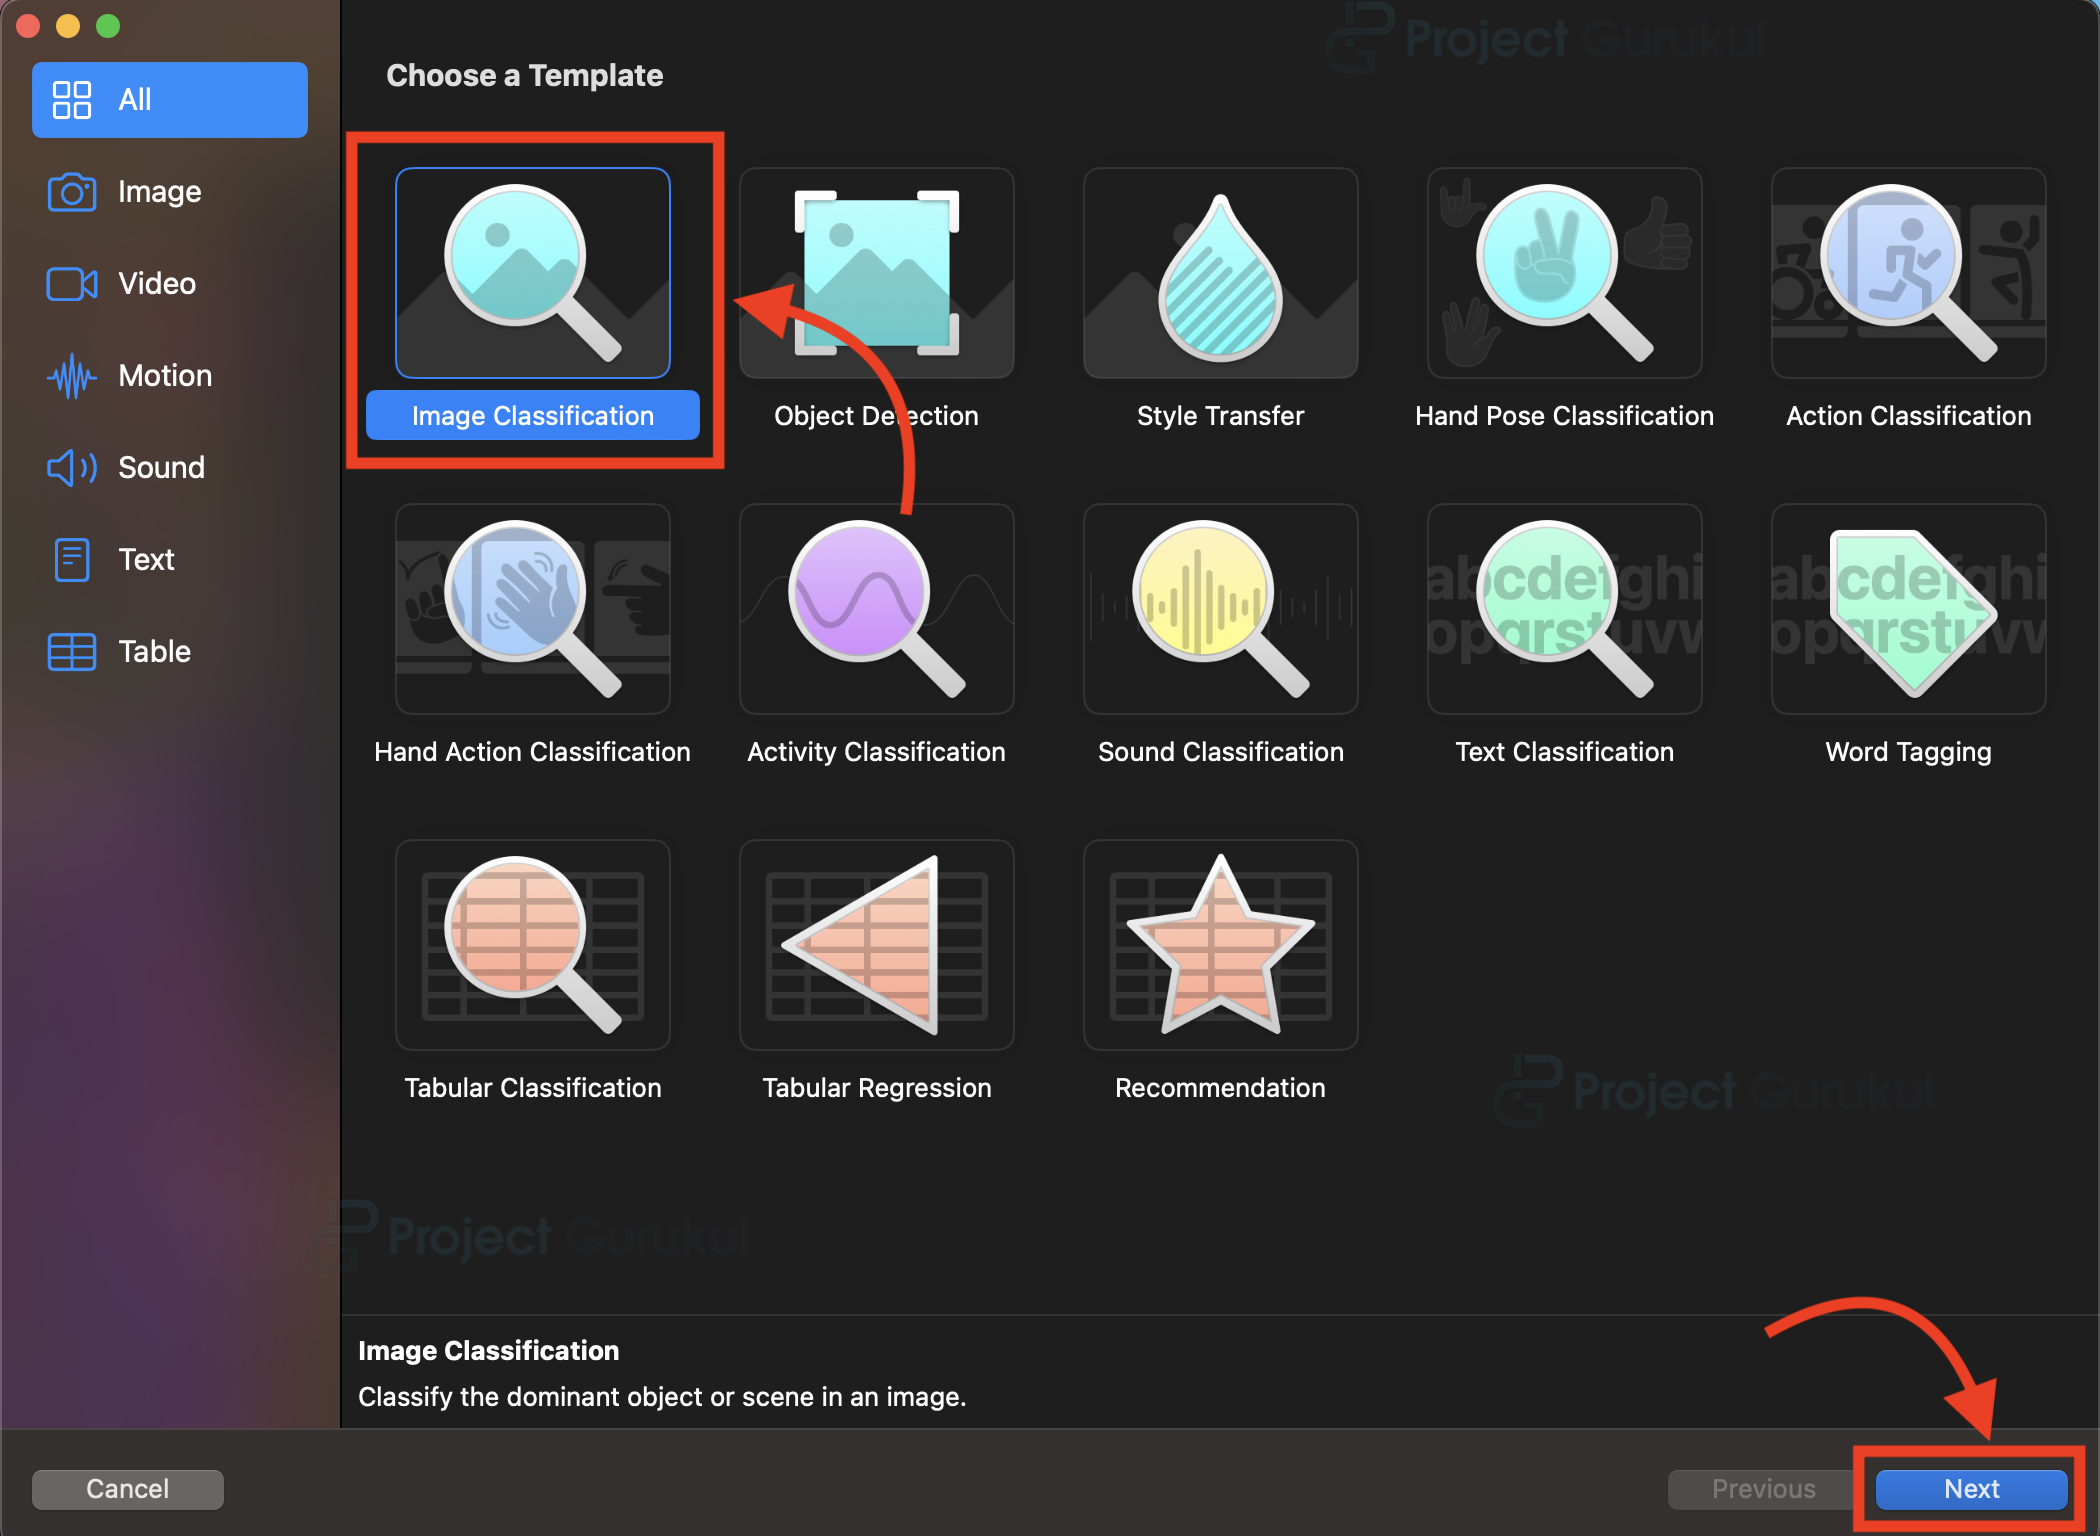
c. Upon clicking on the new document button, a window will appear. Select the image Classification and click the next button.
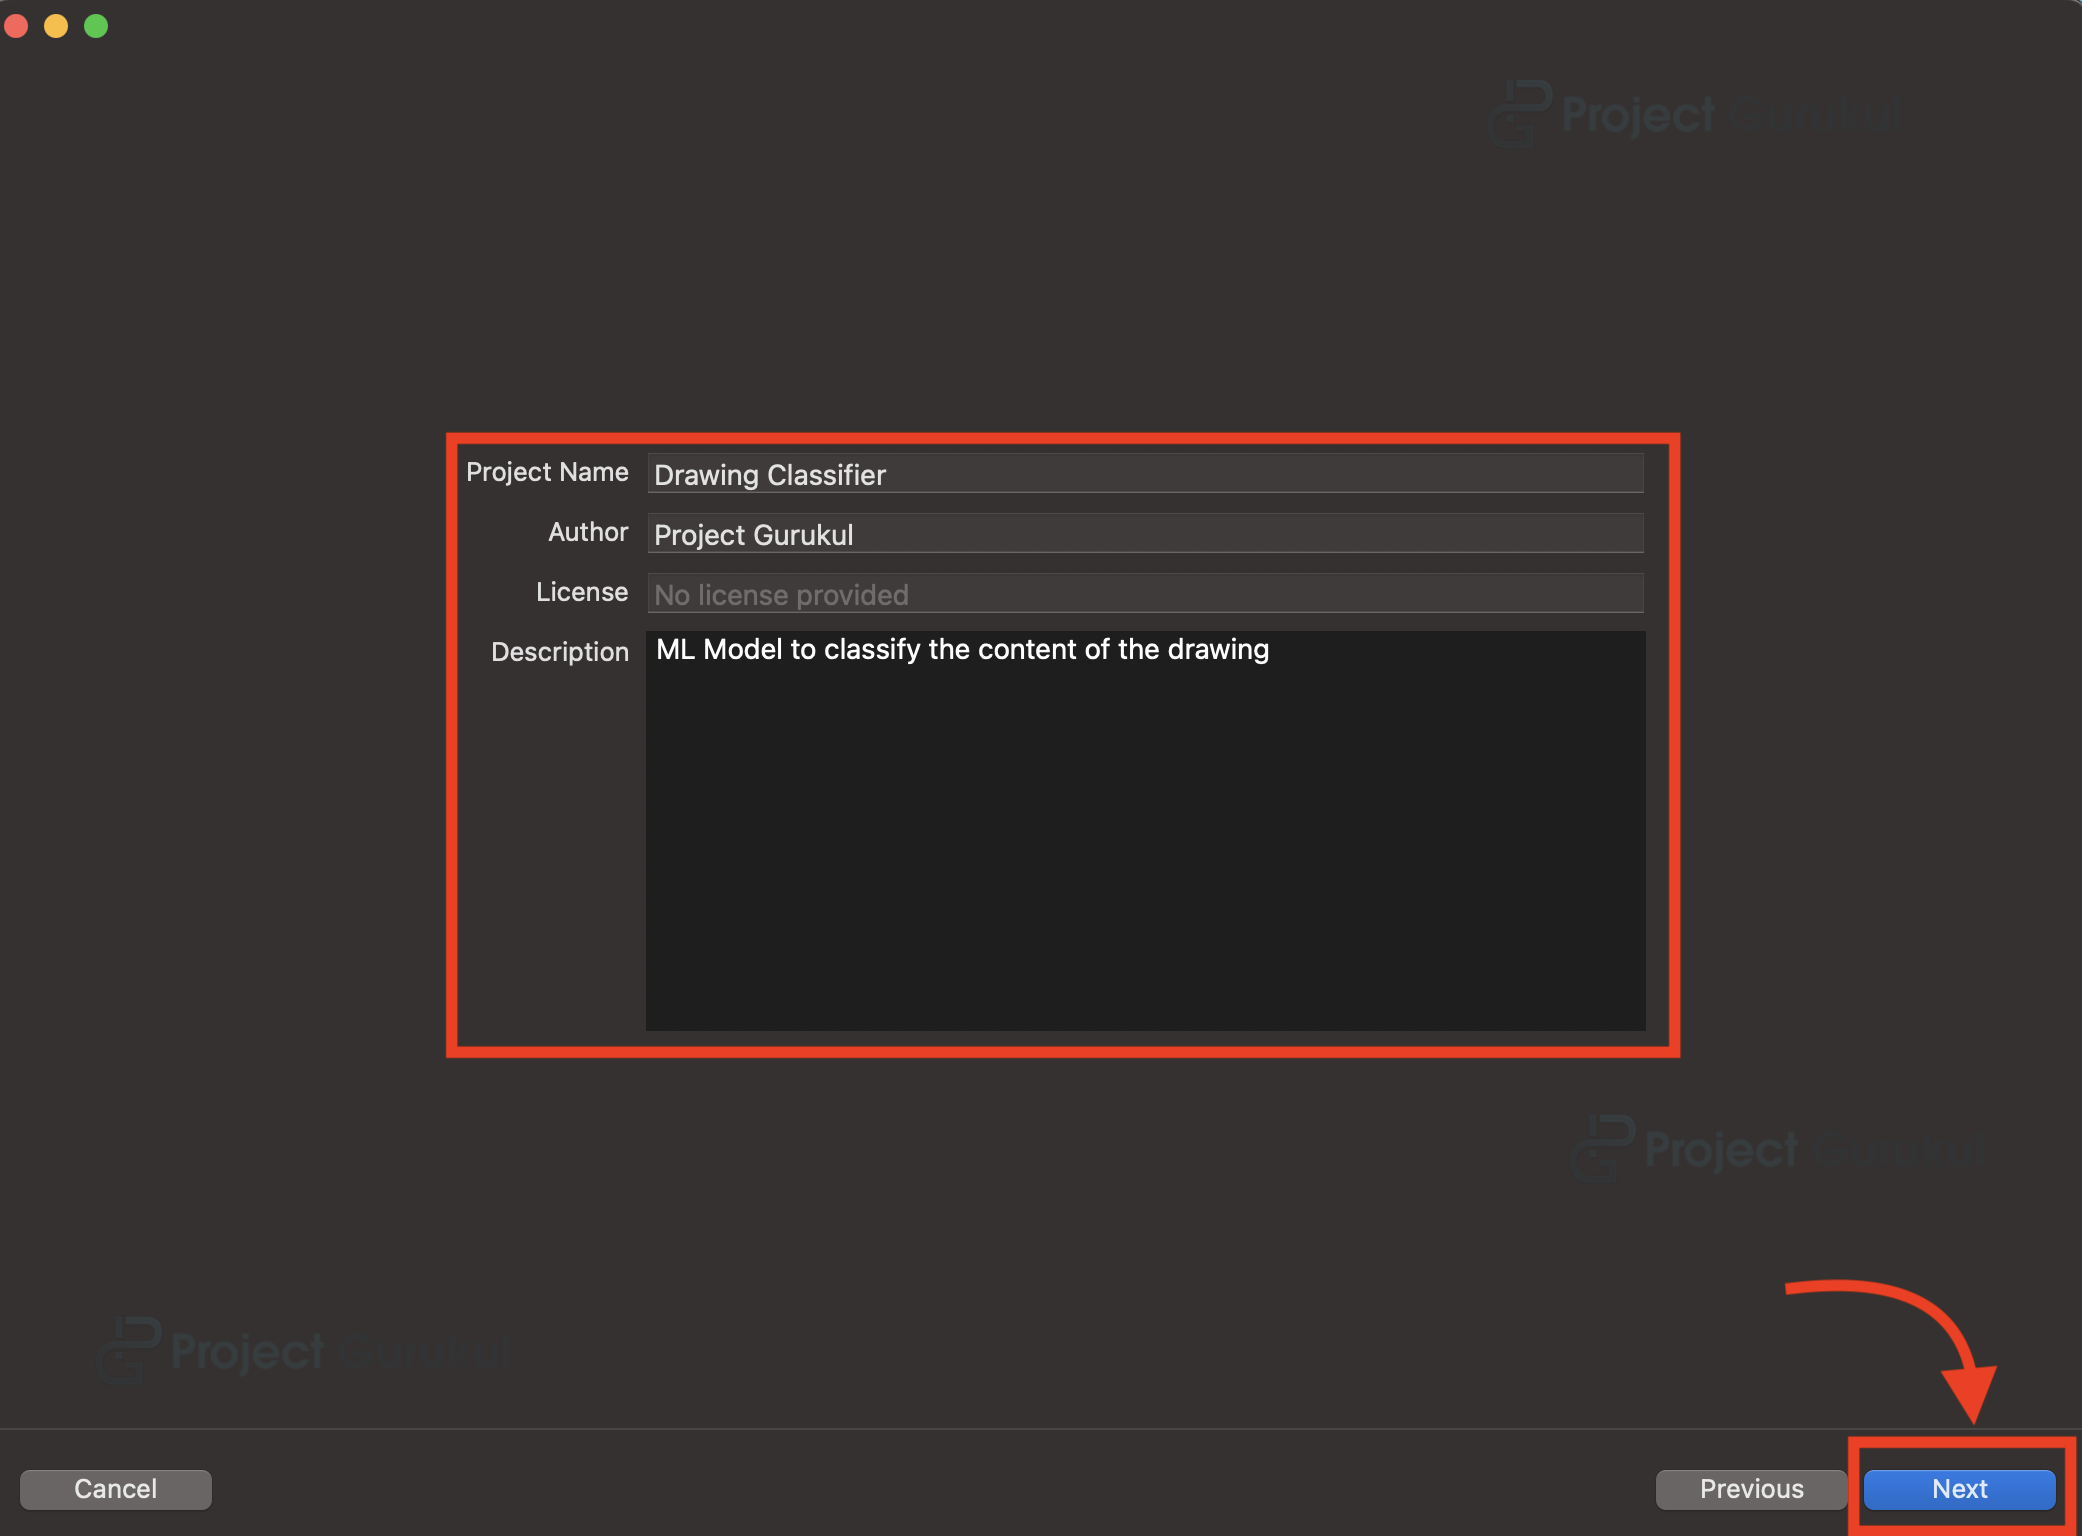
d. Now enter the name of the project, author and description, and click on “Next”. And then save it to the location of your choice.
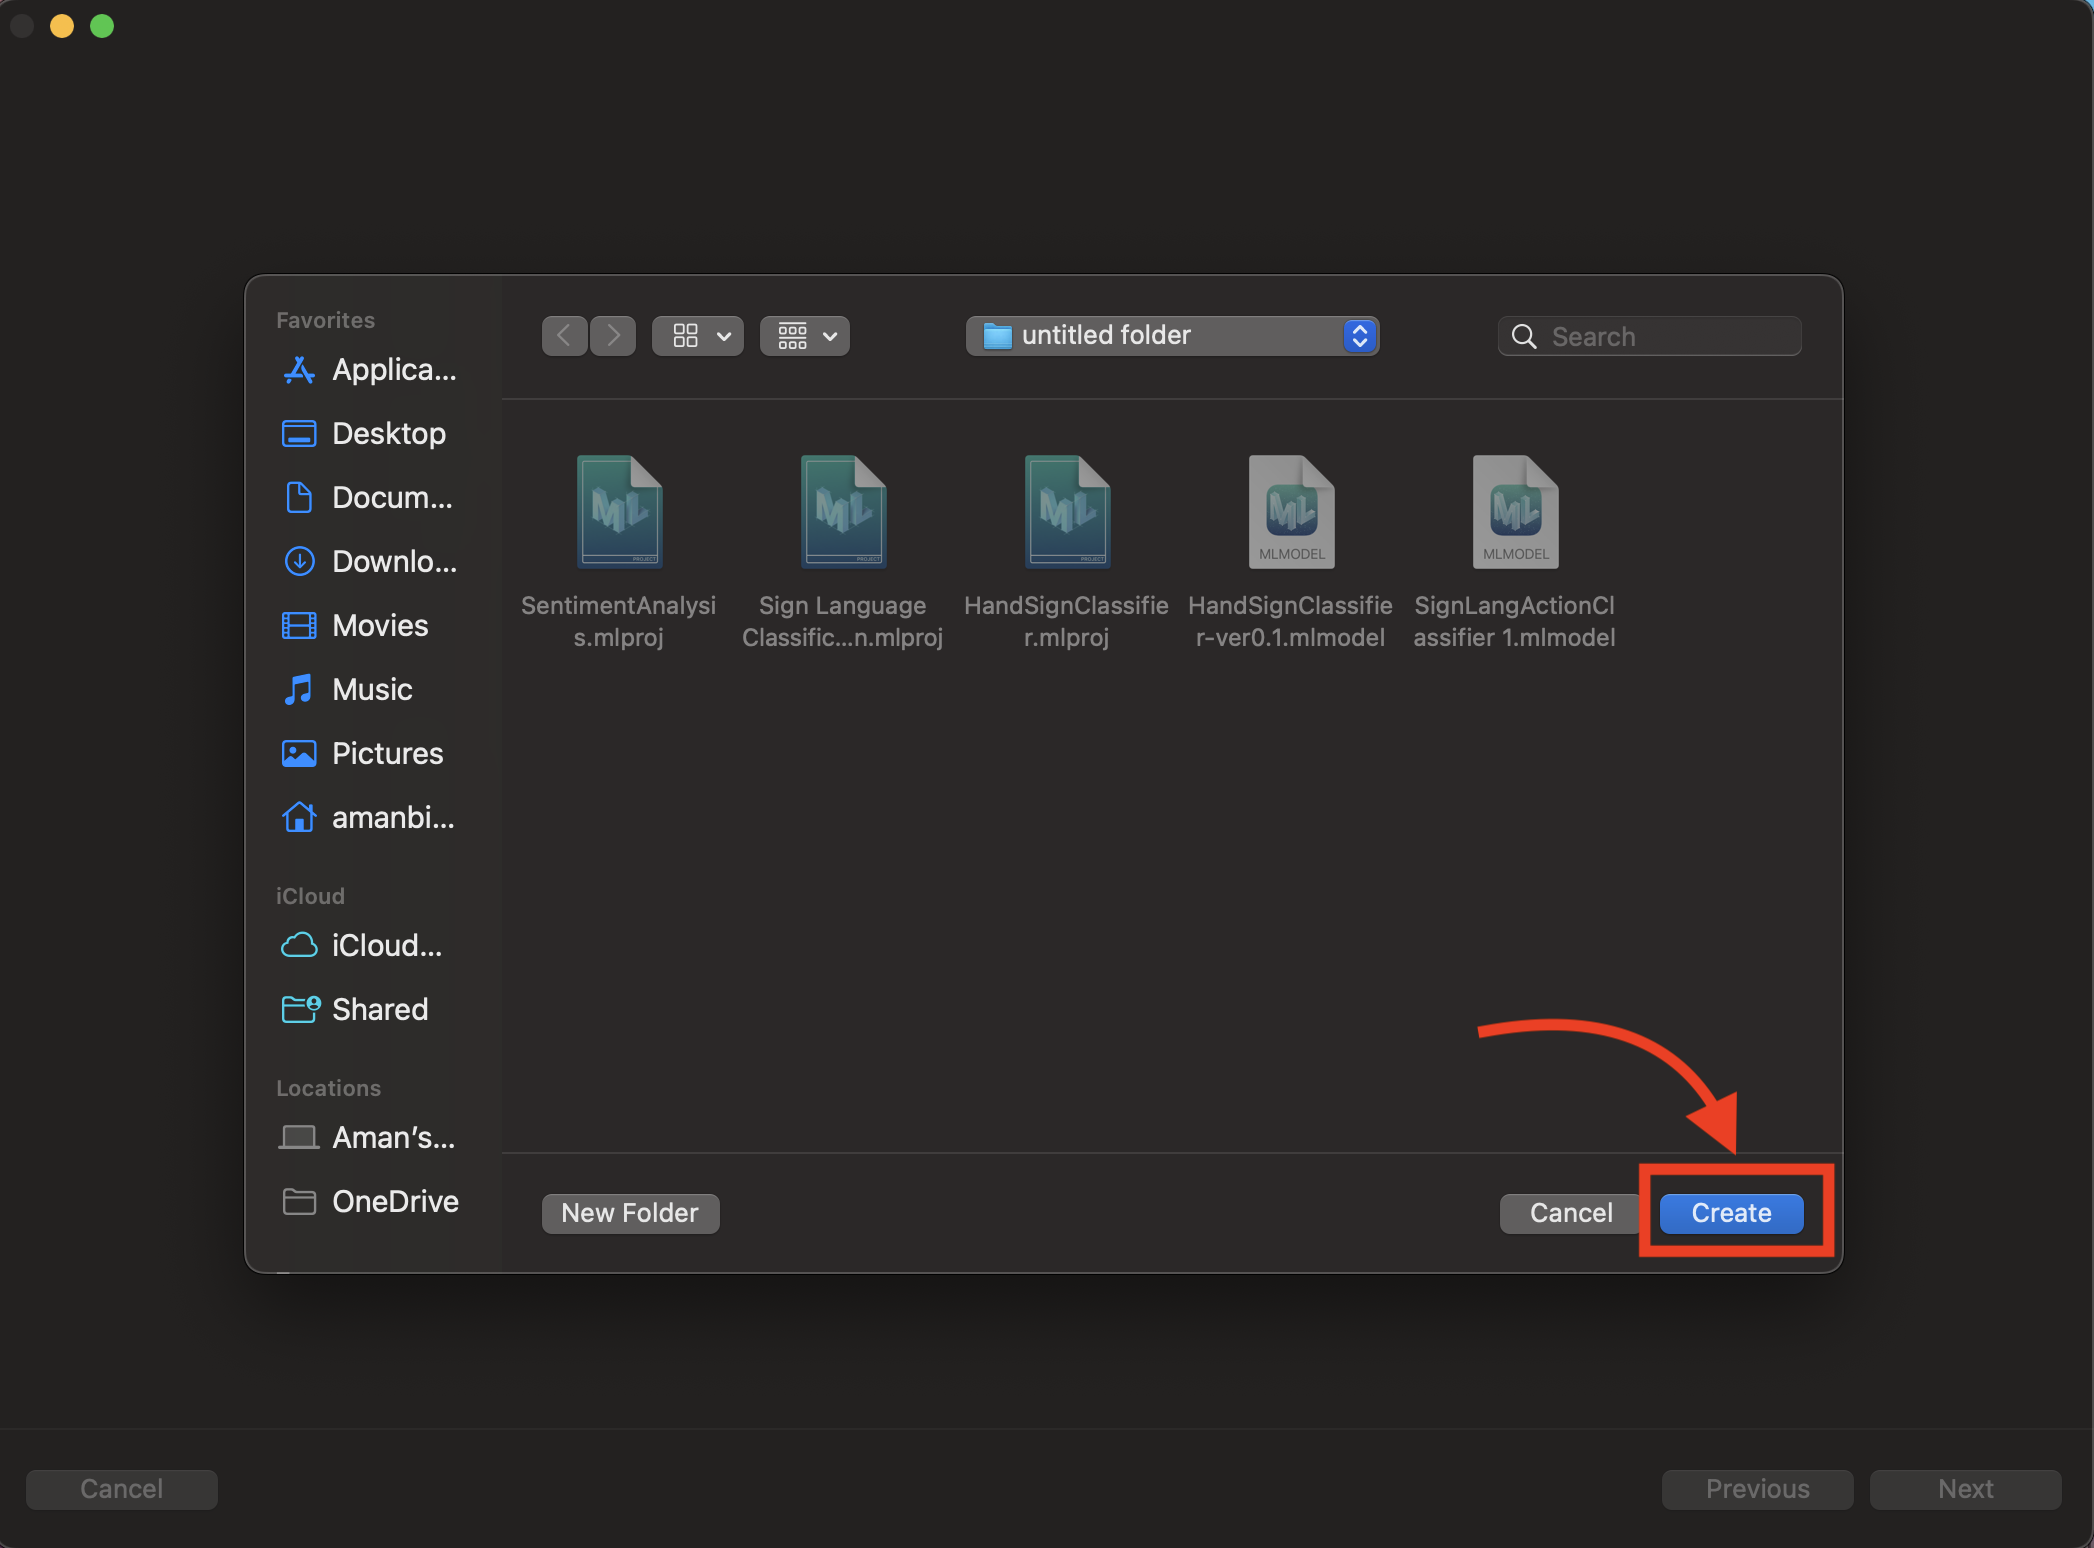
e. Now a window will open as below. Next, you will need to drag and drop the training and testing data onto the corresponding “+” icon.
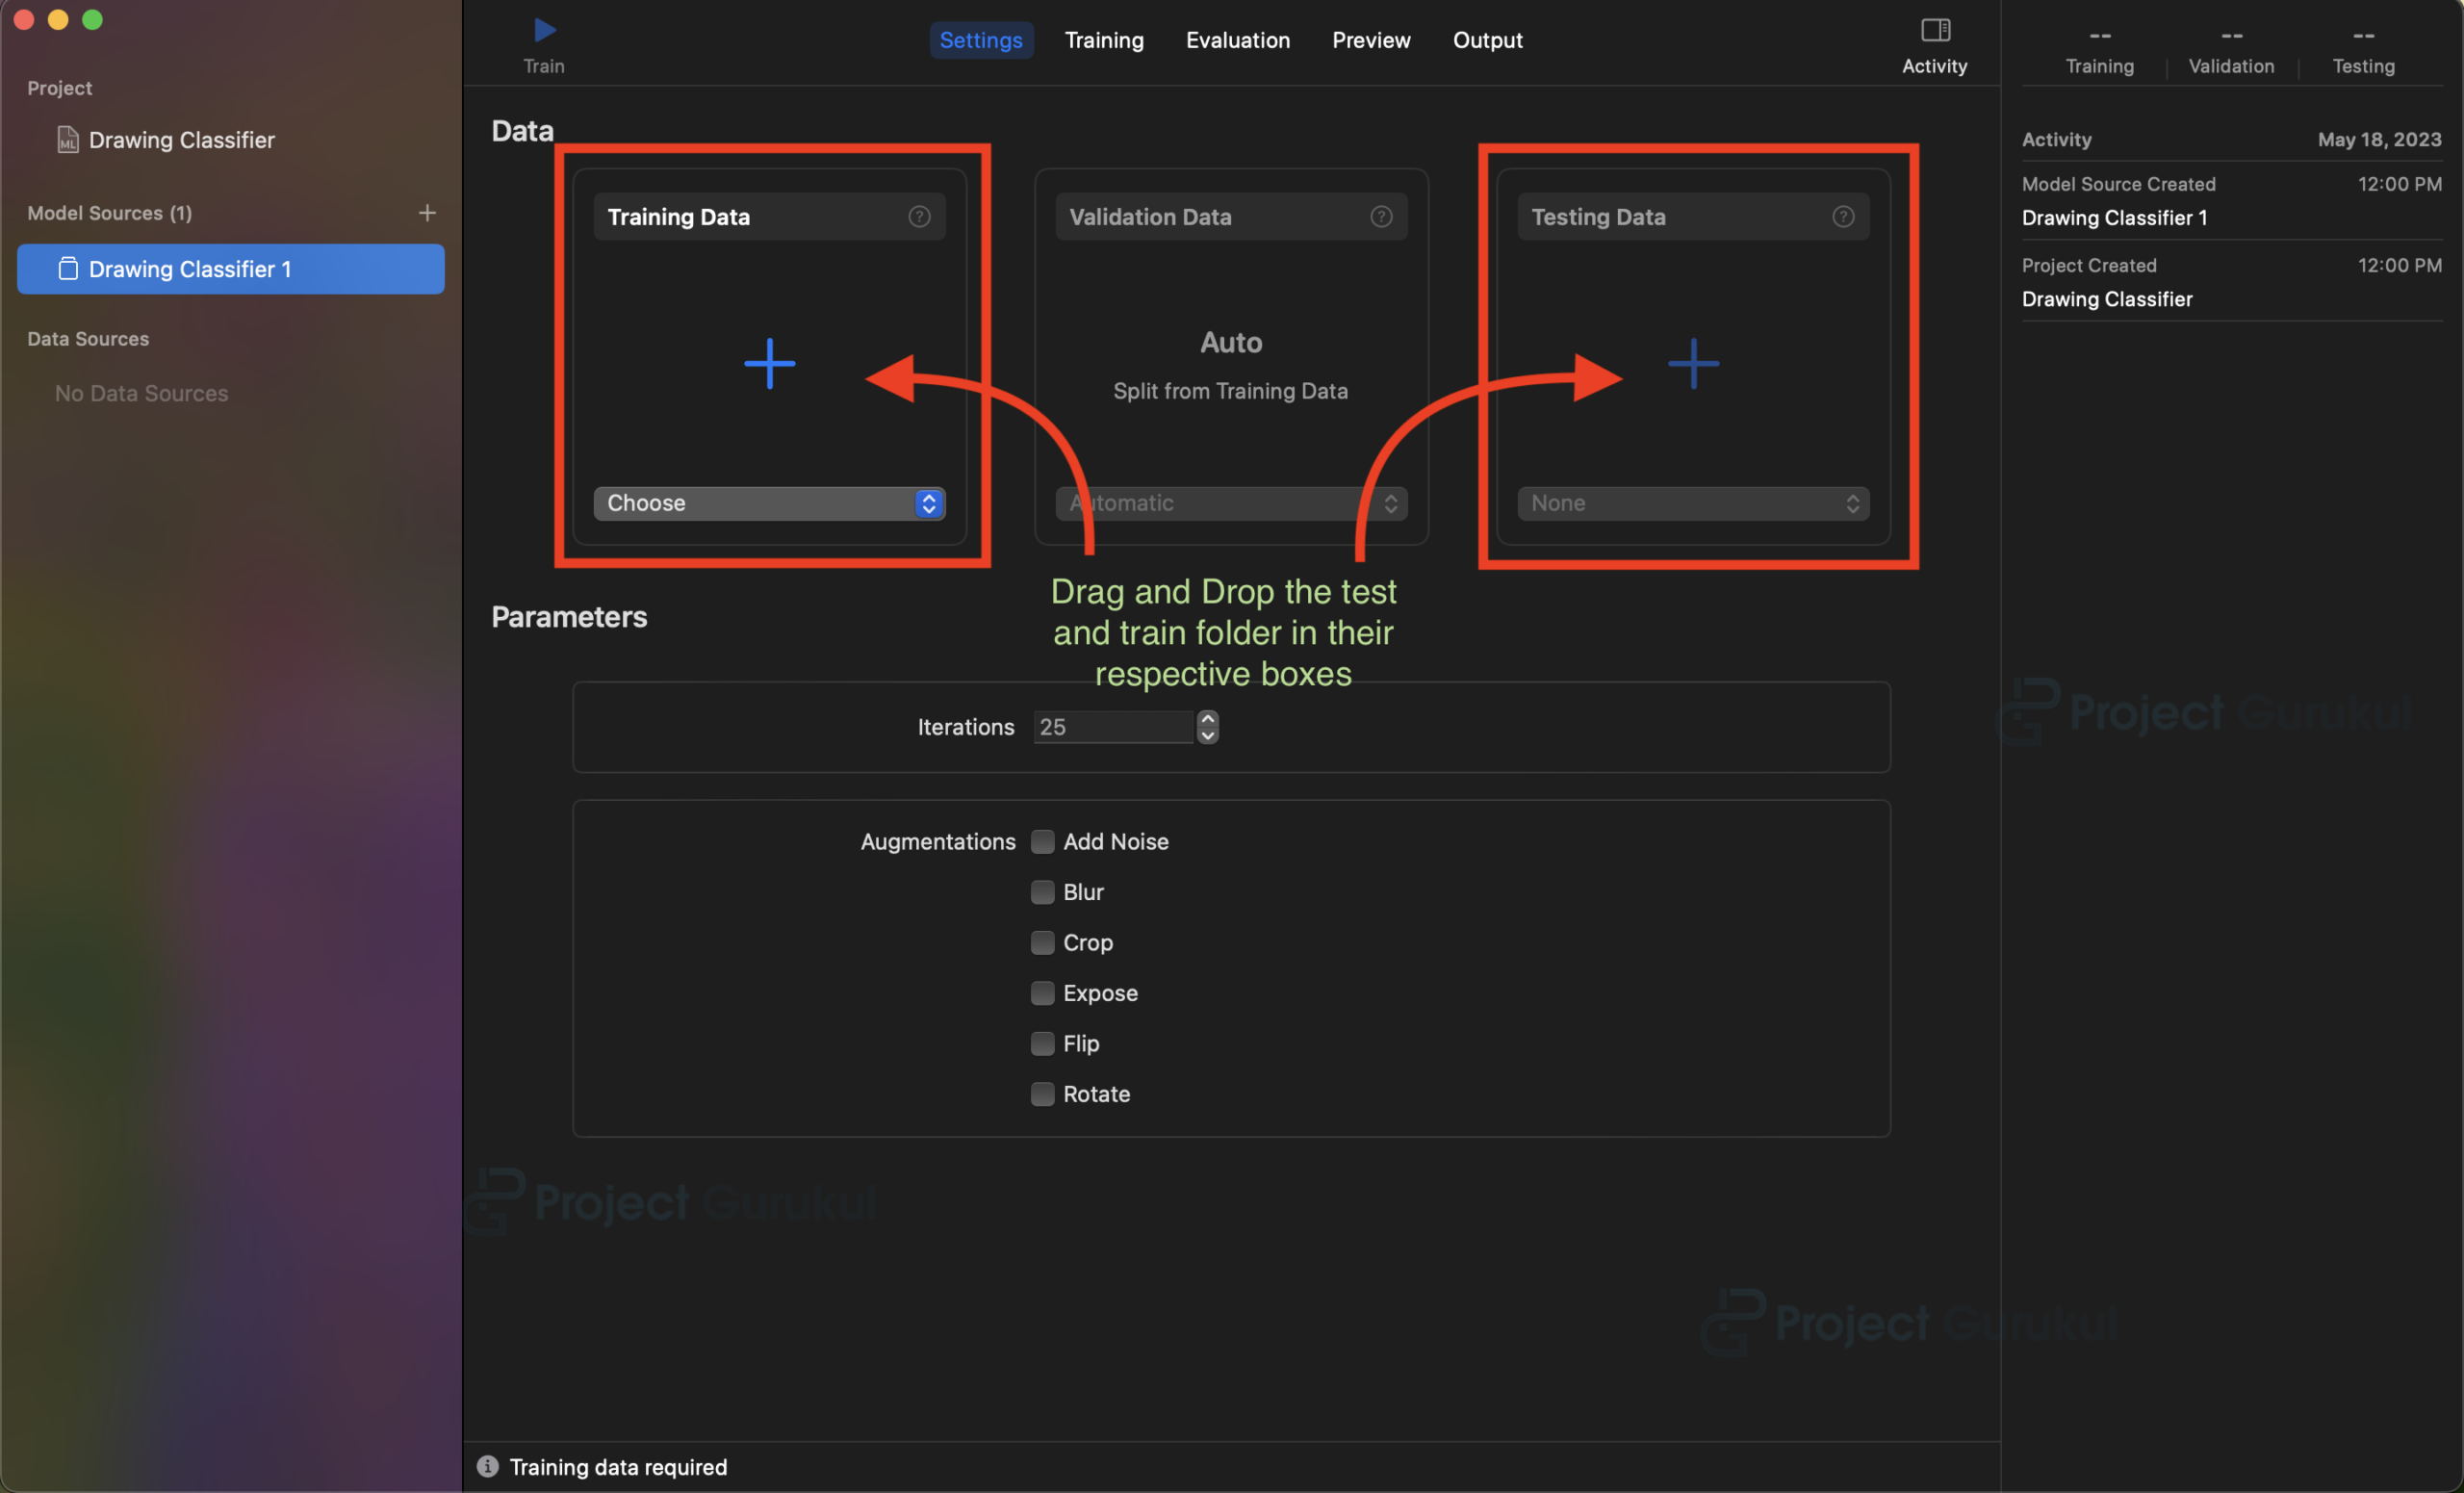
f. After inserting the data, it will show the total number of classes and items in the Training and testing dataset. Now Click on the ▶(Play) symbol in the right-hand top corner. Now it will Start Training and Testing the ML model.

g. After completion of training and testing, it will show you the evaluation metrics of the ML model.
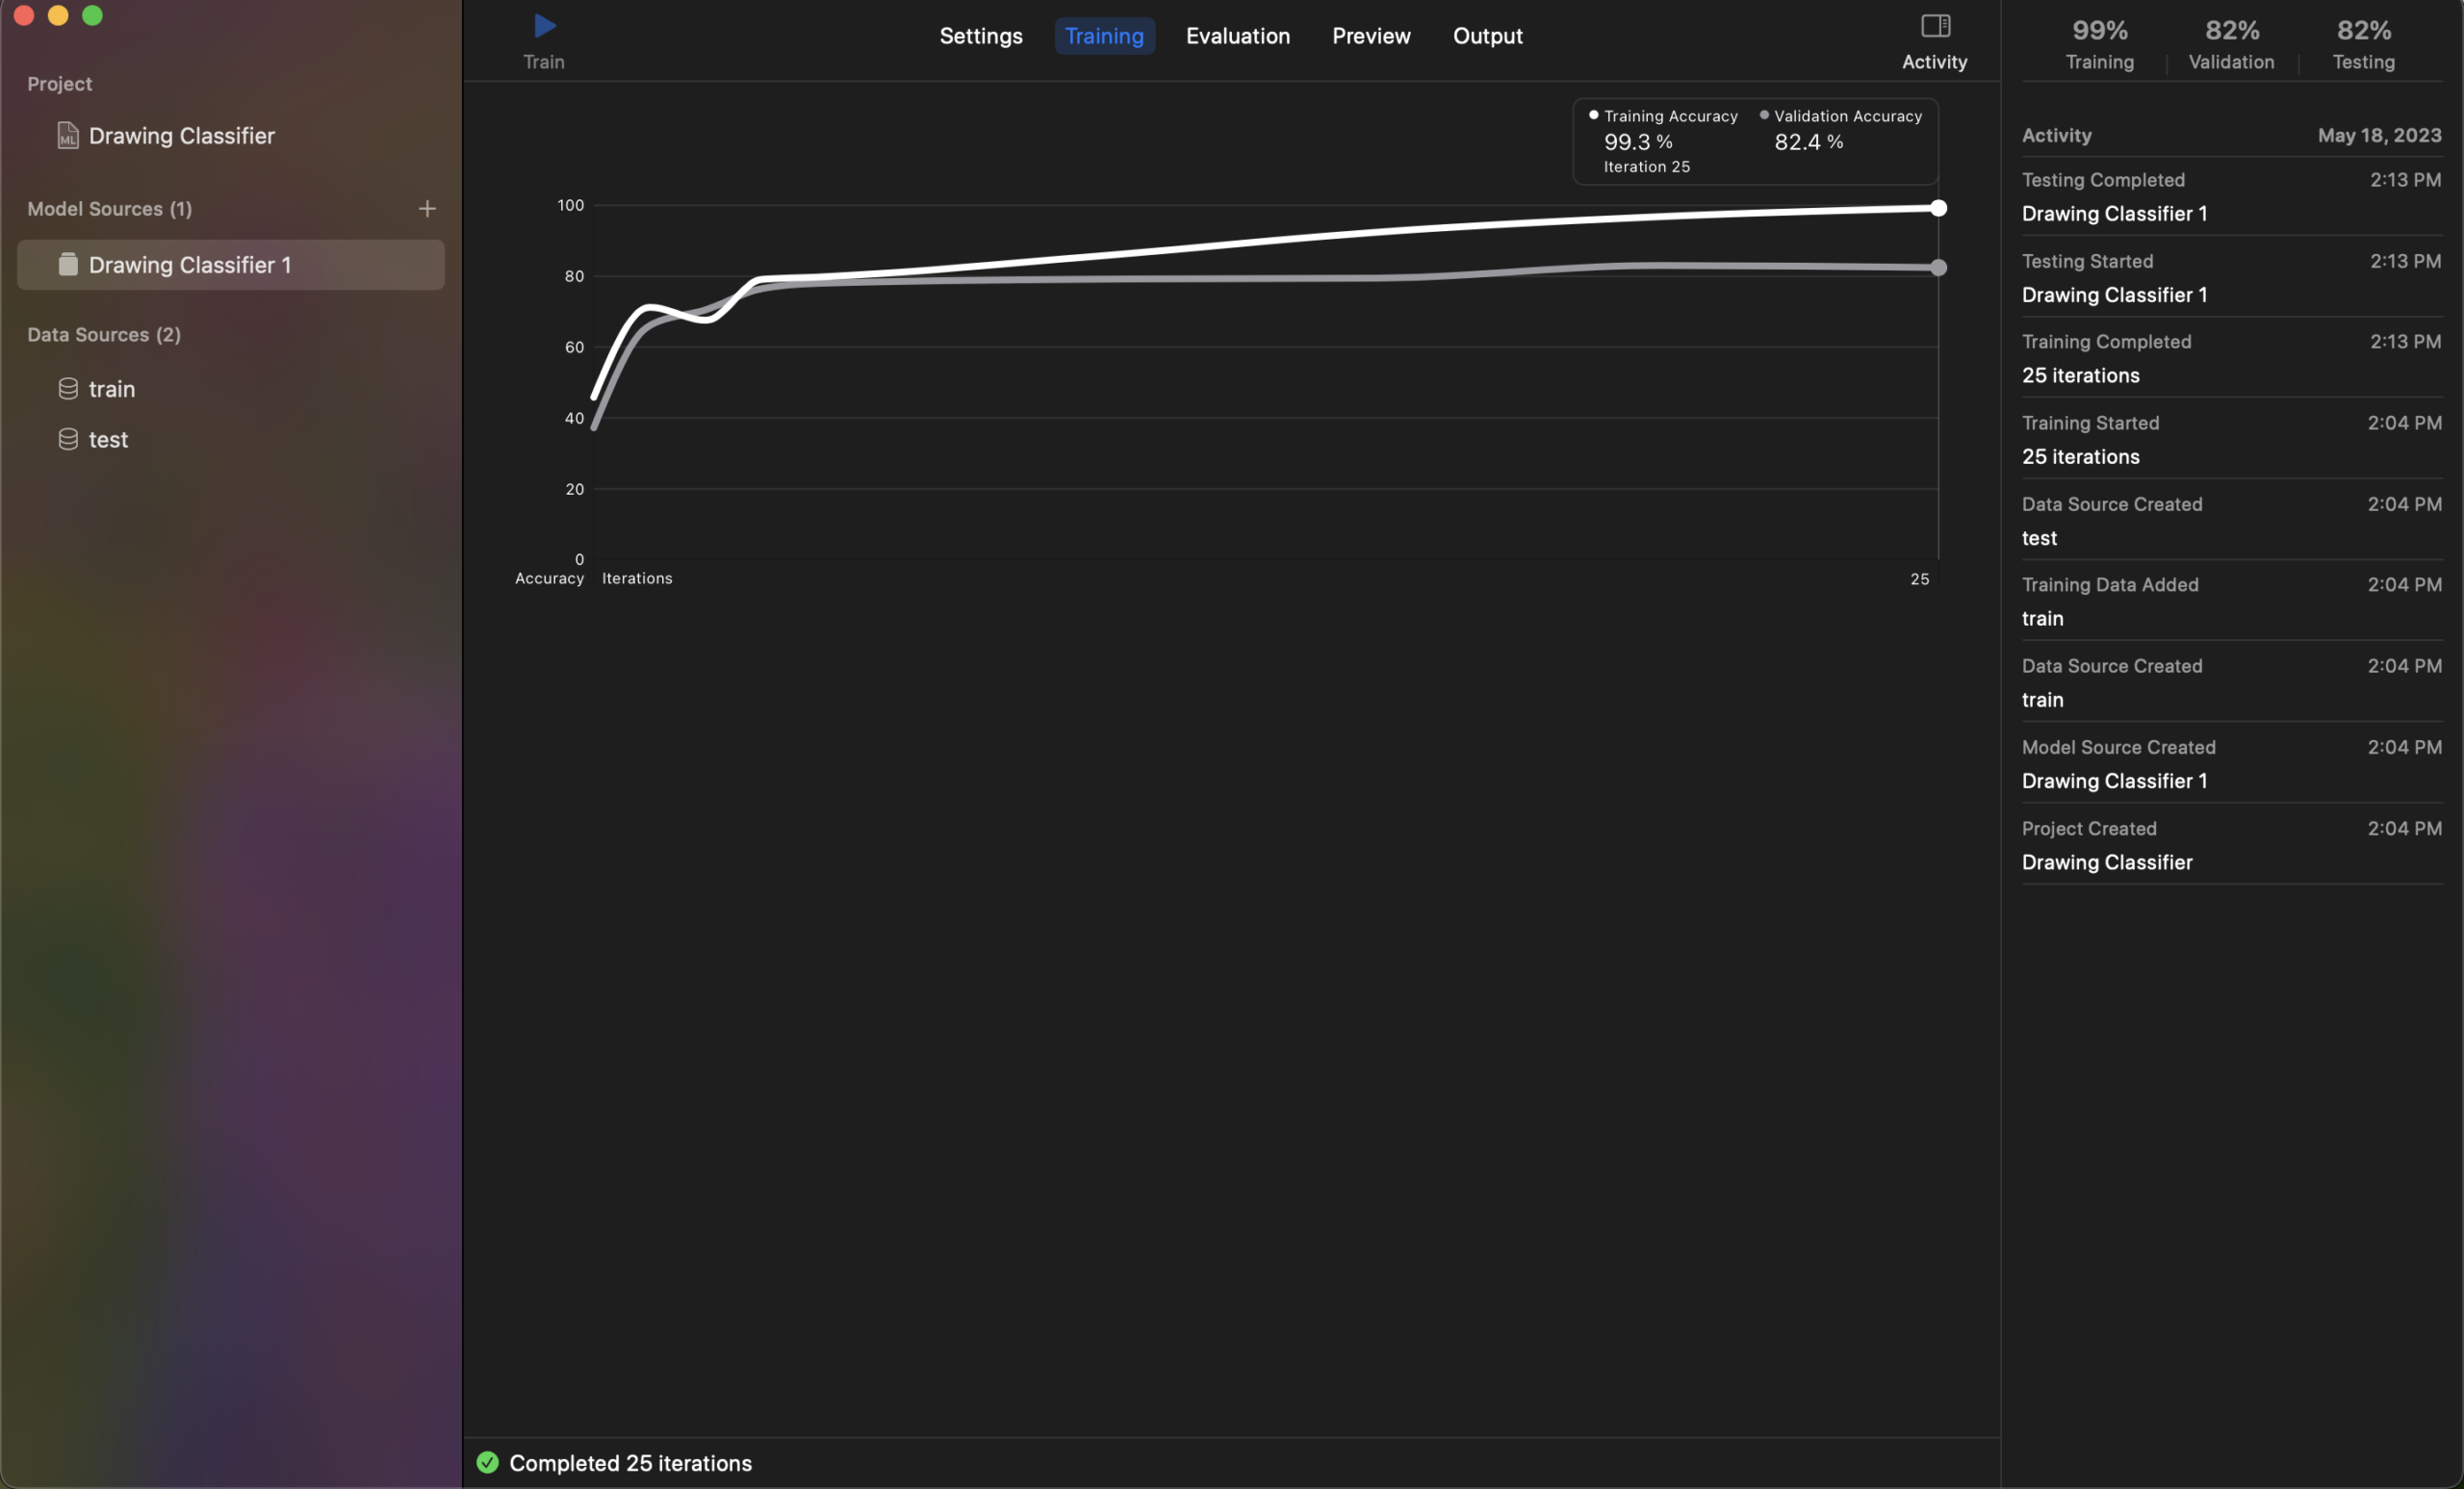
As depicted in the image above, our ML model exhibits a training accuracy of 99.3%, validation accuracy of 82.4%, and testing accuracy of 82%.
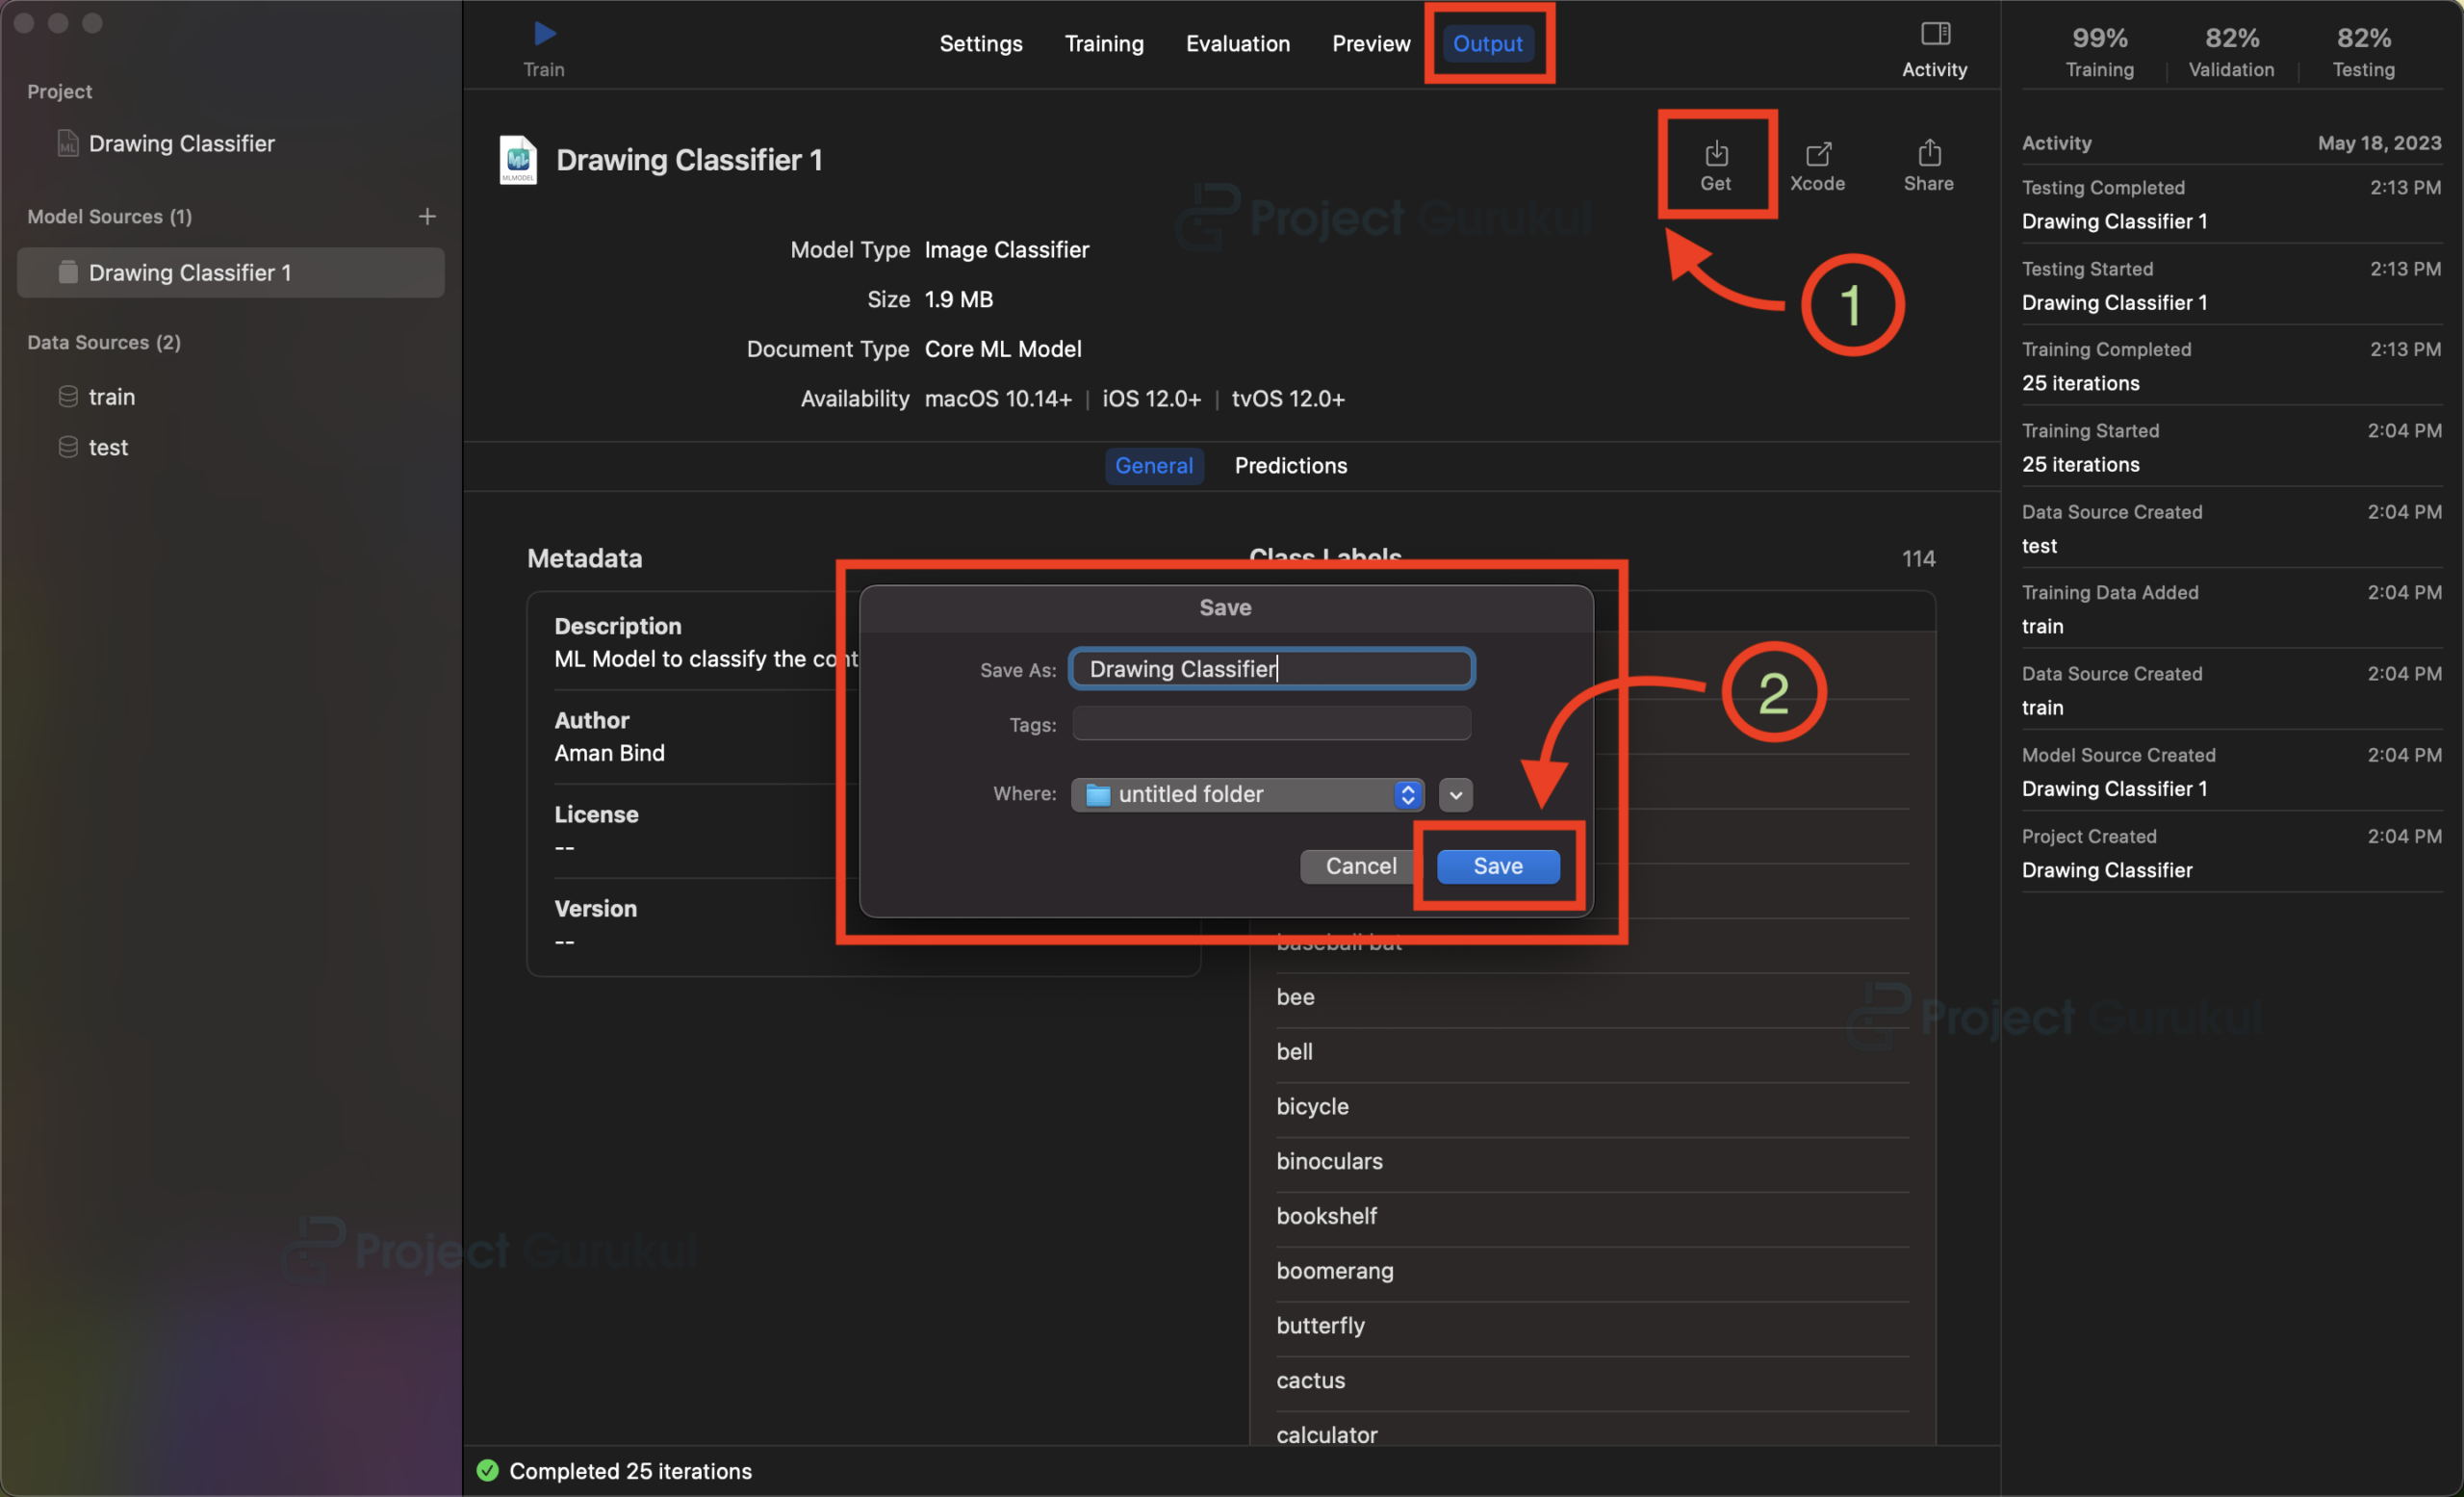
h. Save the trained ML model by clicking on the “Get” button on the output tab of the Create ML.
Step 2: Setting up a new project in Xcode.
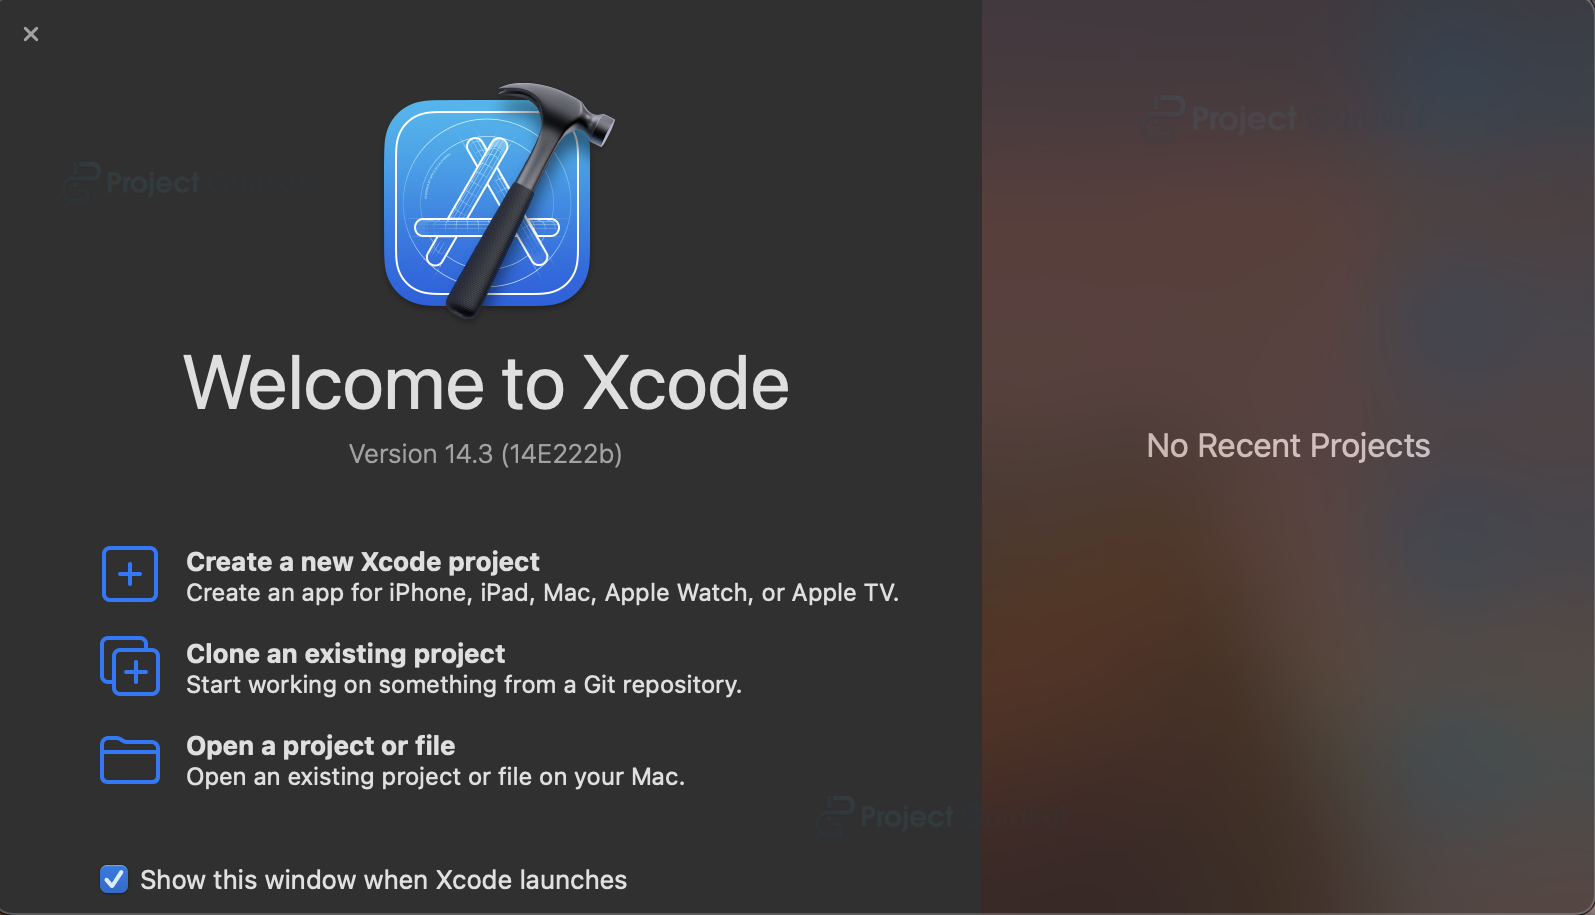
a. Launch Xcode and select the “Create a new Xcode Project” option.
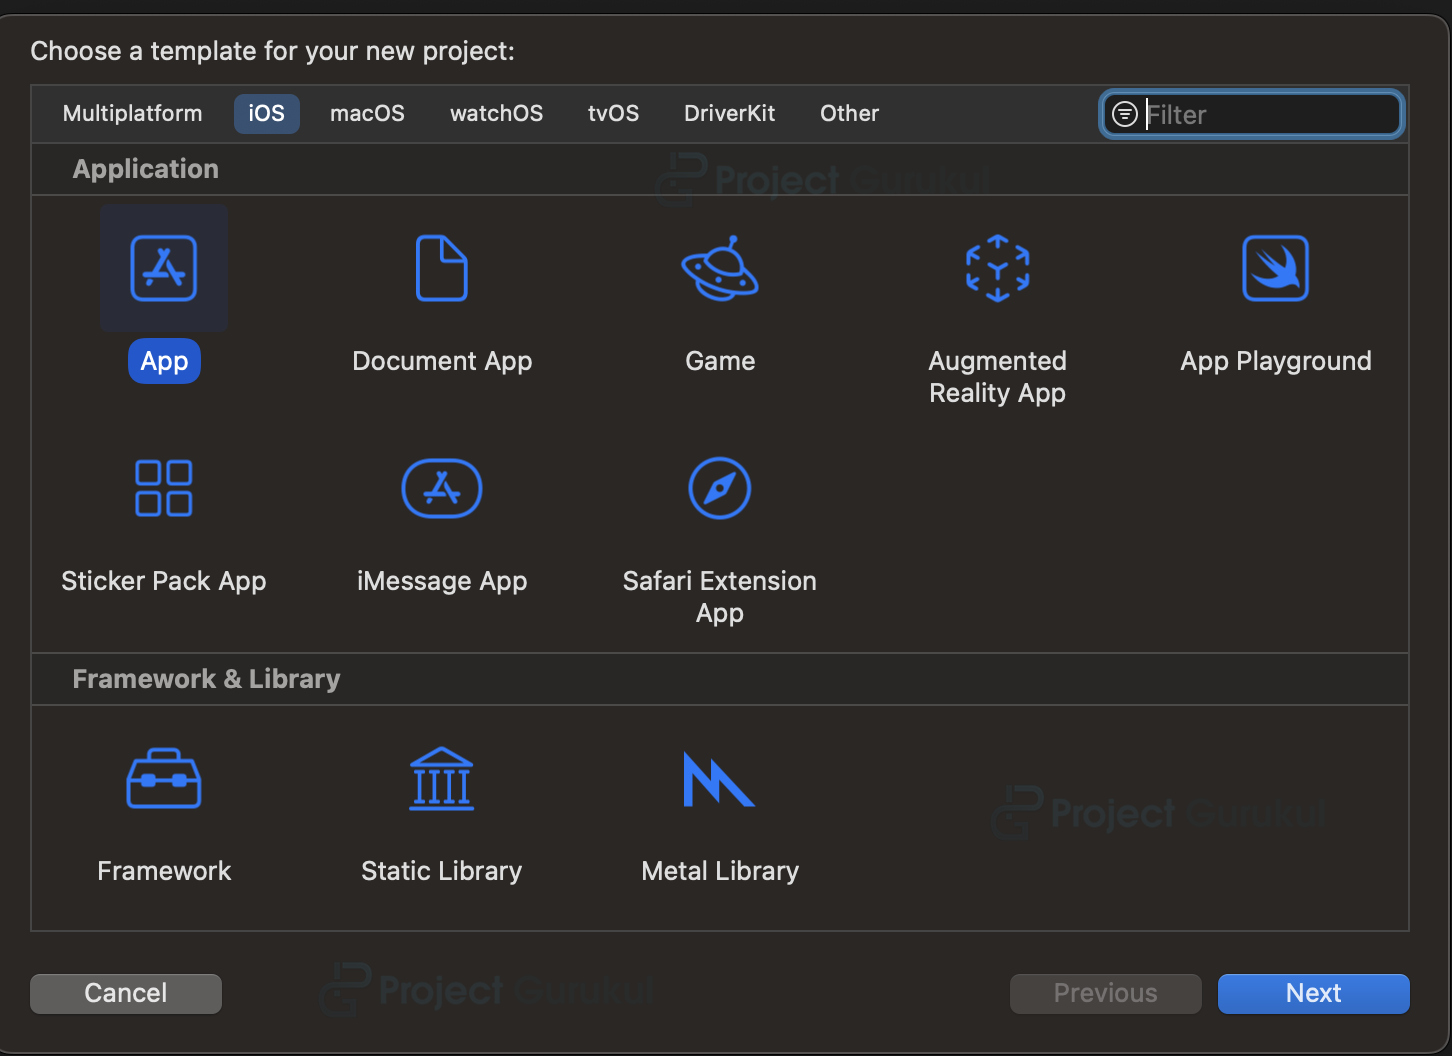
b. Now select platform as “iOS” and application type as “App”.
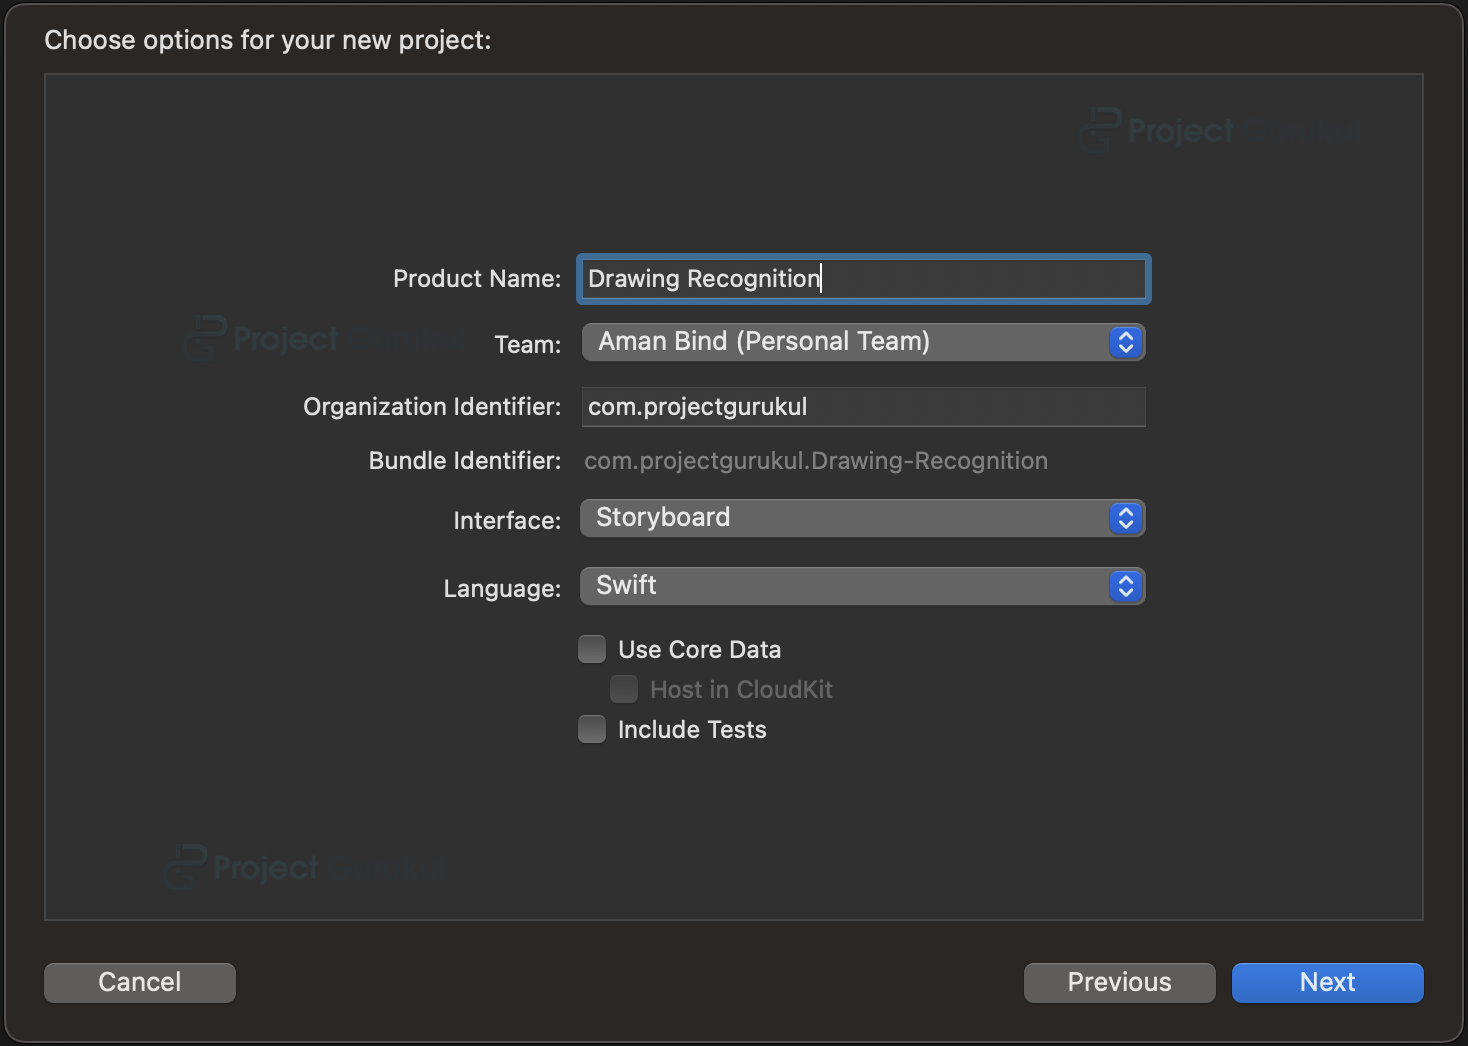
c. Now, Enter the name of the app, and organization identifier, and select Storyboard interface for building the UI of the app. Also, select Swift as the language for creating the app.
d. Select the folder where you want to save the app and click on Create.
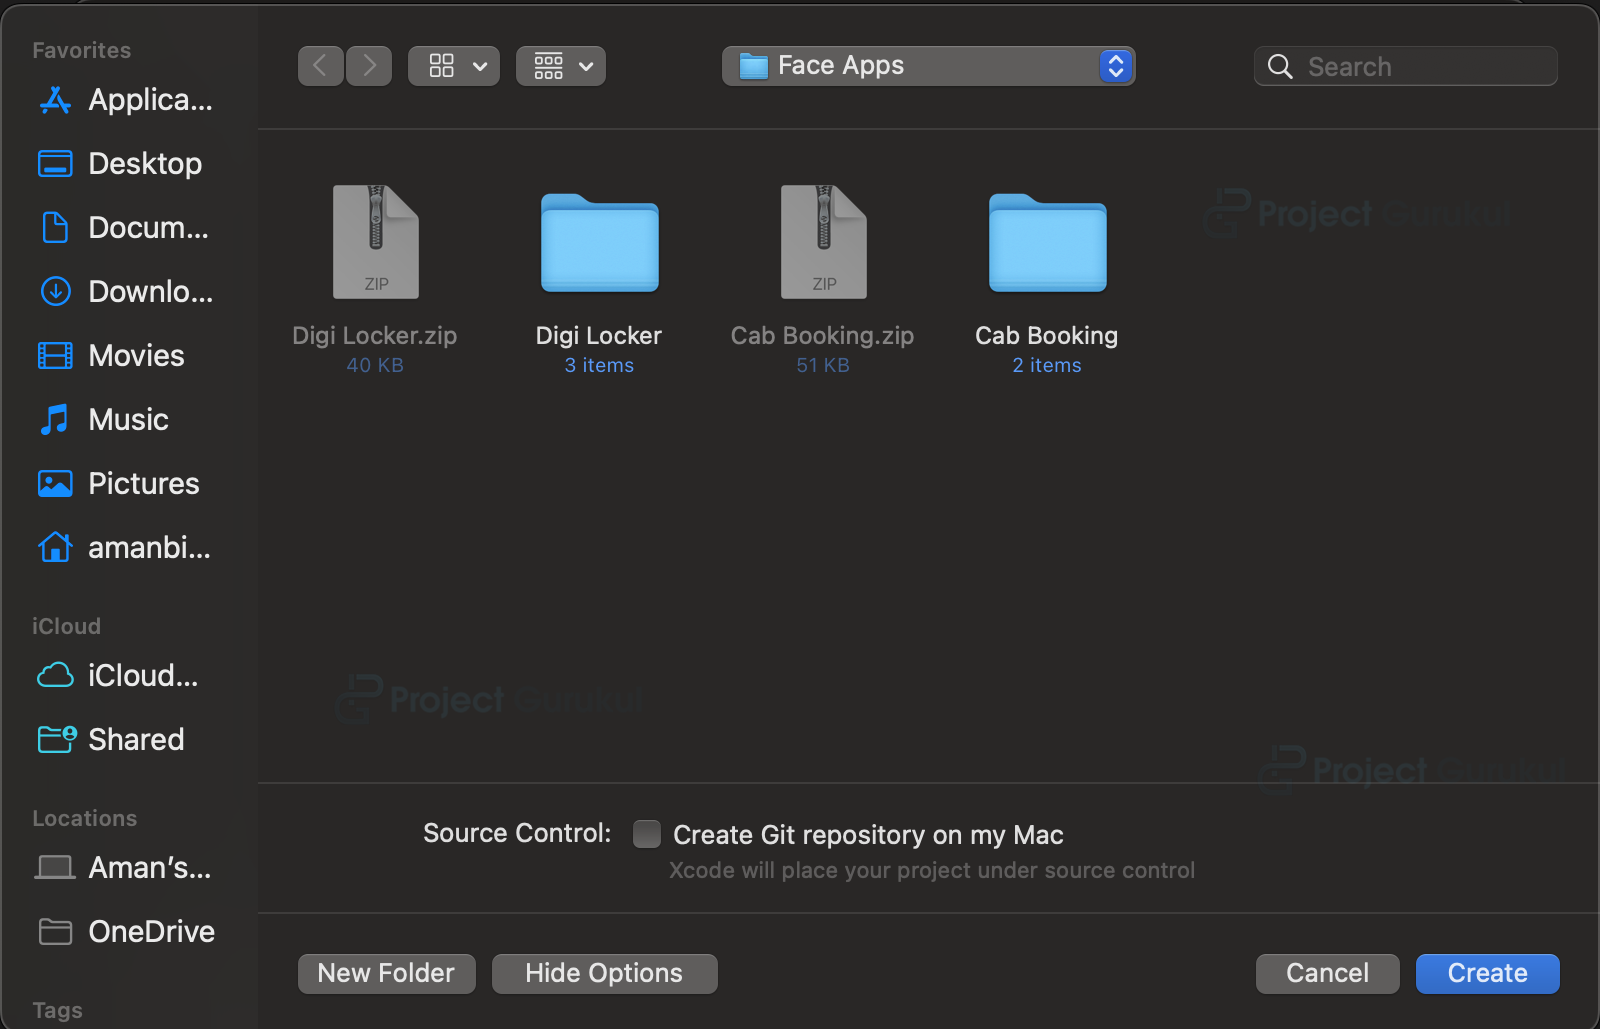
e. Now your project is ready for development, and you will see something like below.
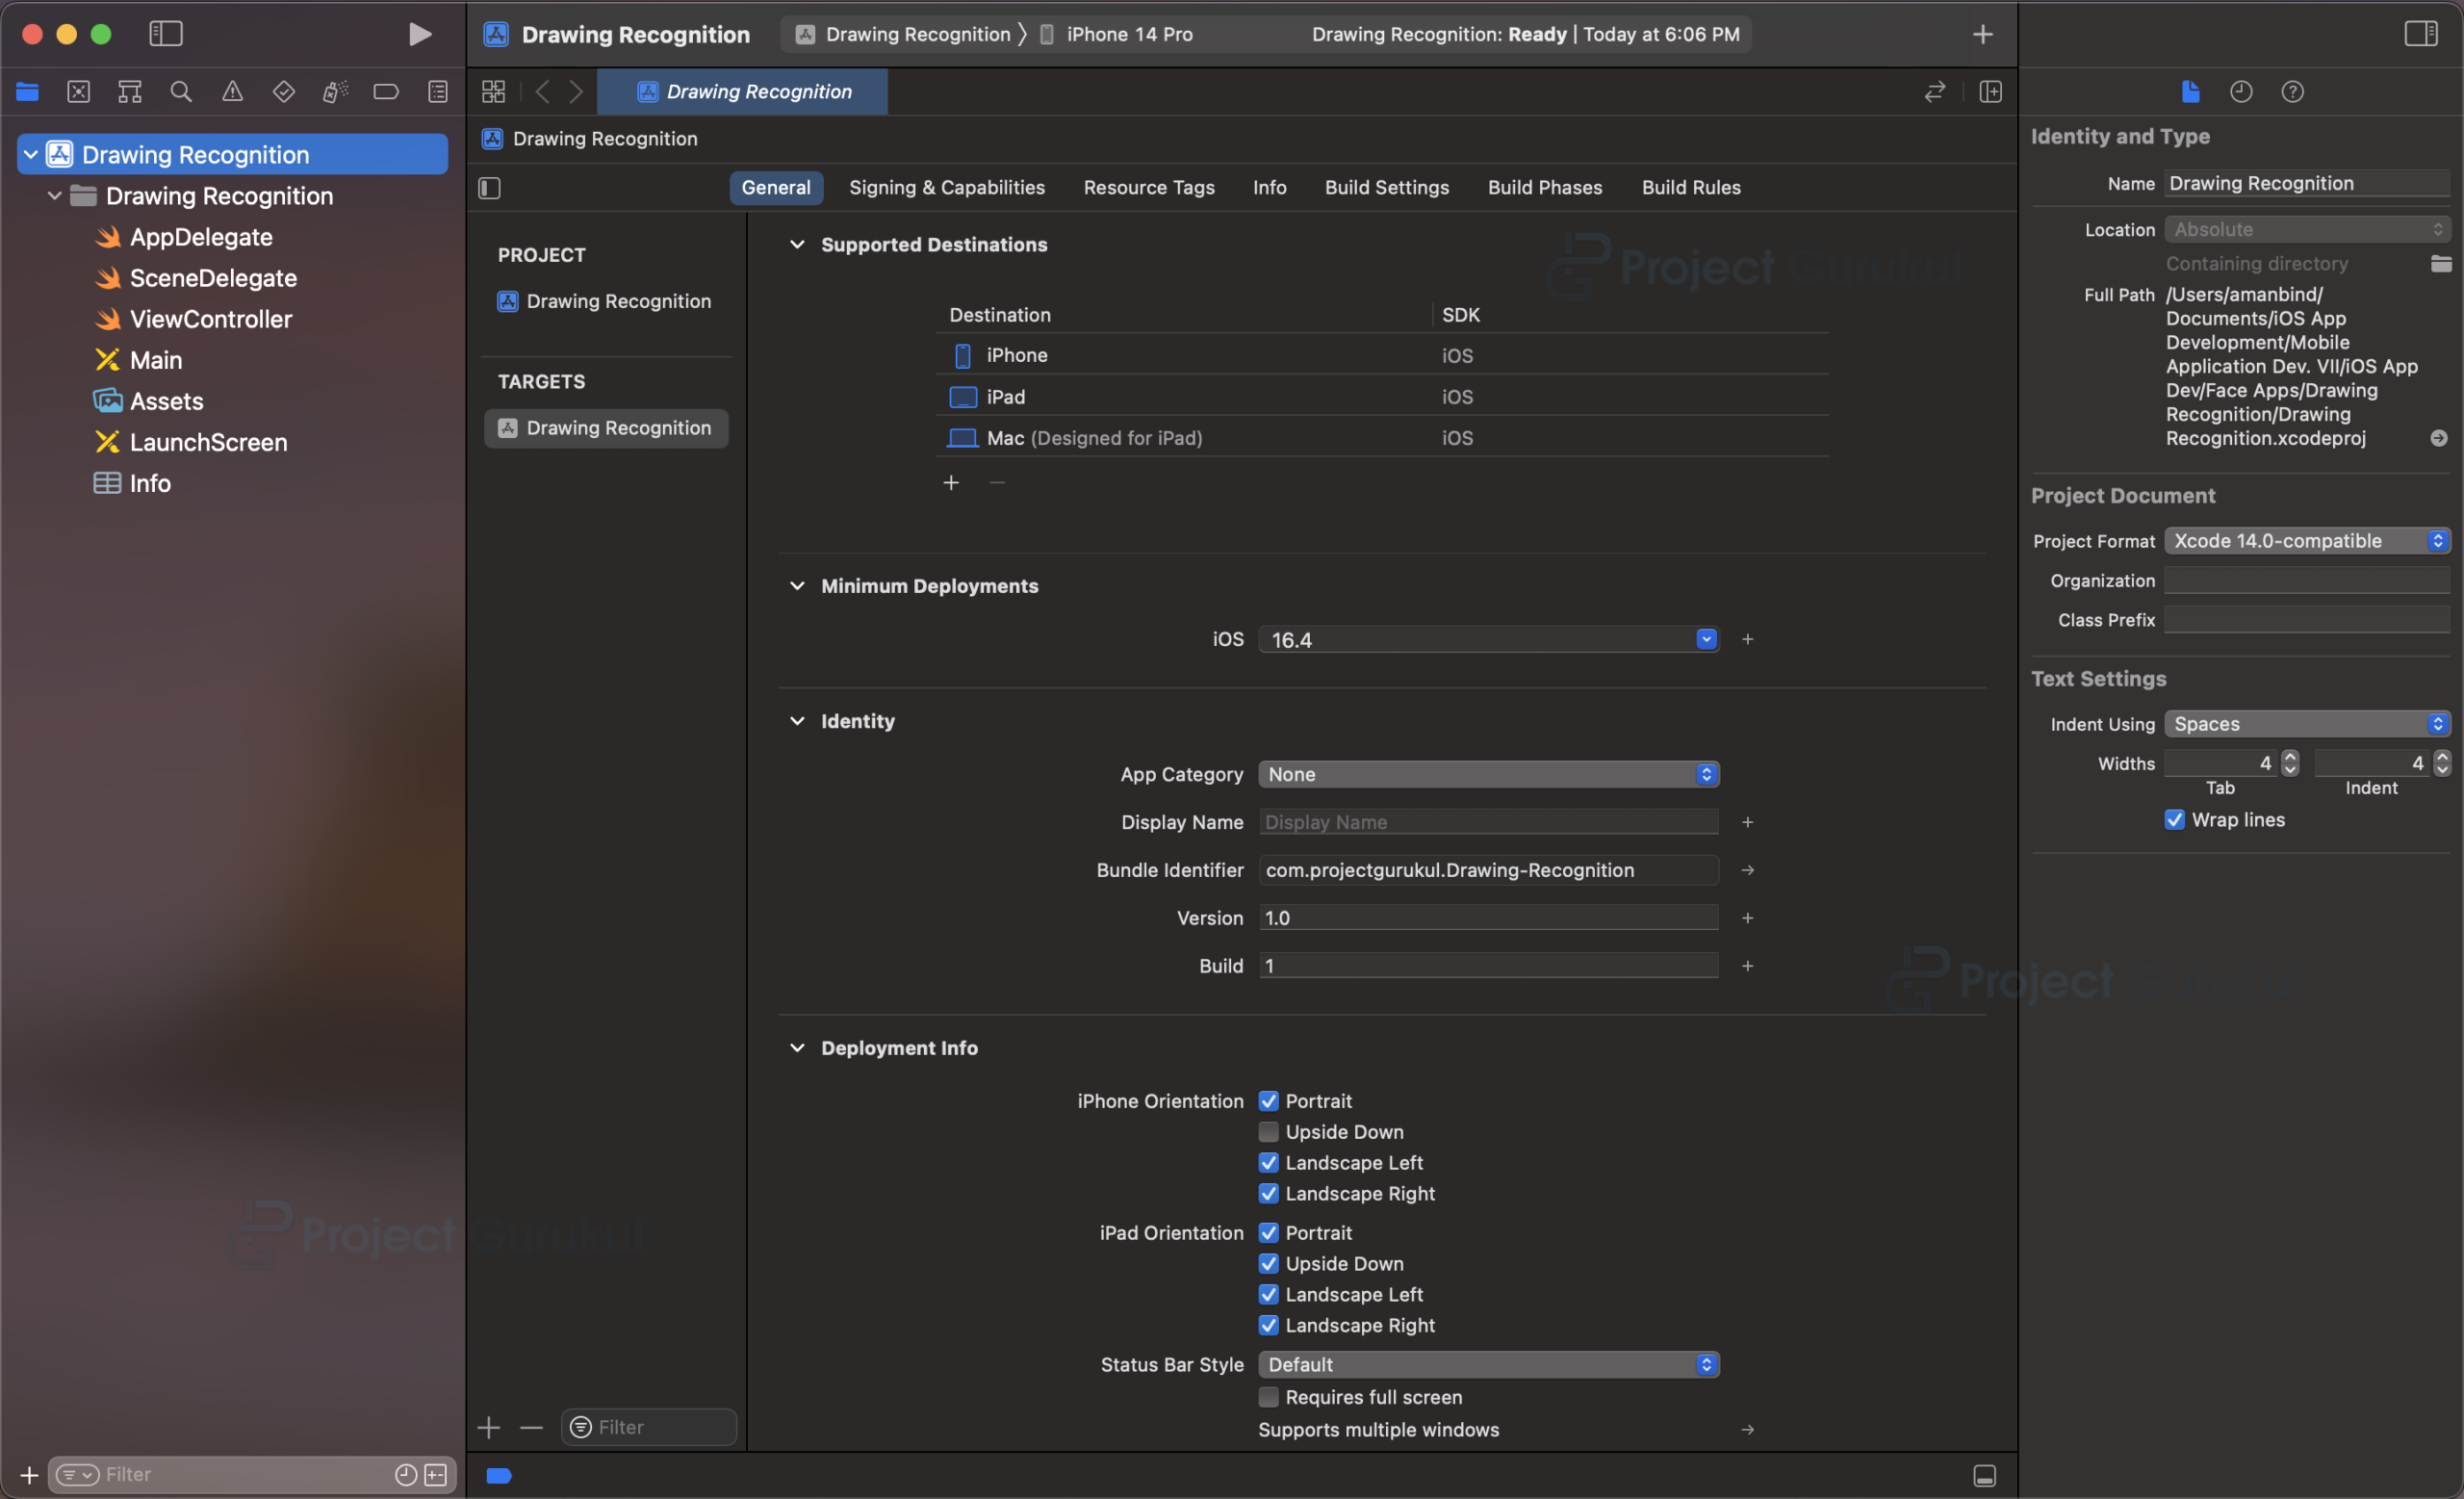
Step 3: Import the ML model into the project
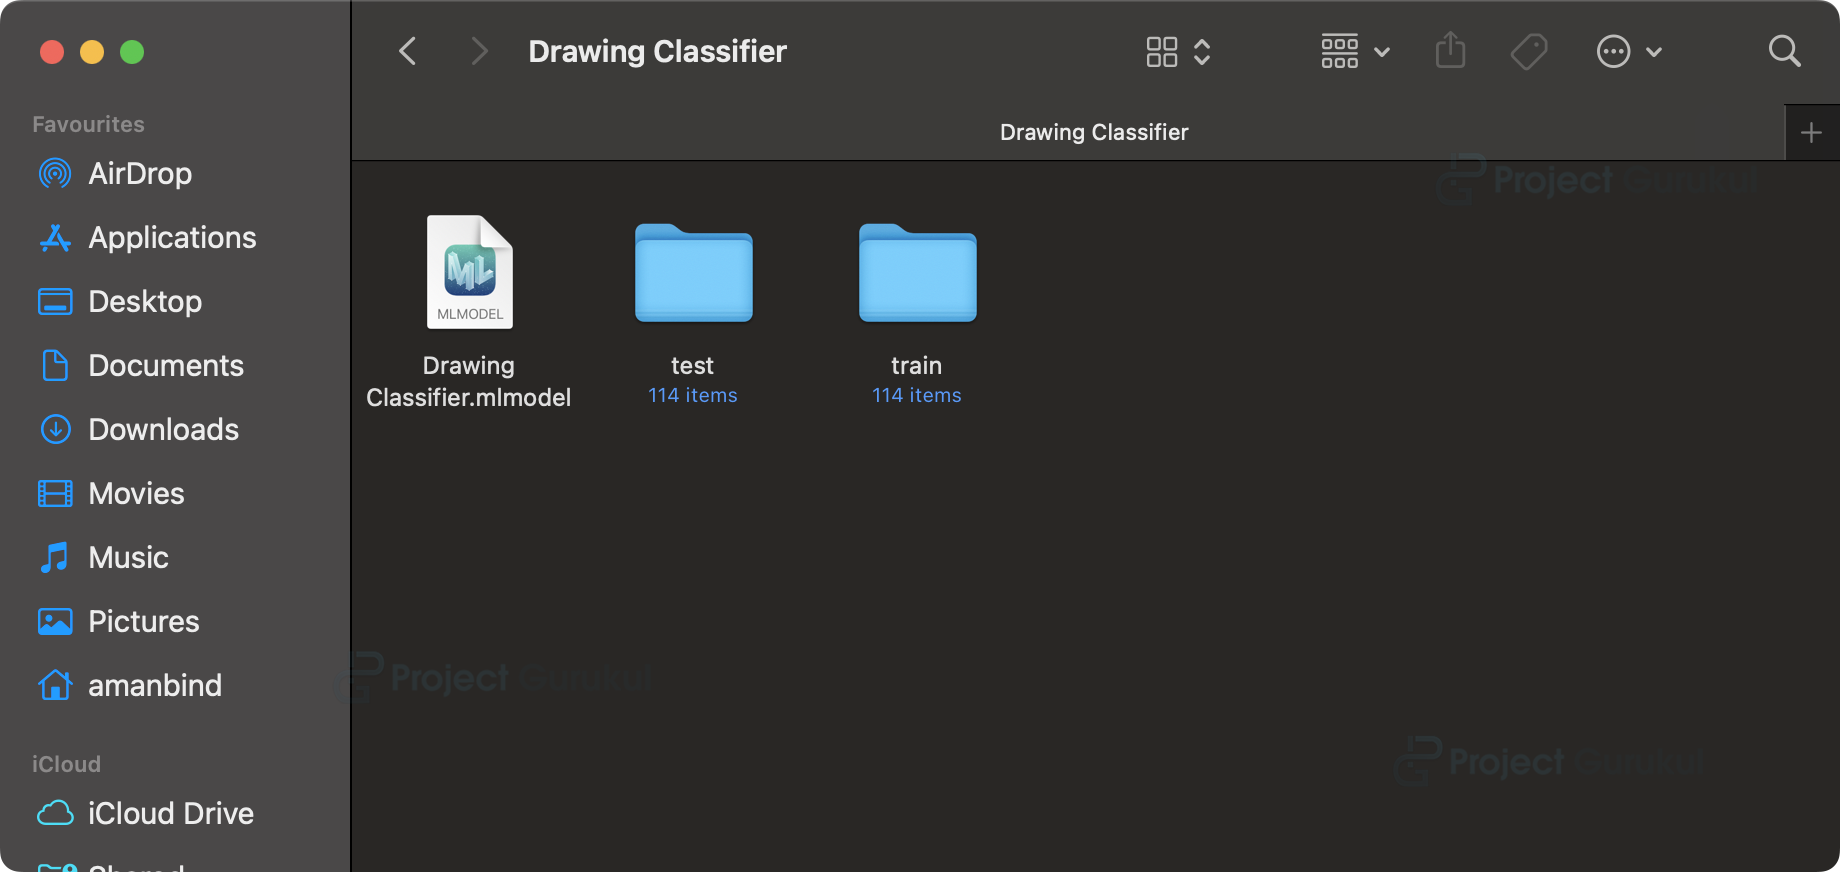
Drag and drop the ML model file that we created in the first step into the project navigator in Xcode.
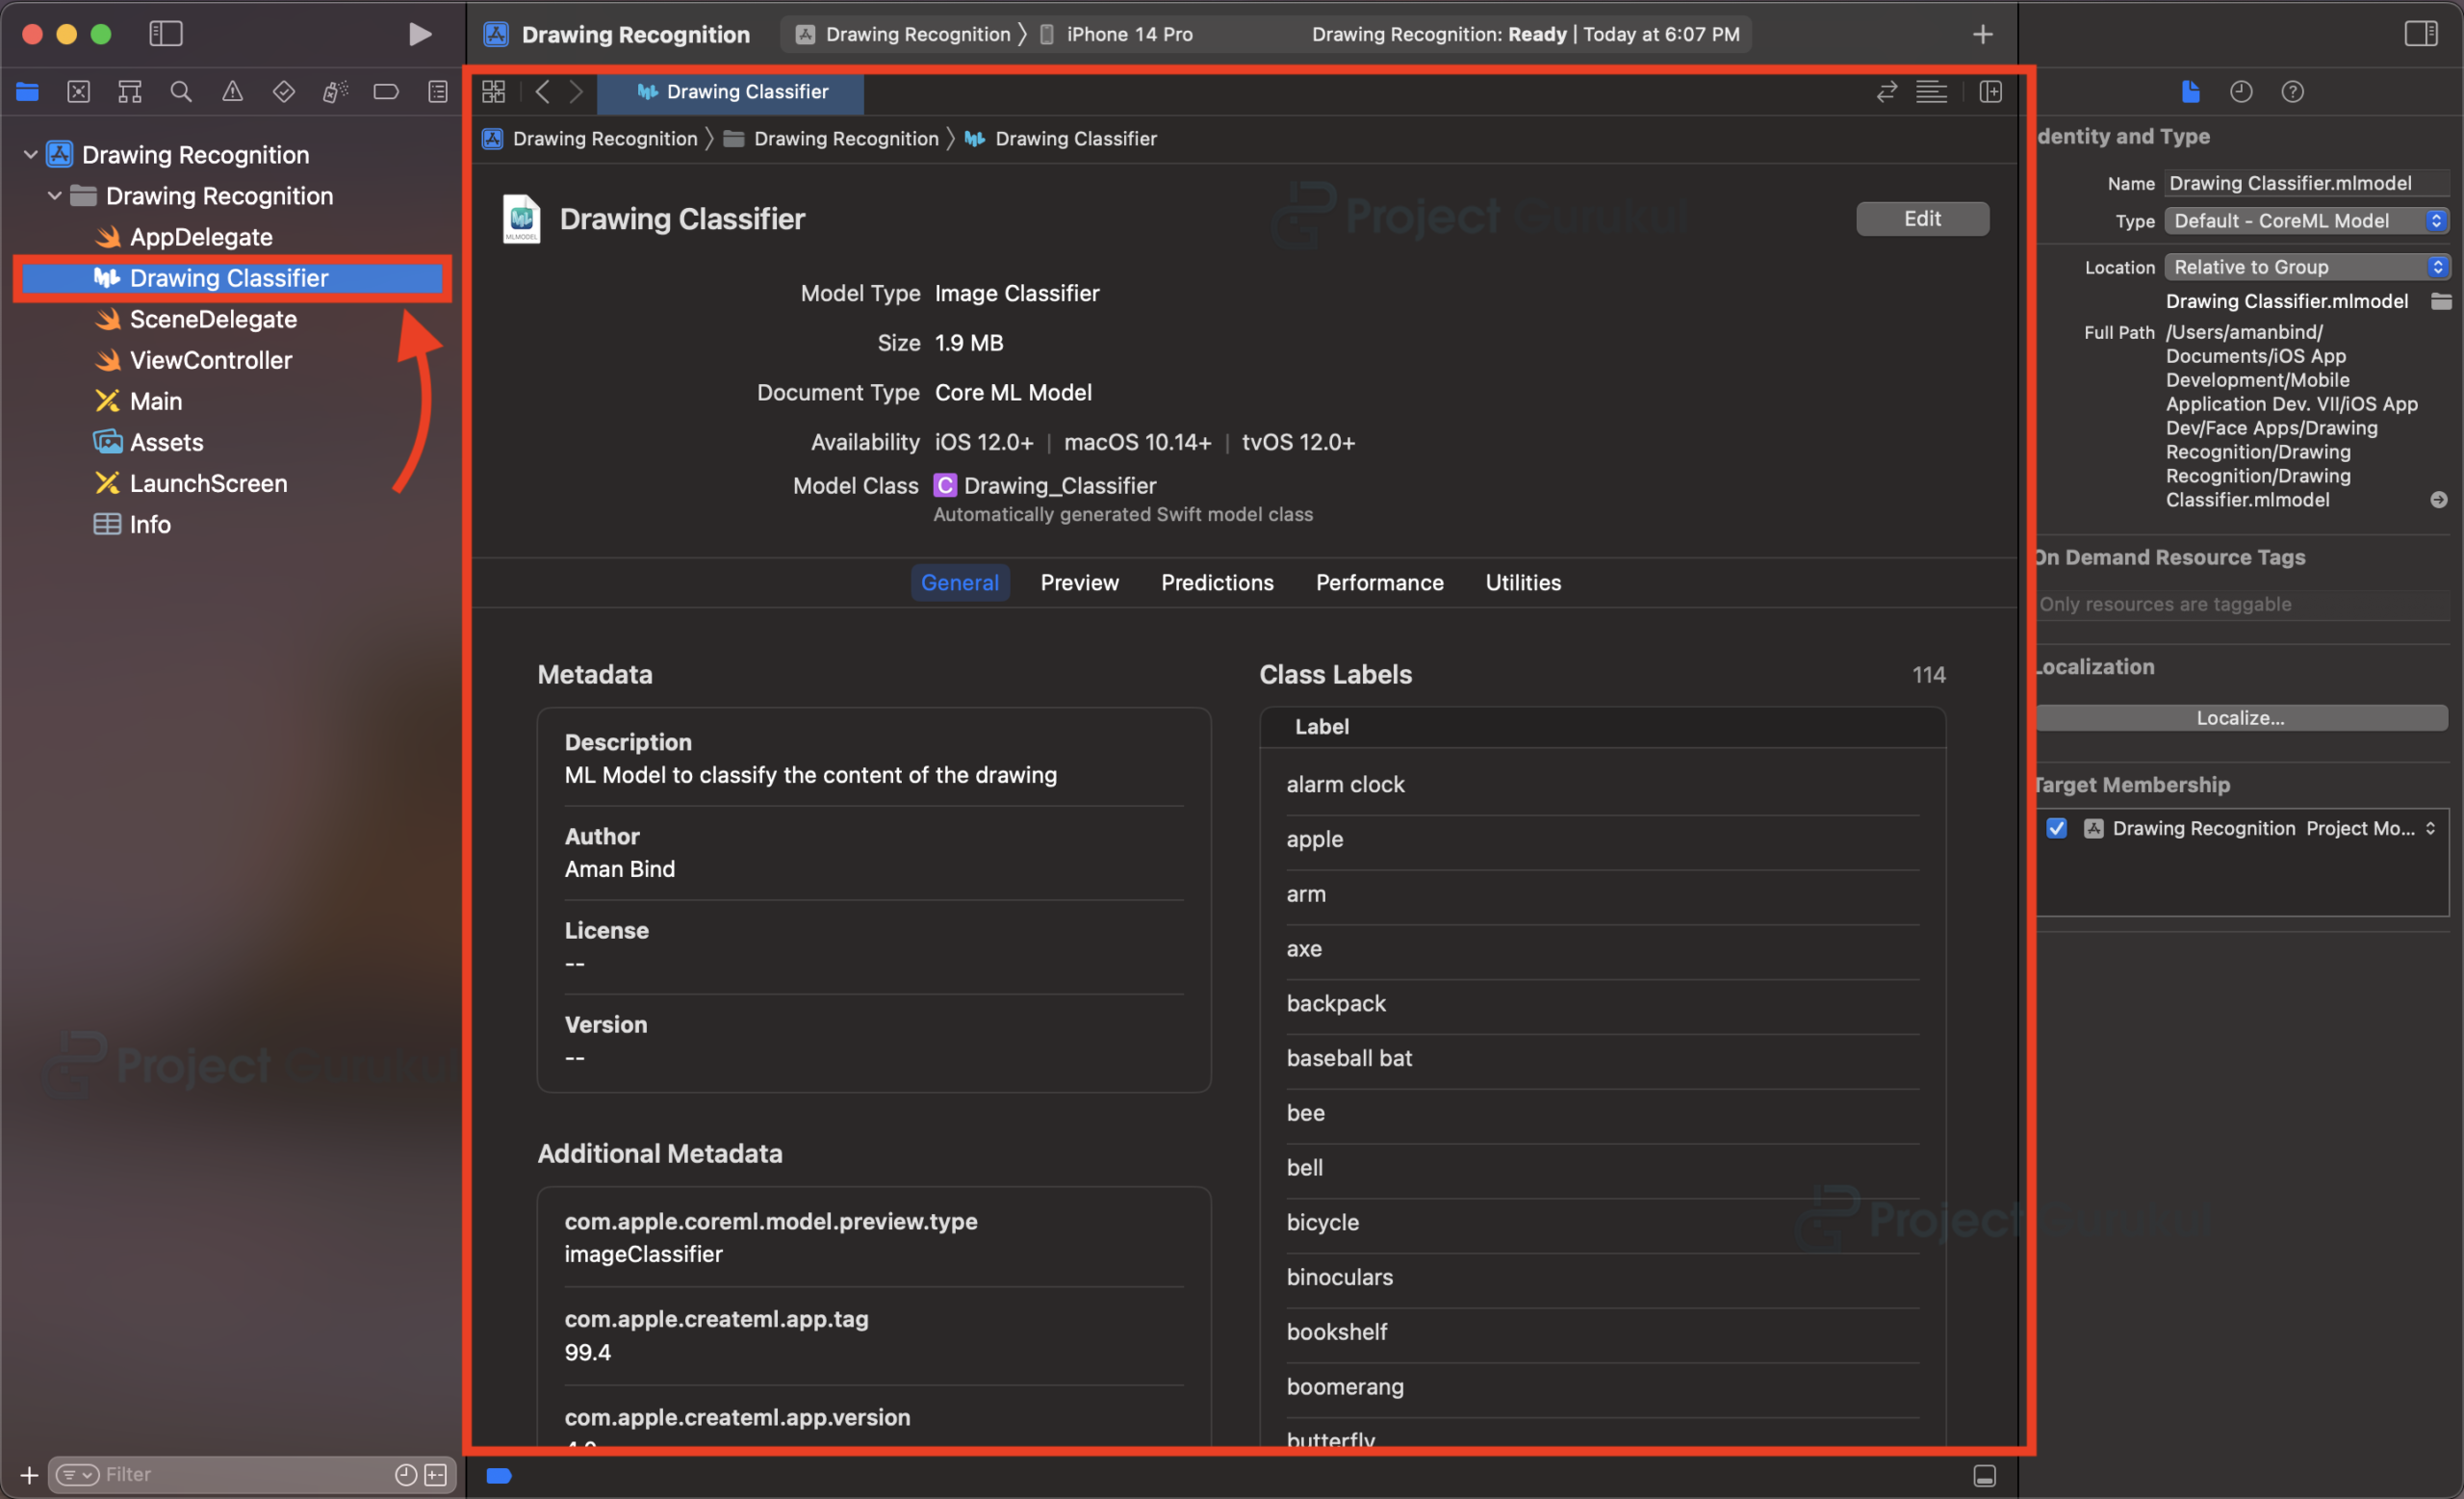
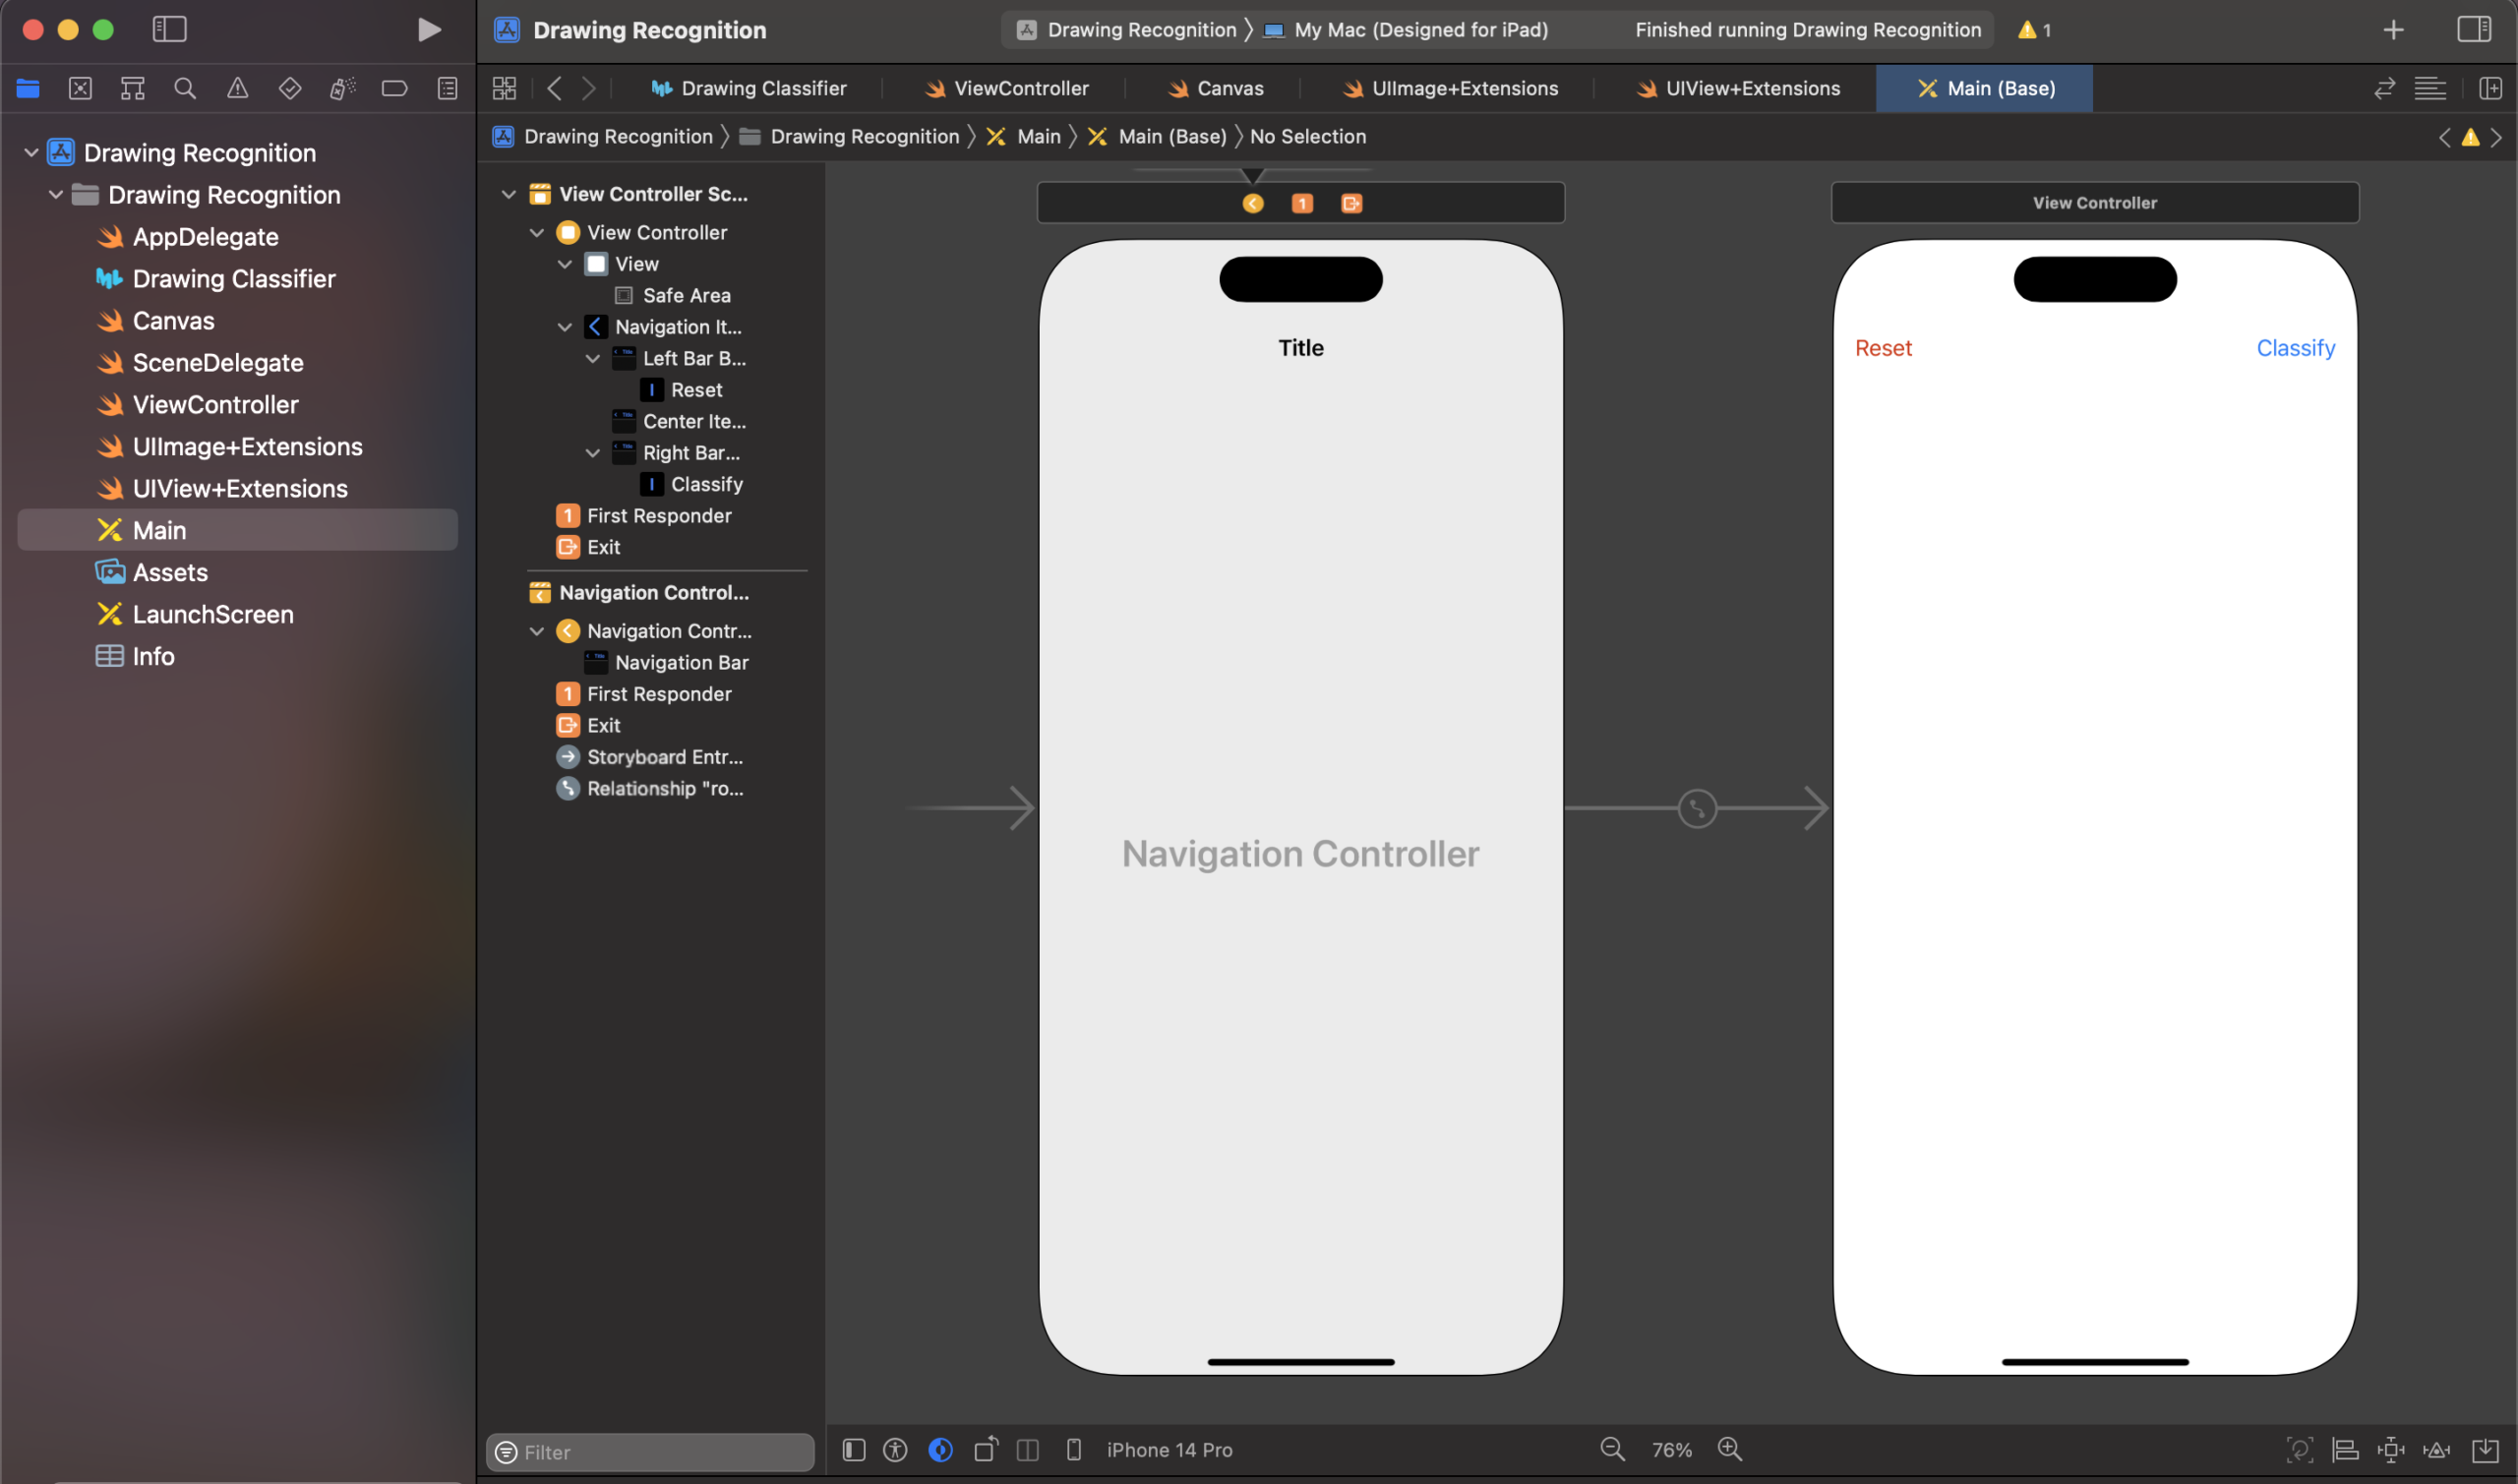
Step 4: Design the User Interface
a. Open the Main.storyboard file.
b. Drag and drop a View Controller onto the canvas.
c. Add a View to the View Controller’s main view. This will serve as the canvas for drawing.
d. Add two buttons: one for clearing the canvas and another for classifying the drawing.
e. Set appropriate constraints and layout for the elements.
Step 5: Implement the Drawing Functionality
a. Create a new Swift file called “Canvas.swift”.
b. Implement the Canvas class, subclassed from UIView.
c. Add properties to track the starting and current points of the drawing.
e. Override the touchesBegan and touchesMoved methods to capture the user’s drawing.
f. Create a UIBezierPath to represent the drawing path and update it as the user moves their finger.
g. Implement the drawShapeLayer method to display the drawing on the canvas.
Add a clear() method to reset the canvas and remove the drawing.
import Foundation
import UIKit
class Canvas: UIView {

    var startingPoint: CGPoint = CGPoint.zero
    var currentPoint: CGPoint = CGPoint.zero
    var path: UIBezierPath!


    override func touchesBegan(_ touches: Set<UITouch>, with event: UIEvent?) {

        guard let touch = touches.first else {
            return
        }

        startingPoint = touch.location(in: self)
    }

    override func touchesMoved(_ touches: Set<UITouch>, with event: UIEvent?) {

        guard let touch = touches.first else {
            return
        }

        currentPoint = touch.location(in: self)
        path = UIBezierPath()
        path.move(to: startingPoint)
        path.addLine(to: currentPoint)

        startingPoint = currentPoint

        drawShapeLayer()
    }

    private func drawShapeLayer() {
        let shapeLayer = CAShapeLayer()
        shapeLayer.path = path.cgPath
        shapeLayer.strokeColor = UIColor.red.cgColor
        shapeLayer.lineWidth = 2.0
        self.layer.addSublayer(shapeLayer)
        self.setNeedsDisplay()
    }

    func clear() {
        path.removeAllPoints()
        self.layer.sublayers = nil
        self.setNeedsDisplay()
    }
}
Step 6: Implement the Image Processing
a. Generate a fresh Swift file named “UIImage+Extensions.swift” using file menu.
b. Implement an extension on UIImage to add resizing and conversion to CVPixelBuffer functionality.
c. Add a resizeTo(size:) method to resize the image to a suitable size for the model.
d. Implement a toBuffer() method to convert the resized image to a CVPixelBuffer.
import Foundation
import UIKit
extension UIImage {

    func resizeTo(size :CGSize) -> UIImage? {

        UIGraphicsBeginImageContextWithOptions(size, false, 0.0)
        self.draw(in: CGRect(origin: CGPoint.zero, size: size))
        let resizedImage = UIGraphicsGetImageFromCurrentImageContext()!
        UIGraphicsEndImageContext()
        return resizedImage
    }

    func toBuffer() -> CVPixelBuffer? {

        let attrs = [kCVPixelBufferCGImageCompatibilityKey: kCFBooleanTrue, kCVPixelBufferCGBitmapContextCompatibilityKey: kCFBooleanTrue] as CFDictionary
        var pixelBuffer : CVPixelBuffer?
        let status = CVPixelBufferCreate(kCFAllocatorDefault, Int(self.size.width), Int(self.size.height), kCVPixelFormatType_32ARGB, attrs, &pixelBuffer)
        guard (status == kCVReturnSuccess) else {
            return nil
        }

        CVPixelBufferLockBaseAddress(pixelBuffer!, CVPixelBufferLockFlags(rawValue: 0))
        let pixelData = CVPixelBufferGetBaseAddress(pixelBuffer!)

        let rgbColorSpace = CGColorSpaceCreateDeviceRGB()
        let context = CGContext(data: pixelData, width: Int(self.size.width), height: Int(self.size.height), bitsPerComponent: 8, bytesPerRow: CVPixelBufferGetBytesPerRow(pixelBuffer!), space: rgbColorSpace, bitmapInfo: CGImageAlphaInfo.noneSkipFirst.rawValue)

        context?.translateBy(x: 0, y: self.size.height)
        context?.scaleBy(x: 1.0, y: -1.0)

        UIGraphicsPushContext(context!)
        self.draw(in: CGRect(x: 0, y: 0, width: self.size.width, height: self.size.height))
        UIGraphicsPopContext()
        CVPixelBufferUnlockBaseAddress(pixelBuffer!, CVPixelBufferLockFlags(rawValue: 0))

        return pixelBuffer
    }

}
Step 7: Implement an Extension to Convert UIView to UIImage
a. Create a new Swift file called “UIView+Extensions.swift”.
b. Implement an extension on UIView to add a uiImage() method to convert the view to a UIImage.
import Foundation
import UIKit
extension UIView {

    func uiImage() -> UIImage {

        let renderer = UIGraphicsImageRenderer(size: self.bounds.size)
        return renderer.image { (context) in
            self.drawHierarchy(in: self.bounds, afterScreenUpdates: true)
        }

    }

}
Step 8: Implement the View Controller
a. Open the ViewController.swift file.
b. Import the necessary modules and frameworks.
c. Add outlet for the canvas view.
d. Create an instance of the Drawing Classifier model.
e. Override the viewDidLoad() method and set up the canvas view.
f. Implement the clear() method to clear the canvas when the “Reset” button is tapped.
g. Implement the classify() method to process the drawing and display the classification result when “Classify” button is tapped
import UIKit
class ViewController: UIViewController {

    let canvas = Canvas()
    let model = Drawing_Classifier()
    override func viewDidLoad() {
        super.viewDidLoad()
        // Do any additional setup after loading the view.

        canvas.frame = view.frame
        view.addSubview(canvas)
    }

    @IBAction func clear() {
        self.title = ""
        canvas.clear()
    }

    @IBAction func classify() {

        let image = canvas.uiImage()
        guard let resizedImage = image.resizeTo(size: CGSize(width: 299, height: 299)),
            let buffer = resizedImage.toBuffer()
        else {
            return
        }

        let output = try? model.prediction(image: buffer)

        if let output = output {
            self.title = output.classLabel
        }

    }
}
Now the app is ready to recognize your drawings.
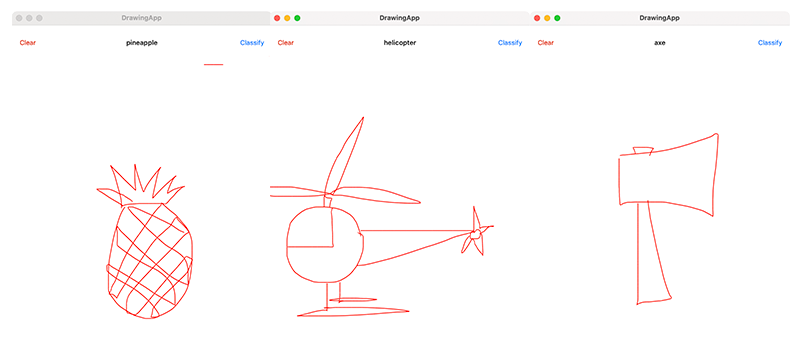
Output
Summary:
Congratulations! You have successfully created a Drawing Recognition App using the Storyboard Interface for iOS. You have learned how to integrate drawing functionality, capture user drawings, and use a pre-trained machine learning model to classify the drawings. You can now further enhance the app by adding more features according to your needs. Happy Coding!