Python’s Folder and File Compressor – Your Data’s Best Friend!
We offer you a brighter future with FREE online courses - Start Now!!
Many times we have less space in our system or files to be transferred require less space to be easily shared. So for optimal use of storage and memory, we need to compress our files and folders, so let’s make Python Folder and File Compressor by using the Tkinter Library of Python.
What is Tkinter?
Python offers various utilities to design the GUI wiz Graphical User Interface, and one such utility is Tkinter which is most commonly used. It is one of the fastest and easiest ways to build GUI applications. Moreover, Tkinter is cross-platform. As a result, the same code works on macOS, Windows, and Linux.
Prerequisites for Folder and File Compressor using Python
- Basic knowledge of Python Programming Language and how the function is defined.
- How the window is made in Tkinter GUI, and how the frame is made in it.
Download Python Folder and File Compressor Project
Please download the source code of Python Folder and File Compressor Project from the following link: Python Folder and File Compressor Project Code
Steps to Create Folder and File Compressor Project using Python
Step 1: Importing the necessary modules
To use Tkinter, we need to import the Tkinter module. We are also going to import the zipfile and filedialog module.
Code:
#import packages
import tkinter as tk
import zipfile
from tkinter import filedialog
from tkinter import messagebox
Step 2: Making a window for our project
This code sets the title of the window as ‘ProjectGurukul Folder and File Compressor’, and sets the dimensions ‘width x length’.
Code:
root = tk.Tk()
root.geometry("350x100")
root.title("ProjectGurukul Folder and File Compressor")
Step 3: Functions
This function takes input files to be compressed and a location to save them after compression is done, and it compresses them.
Code:
def compress():
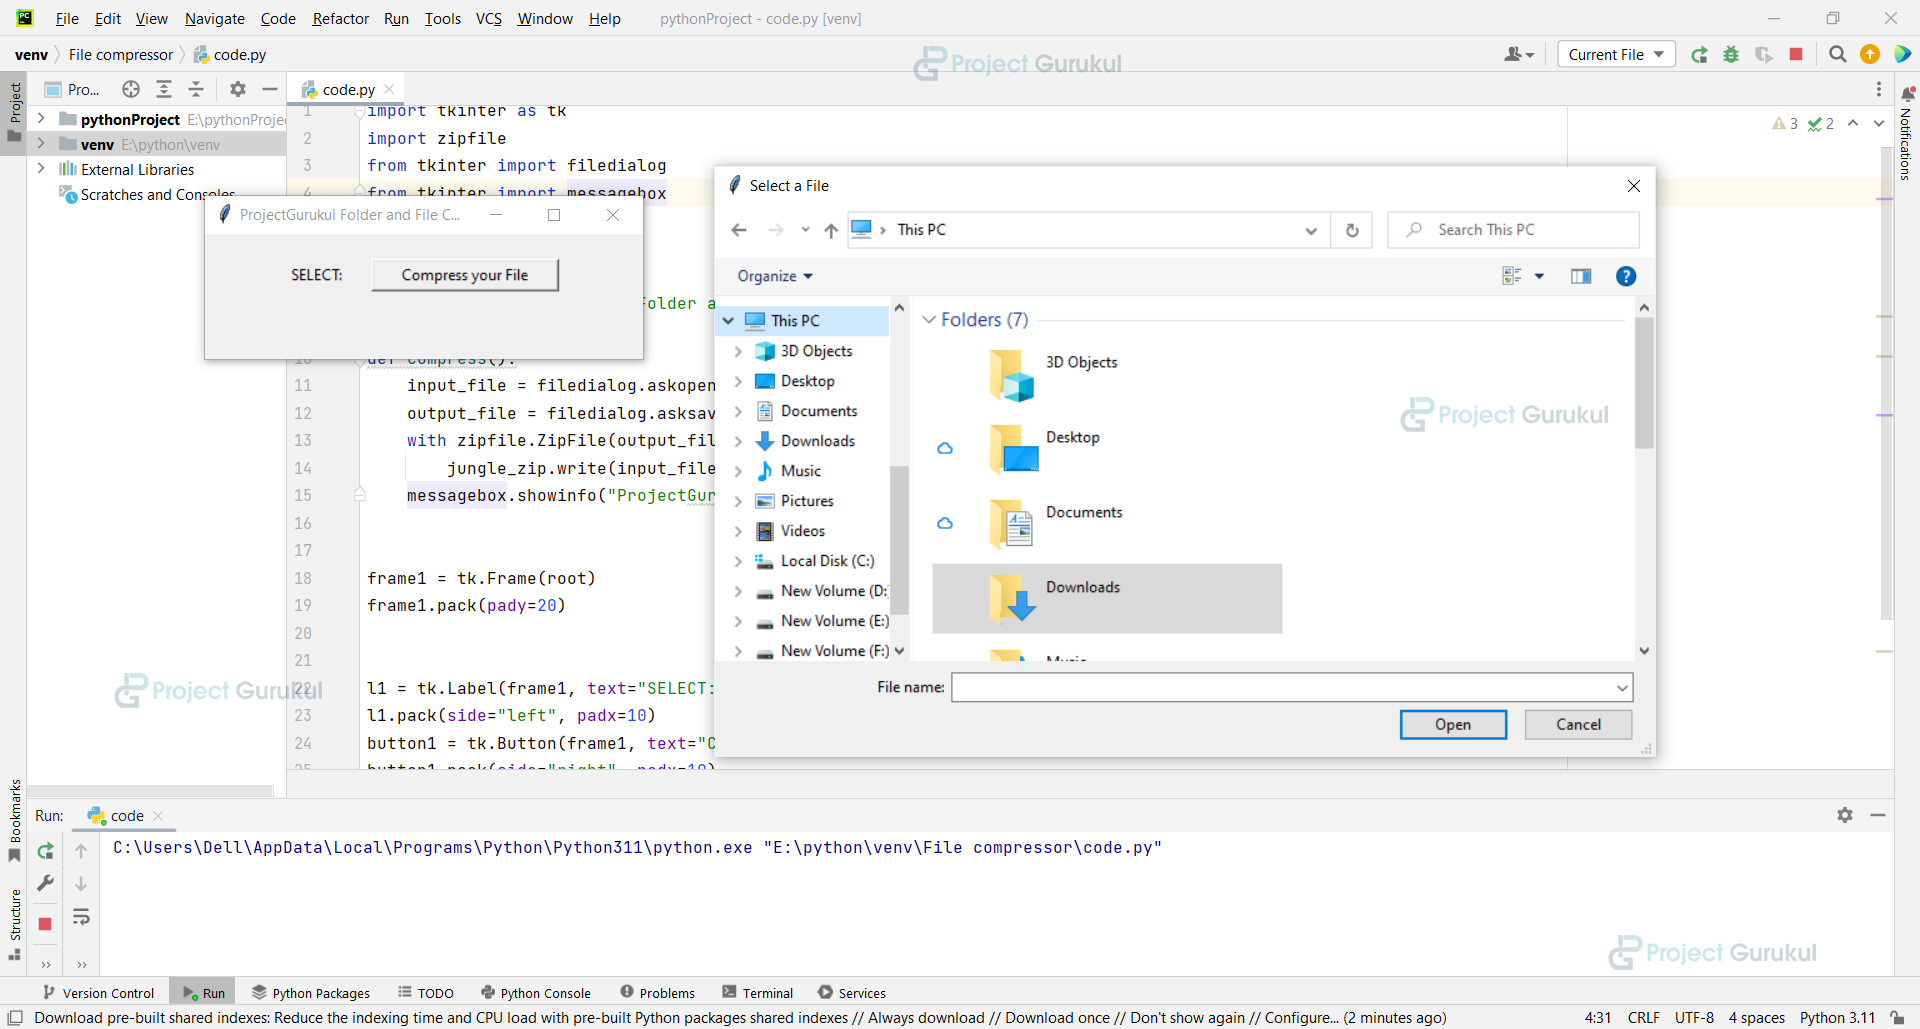
input_file = filedialog.askopenfilename()
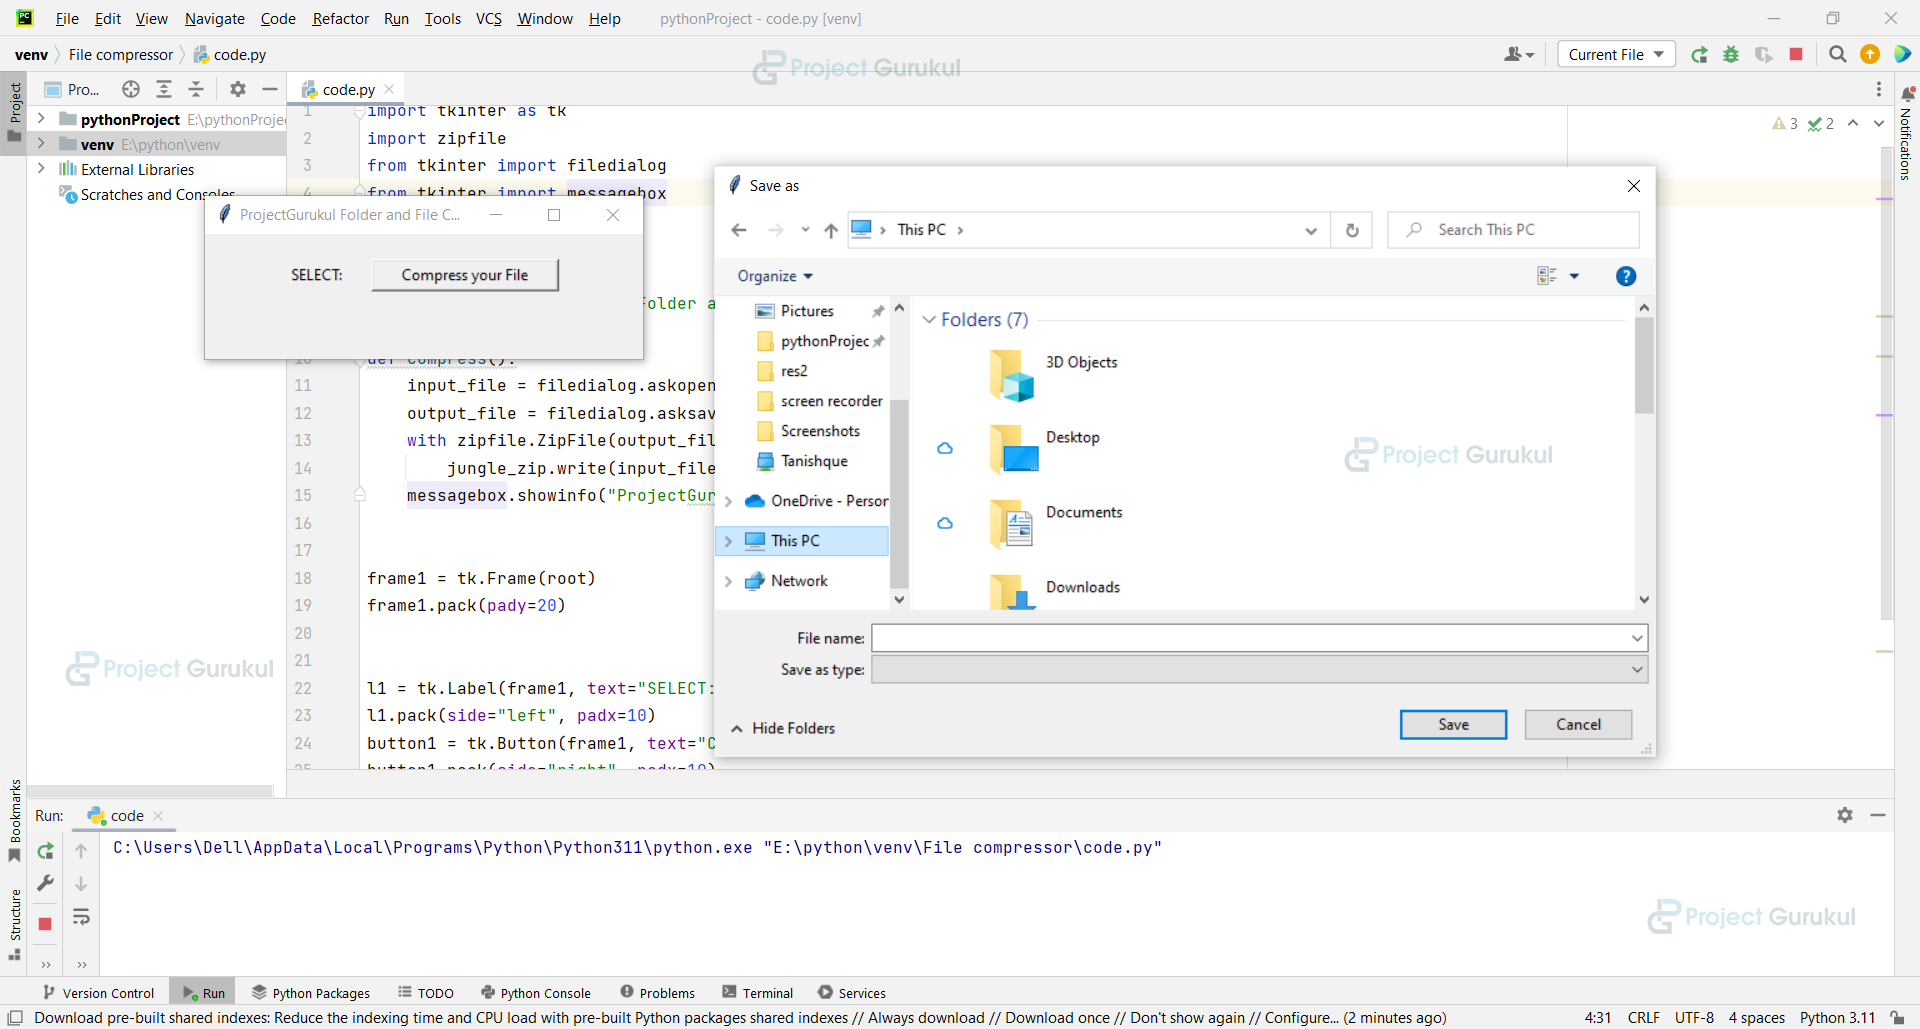
output_file = filedialog.asksaveasfilename(defaultextension=".zip")
with zipfile.ZipFile(output_file, 'w') as jungle_zip:
jungle_zip.write(input_file, compress_type=zipfile.ZIP_DEFLATED)
messagebox.showinfo("ProjectGurukul(Congrats)", "Compressed file is saved!")
Explanation:
zipfile.ZipFile creates the zip file in write mode and names it as jungle_zip and jungle_zip.write takes the input file and compresses it with zipfile.ZIP_DEFLATED function.
Step 4: Making Frames and Mapping the Buttons to Their Functionalities
We make a frame, and in that frame, we give a label and button modules to get input files from the user.
Code:
frame1 = tk.Frame(root)
frame1.pack(pady=20)


l1 = tk.Label(frame1, text="SELECT:")
l1.pack(side="left", padx=10)


button1 = tk.Button(frame1, text="Compress your File", width=20, command=compress)
button1.pack(side="right", padx=10)


root.mainloop()
Full Code
import tkinter as tk
import zipfile
from tkinter import filedialog
from tkinter import messagebox


root = tk.Tk()
root.geometry("350x100")
root.title("ProjectGurukul Folder and File Compressor")


def compress():
   input_file = filedialog.askopenfilename()
   output_file = filedialog.asksaveasfilename(defaultextension=".zip")
   with zipfile.ZipFile(output_file, 'w') as jungle_zip:
       jungle_zip.write(input_file, compress_type=zipfile.ZIP_DEFLATED)
   messagebox.showinfo("ProjectGurukul(Congrats)", "Compressed file is saved!")


frame1 = tk.Frame(root)
frame1.pack(pady=20)


l1 = tk.Label(frame1, text="SELECT:")
l1.pack(side="left", padx=10)
button1 = tk.Button(frame1, text="Compress your File", width=20, command=compress)
button1.pack(side="right", padx=10)
root.mainloop()
Python Folder and File Compressor Output
Summary
We have successfully created a Compressed File using Python Tkinter GUI. This project provides practical exposure to various Python libraries such as zipfile to compress our file, tkinter to make a nice GUI, and filedialog to take input and save the output files.