QR Code Generator – Make QR Code Generation Easy with This Python Project
FREE Online Courses: Elevate Skills, Zero Cost. Enroll Now!
In this project, we will create a python QR code generator application using tkinter library for GUI and pyqrcode library for generating QR codes. The application will take input from the user in the form of text or a URL, generating a QR code that can be saved as a PNG image file.
QR Code Generator
The objective of this tutorial is to give an introduction to creating GUI applications in Python and demonstrate how to use the pyqrcode library for generating QR codes.
Project Prerequisites:
To follow this tutorial, you should have a basic understanding of Python programming and be familiar with tkinter and pyqrcode libraries. You should also have Python 3 and the required libraries installed on your computer.
PyQRCode library internally uses pypng library to generate the QR code image. So will also require pypng library
You can install these libraries by typing the following commands in your terminal
pip install pypng
pip install pyqrcode
pip install tk
Pip install pillow
Download Python QR Code Generator Project
Before proceeding ahead, please download the source code of python QR code generator: QR Code Generator Project
Python QR Code Generator Project File Structure
Steps for building the python QR Code Generator project:
Step 1: Importing Libraries
# Importing the required liabraries
import os
import tkinter as tk
from pyqrcode import QRCode
from PIL import Image, ImageTk
from tkinter import messagebox
from tkinter import filedialog
In the first step we will be importing the necessary libraries. For this application, we will be using the following libraries:
- os: to interact path and directory
- tkinter: for creating the GUI
- pyqrcode: for generating QR codes
- PIL: for displaying and saving the QR code as a PNG image
- filedialog and messagebox: for saving and displaying messages in the GUI
Step 2: Creating the generate_qr function
# Function to generate QR code
def generate_qr():


   # Getting the text or url from the text field
    data = entry.get()


   # Checking if the data is empty
    if data:


       # Creating the QR code and saving it as qrcode.png
        global myQr
        myQr = QRCode(data)
        myQr.png('qrcode.png', scale=8)


       # Opening the QR code and resizing it to fit the label
        img = Image.open("qrcode.png")
        img = img.resize((350, 350), Image.ANTIALIAS)
        img = ImageTk.PhotoImage(img)


       # Setting the image and text in the label
        label.config(text='QR code generated',image=img,compound='bottom')
        label.image = img

    else:
       # If the data is empty, show an error message
        label.config(text="Please Enter the data")
The generate_qr function of pyqrcode module generates the QR code from the input text or URL. It first gets the input from the user using the entry widget and checks if it is empty. If the input is not empty, it creates a QR code object using the input data and saves it as a ‘qrcode.png’ file. It then opens the file, resizes it to fit the label, and sets the image and text. If the input is empty, it shows an error message in the label.
Step 3: Creating the save function
# Function to save the QR code
def save():


   # Getting the file name and location to save the QR code
    file = filedialog.asksaveasfile(
                                   initialdir=os.getcwd(),
                                   title="Select file",
                                   filetypes=(("png files", "*.png"), ("all files", "*.*"))
                                   )


   # Checking if the file name is not empty
    if file is not None:
        myQr.png(file.name, scale=6)
        file.close()


       # Showing a success message after saving the QR code
        messagebox.showinfo("Success", "QR code saved successfully")
The save function is responsible for saving the QR code as a PNG image file. It gets the file name and location to save the QR code using the filedialog widget, and then saves the QR code using the myQr.png() method. It then closes the file and shows a success message using the messagebox widget.
Step 4: Creating the GUI
# Creating the GUI
root = tk.Tk()


# Setting the title and window size
root.geometry('400x470')
root.title('Project Gurukul - QR Code Generator')
In this step, we will create the user interface for the QR code generator using the tkinter library. We will use the tk.Tk() method to create the main window of the app and set its properties such as title and size.
First, we will create a text entry box where the user can enter the text or URL to be encoded in the QR code. We use the tk.Entry() method to create the text entry box and set its properties such as width and alignment. We also insert a placeholder text in the entry box using the insert() method.
# Creating the entry to enter the text
entry = tk.Entry(root, width=40)
entry.pack()
entry.bind("<FocusIn>", lambda args: entry.delete('0', 'end'))
entry["justify"] = "center"


# Creating a placeholder text
entry.insert(0, "Enter the text or url")
Next, we will create a button that will be used to generate the QR code when clicked. We use the tk.Button() method to create the button and set its properties such as text and command. The command is set to the generate_qr() function that we defined earlier in the code.
# Creating the button to generate the QR code
button = tk.Button(root, text='Generate QR code', command=generate_qr)
button.pack()
We will also create a label to display the generated QR code. We use the tk.Label() method to create the label and set its properties such as text and image. Initially, the label will display a default image, and the text will be set to an empty string. When the QR code is generated, the label will update to show the generated QR code and display the text “QR code generated”.
# Creating the label to show the QR code and text
# The text and image will be changed from default
# when the QR code is generated
new_img = Image.open("preview.png")
new_img = new_img.resize((350, 350), Image.ANTIALIAS)
new_img = ImageTk.PhotoImage(new_img)


label = tk.Label(root)
label.config(text='',image=new_img,compound='bottom')
label.image = new_img
label.pack()
Lastly, we will create a button to save the QR code. We use the tk.Button() method to create the button and set its properties such as text and command. The command is set to the save() function that we defined earlier in the code.
# Creating the button to save the QR code
saveButton = tk.Button(root, text="Save", command=save)
saveButton.pack()
Step 5: Creating a loop
The final step is to run the mainloop to display the app window. We use the root.mainloop() method to start the main loop and display the app window.
# Running the mainloop
root.mainloop()
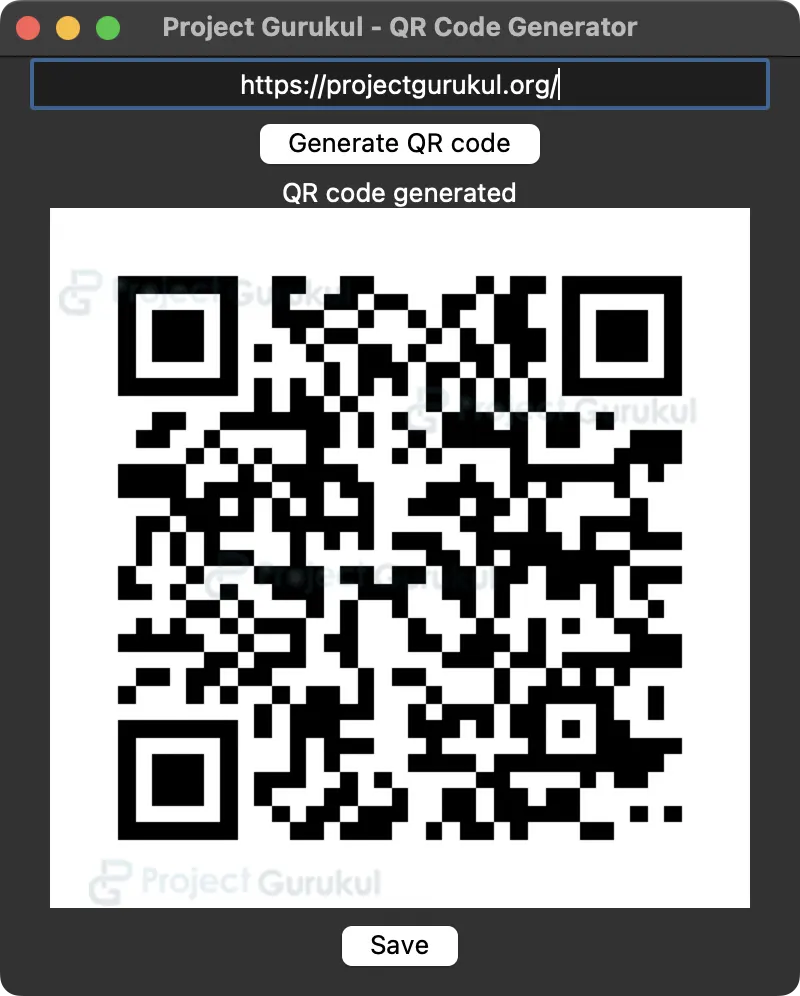
Python QR Code Generator Output:
Summary
Congratulations, you have just learned how to create a QR code generator project using Python and Tkinter. You learned how to import the necessary libraries, create a GUI with buttons, labels, and text fields, and generate and save QR codes. Following this tutorial, you have successfully created your own QR code generator app. Congratulations on completing this project!
It’s a great step to becoming proficient in Python and GUI development. You can now use this knowledge to create even more advanced projects and become a coding pro. Keep experimenting and exploring new possibilities with Python!
Give me the applications of this python coding