Handwritten Digit Recognition using Python & Deep Learning
We offer you a brighter future with FREE online courses - Start Now!!
The ability of computers to recognize human handwritten digits is referred to as handwritten digit recognition. Handwritten digits are not perfect and can be made in any shape as a result, making it a tedious task for machines to recognize the digits. So in this, we will use the image of the digit and recognize the digit present in that image.
About the project we are going to create:
In this project, we will be using a Convolutional Neural Network to create our model which will predict the digits present in the image. And in this, we are using the MNIST dataset, with the help of which we will create our project that is handwritten digit recognition.
Project Prerequisites:
The libraries that should be installed on your computer are:
- Tensorflow
- Numpy
- Matplotlib
- Keras
- Opencv
If you don’t have these libraries installed, install them by using pip. (For ex: pip install numpy, pip install matplotlib, pip install tensorflow, etc)
About Dataset:
We will be using MNIST dataset which is very famous or we can say it is very popular among machine learning and deep learning enthusiasts. In this dataset, there are 60,000 training images of handwritten digits from zero to nine and 10,000 images for testing. So in this, we have 10 different classes. In this, the images are represented as a 28 x 28 matrix where each cell contains grayscale pixel value.
We don’t have to download the dataset as it is already available in tensorflow datasets we just have to write(tf.keras.datasets.mnist). We will learn how to use it, so chill we will see below.
Download Handwritten Digit Recognition Project Code
Please download the source code of handwritten digit recognition with machine learning: Handwritten Digit Recognition Project Code
Let’s start Building our deep learning project that is Handwritten Digit Recognition:
1) Import required libraries and load Dataset:
Let’s go step by step. We will import the libraries whenever we require, so first, we only import tensorflow so that we can load our dataset, as I have told you that the MNIST dataset is already present in tensorflow. So we can easily import the dataset and start working on it.
import tensorflow as tf

mnist = tf.keras.datasets.mnist
2) Splitting of Data:
Now we will split our training and testing data, and its corresponding labels, using mnist.load_data() method. And by using x_train.shape we will get the shape of our training data that is (60,000, 28, 28).
(x_train, y_train),(x_test , y_test) = mnist.load_data()

x_train.shape
3) Visualisation of data:
Let’s visualize our data using matplotlib library, so firstly we have to import matplotlib, and then we are able to see the first image of our training data using plt.imshow().
import matplotlib.pyplot as plt
plt.imshow(x_train[0])
plt.show()
plt.imshow(x_train[0] , cmap = plt.cm.binary)

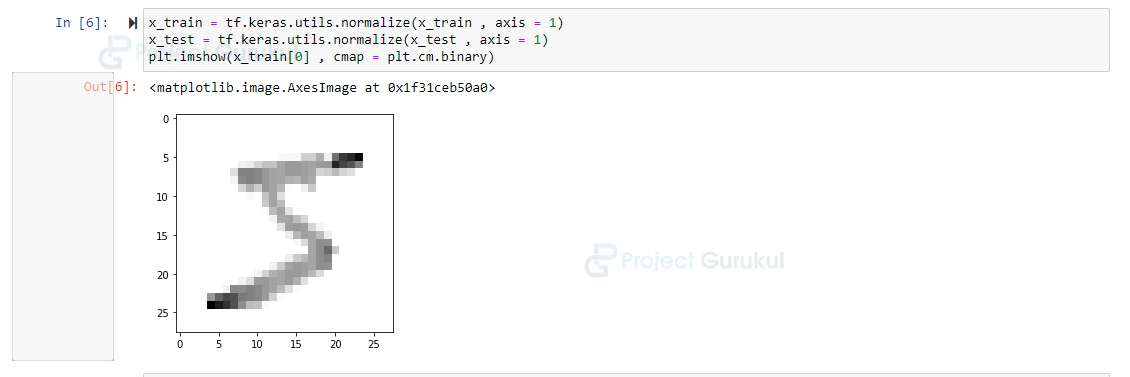
4) Normalize Data:
We cannot feed our image directly into our model, so we have to perform some operations to process the data to make it ready for our neural network. Firstly we have to normalize our data, we will do this with the help of tf.keras.utils.normalize() method.
x_train = tf.keras.utils.normalize(x_train , axis = 1)
x_test = tf.keras.utils.normalize(x_test , axis = 1)
plt.imshow(x_train[0] , cmap = plt.cm.binary)
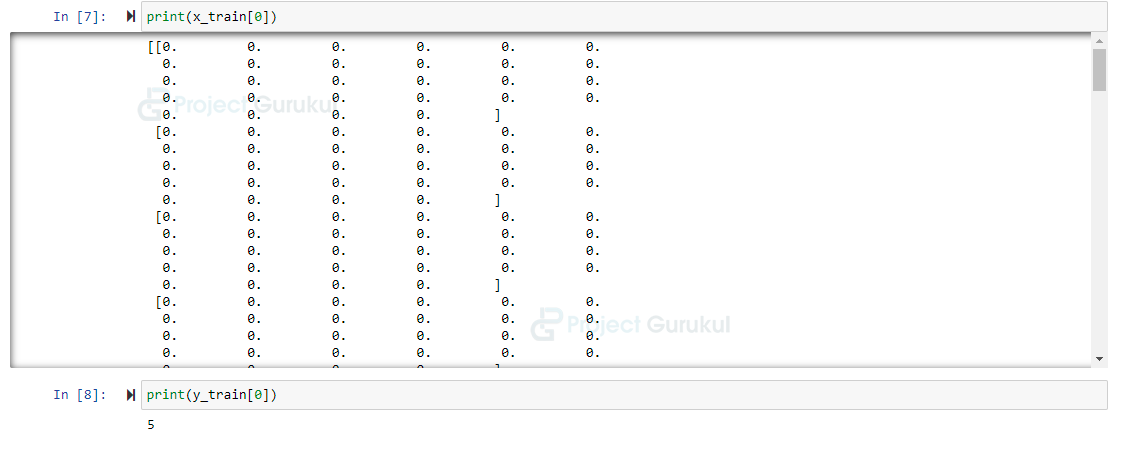
5) Let’s check our data is normalized or not:
print(x_train[0])
6) Reshape the data:
We have to preprocess the data so that we can use that data to create a model, so for that as we have seen the shape of our data is (60000,28,28). Our model will require one more dimension so we reshape the data to (60000,28,28,1).
import numpy as np
img_size = 28
x_trainer = np.array(x_train).reshape(-1,img_size,img_size,1)
x_tester = np.array(x_test).reshape(-1,img_size,img_size,1)
print('Training shape' , x_trainer.shape)
print('Testing shape' , x_tester.shape)
7) Creating Model:
Now let’s create our model, we will be importing required libraries to create models, we will create our Convolutional neural network (CNN) model. CNN models generally consist of convolutional layers and pooling layers. As we know, CNN works very well for image classification problems. The dropout layer is used to deactivate some of the neurons while training, or we can say it reduces overfitting of the model.
So you can see below how we create our model using various layers.
from tensorflow.keras.models import Sequential
from tensorflow.keras.layers import Dense, Dropout , Activation, Flatten , Conv2D, MaxPooling2D

model = Sequential()

model.add(Conv2D(32 , (3,3) , activation = 'relu' , input_shape= x_trainer.shape[1:]))
# model.add(MaxPooling2D((2,2)))

model.add(Conv2D(64 , (3,3) , activation = 'relu'))
model.add(MaxPooling2D((2,2)))
model.add(Dropout(0.25))

# model.add(Conv2D(64 , (3,3) , activation = 'relu'))
# model.add(MaxPooling2D((2,2)))

model.add(Flatten())

model.add(Dense(256, activation = 'relu'))
model.add(Dropout(0.5))
model.add(Dense(10, activation = 'softmax'))
8) Our model summary that we have created above:
model.summary()

9) Compile our model:
# compile model that we have created for handwritten digit recognition project
model.compile(optimizer = 'adam' , loss = 'sparse_categorical_crossentropy' , metrics = ['accuracy'])
10) Model Training:
Train the model, the model.fit() function will start training the model. It will take the training data, validation data, epochs, and batch size.
# fit x_trainer , y_train to the model to see accuracy of model:
model.fit(x_trainer,y_train, epochs = 10 , validation_split = 0.3 , batch_size = 128,verbose=1)

Our model accuracy is more than 99% on training data and more than 98% on our validation data.
11)Now, let’s evaluate our model on our test data:
test_loss, test_acc = model.evaluate(x_tester, y_test)
print('Test loss on 10,000 test samples' , test_loss)
print('Validation Accuracy on 10,000 samples' , test_acc)

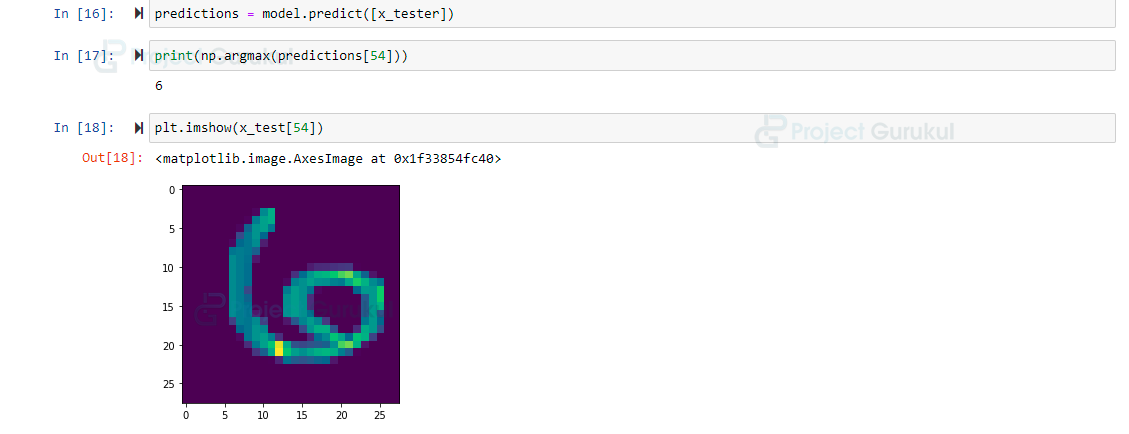
12) Predictions:
Our model is ready and now we can predict the digits present in an image. Let’s see predictions made by our model and what is the actual number in an image.
predictions = model.predict([x_tester])

print(np.argmax(predictions[54]))

plt.imshow(x_test[54])
13) Save the model:
Our model is working accurately so now we can save our model and can use it anywhere to predict the handwritten digit.
model.save("digit_recogniser_model.h5")
14) Now let’s predict the digit on our custom image to see how model is working:
import cv2

img = cv2.imread('3.jpg')
gray = cv2.cvtColor(img , cv2.COLOR_BGR2GRAY)
resize = cv2.resize(gray,(28,28), interpolation = cv2.INTER_AREA)
new_img = tf.keras.utils.normalize(resize, axis=1)
new_img = np.array(new_img).reshape(-1,img_size,img_size,1)
predictions = model.predict(new_img)

print(np.argmax(predictions))
Summary
We have successfully built our handwritten digit recognition project. In this project, we have built and trained the Convolutional neural network model which is very effective for image classification purposes. And we have correctly predicted the digit in a particular custom image also.
can u post the output interface??
can we check the accuracy score of the predicted custom image ?