Emoji Prediction using LSTM – Machine Learning Project with Source Code
FREE Online Courses: Elevate Skills, Zero Cost. Enroll Now!
With the help of emojis, you can express your feelings in a much better way. So emoji prediction is a fun variant of sentiment analysis. With the help of emojis we understand that the friend texting you is in a happy mood, or say, understand the feeling behind the text. Let us create Machine Learning Emoji Prediction Project in easy steps.
About Emoji Prediction Project
This project helps you to classify your text and return an emoji. That means in this article by ProjectGurukul, we will build a text classifier that given a text in English would predict an emoji that suits.
In this machine learning project, one thing we should keep in mind is that our systems should be aware of relevant emojis to use at the right moment.
Emoji Prediction Dataset
We will use twitter streaming API to prepare our dataset. Using this we collect the tweets and its respective emojis.
So you can download the dataset from the source code folder, there are two csv files named as train_emoji.csv and test_emoji.csv (Basically these two files will be our dataset for training the model and evaluating the model).
Emoji Prediction Machine Learning Project Code
To learn and implement emoji prediction please download the zip which consists of a source code & project dataset: Emoji Prediction Project & Dataset
Understand the files present in our Source code folder:
- train_emoji.csv and test_emoji.csv are our dataset files for training and evaluating the model we create.
- glove.6B.50d : is basically a pre-trained embedding layer. We will use it to create embedding of the words.
- Emoji Prediction Using Machine learning : is a python file consisting of the whole implementation of our emoji prediction project.
About LSTM:
As we are going to create the LSTM model. So that’s why it will be good to understand it. Long short-term memory (LSTM) networks are the type of recurrent neural network capable of learning order dependence in sequence prediction problems. LSTM networks are used in classifying, processing, and making predictions based on text, or time series data.
LSTM is popularly used in complex problems like machine translation, speech recognition, etc.
Required Libraries for Machine Learning Emoji Prediction Project:
To implement this project you need to install certain libraries in your system, the libraries are:
- Numpy (pip install numpy)
- Pandas (pip install pandas)
- Matplotlib (pip install matplotlib)
- Emoji (pip install emoji)
- Keras (pip install emoji)
- Tensorflow (pip install tensorflow)
You can install all these required libraries using a pip installer. Open your command prompt and type pip install numpy, pip install pandas, pip install tensorflow, etc as written in brackets.
Now let’s start implementing the Emoji prediction project using Machine Learning Libraries
1.) Import libraries:
We will firstly import the libraries that we have installed above. We will import the libraries at the time we are going to need them.
import pandas as pd
import numpy as np
2.) Load the dataset:
In this step we load/read our train and test data using the read_csv() method.
# load the train data:

train_data = pd.read_csv('train_emoji.csv', header=None)
train_data.head()
# Load the test data:

test_data = pd.read_csv('test_emoji.csv', header= None)
test_data.head()
3.) Dropping columns:
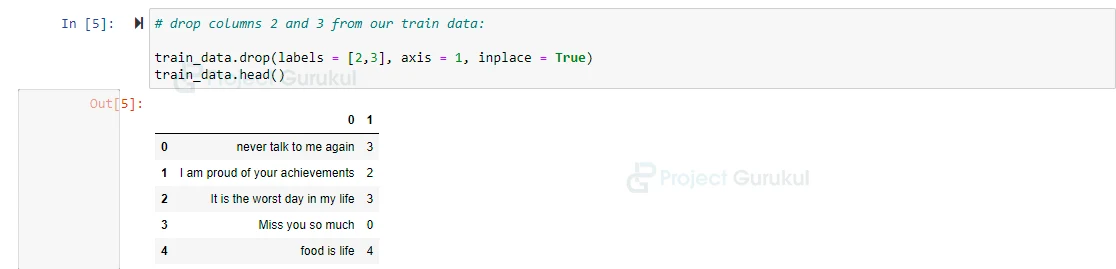
In this step, we drop unnecessary columns from our train data.
# drop columns 2 and 3 from our train data:

train_data.drop(labels = [2,3], axis = 1, inplace = True)
train_data.head()
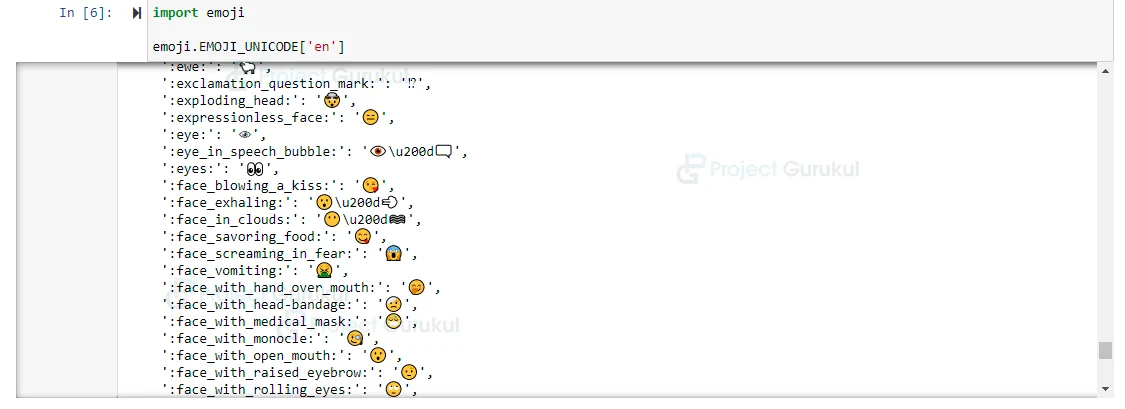
4.) Visualizing emojis:
As we have installed an emoji library above, let’s see how many emojis are available in this.
import emoji

emoji.EMOJI_UNICODE['en']
Now we have to create an emoji dictionary, which consists of emojis corresponding to a relative text.
emoji_dict = {
'0' : ':beating_heart:',
'1' : ':baseball:',
'2' : ':face_with_tears_of_joy:',
'3' : ':confounded_face:',
'4' : ':face_savoring_food:'
}


# Visualize our emojis that we have selected:


for e in emoji_dict.values():
print(emoji.emojize(e), end = ' ')
5.) Pre-processing the data:
Now we have to perform some preprocessing on our data.
# pre processing (Create X_train and Y_train):

X_train = train_data[0].values
Y_train = train_data[1].values

X_train consists of text and Y_train consists of its corresponding emojis label.
# Visualize X_train and Y_train:

X_train[:10]


Y_train[:10]
# shape of data:

X_train.shape , Y_train.shape
6.) Perform embedding:
As we are using a pre-trained embedding model to embed our words. Word embedding is nothing but a type of word representation that allows words with similar meaning to have a similar representation.
# We are embedding the text as we are going to create RNN model:

f = open('glove.6B.50d.txt' , encoding = 'utf8', mode = 'r')


# visualize our embedding_matrix

embedding_matrix = {}


for line in f:
values = line.split()
word = values[0]
emb = np.array(values[1:], dtype = 'float')

embedding_matrix[word] = emb


embedding_matrix
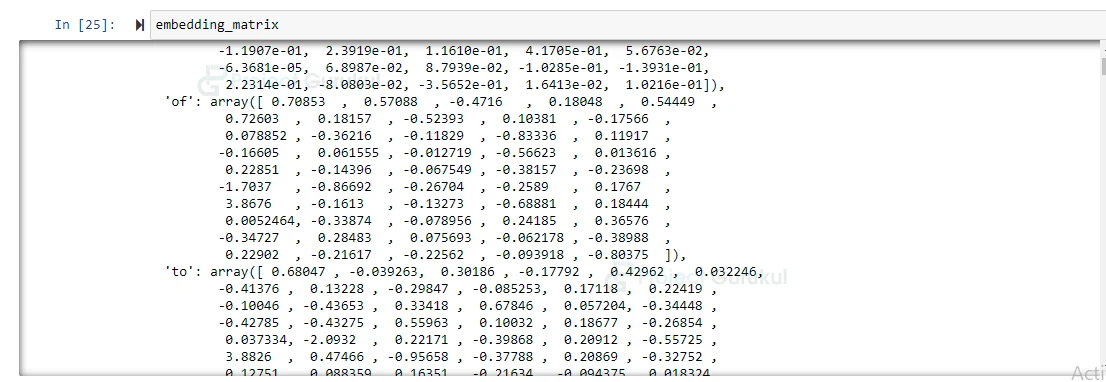
As you can see in the image, there is an array representation for a specific word. So we will find an array representation of the words present in our X_train data (which is basically text) with the help of this embedding_matrix.
# We will create a function which will give embedding of our text data:

def get_embedding_matrix_for_data(data):
 max_len = 10
 embedding_data = np.zeros( (len(data), max_len, 50))

 for x in range(data.shape[0]):
  word_in_sen = data[x].split()

 for y in range(len(word_in_sen)):
  if embedding_matrix.get(word_in_sen[y].lower()) is not None:
    embedding_data[x][y] = embedding_matrix[word_in_sen[y].lower()]

return embedding_data


The get_embedding_matrix_for_data() function creates an array representation of words present in our text data (X_train).


# get embedding matrix for our text data (X_train) :

X_train = get_embedding_matrix_for_data(X_train)

X_train.shape
7.) Divide labels (Y_train) into categories:
Now we will divide our Y_train data into categories using the to_categorical() method given by keras.
# convert the output to categorical:

import tensorflow
from keras.utils.np_utils import to_categorical


# In[33]:


Y_train = to_categorical(Y_train)


# In[34]:


Y_train
8.) Create Model:
Now we will create an LSTM model for training data and let’s see what is the accuracy of our model.
# Create Model:

import keras
from tensorflow.keras.models import Sequential
from tensorflow.keras.layers import Dense, Input, Dropout, SimpleRNN, LSTM, Activation


# build our model:

model = Sequential()
model.add(LSTM(64, input_shape = (10,50), return_sequences = True))

model.add(Dropout(0.5))

model.add(LSTM(128 , return_sequences=False))
model.add(Dropout(0.5))


model.add(Dense(5))
model.add(Activation('softmax'))


model.summary()

9.) Compile and fit the model:
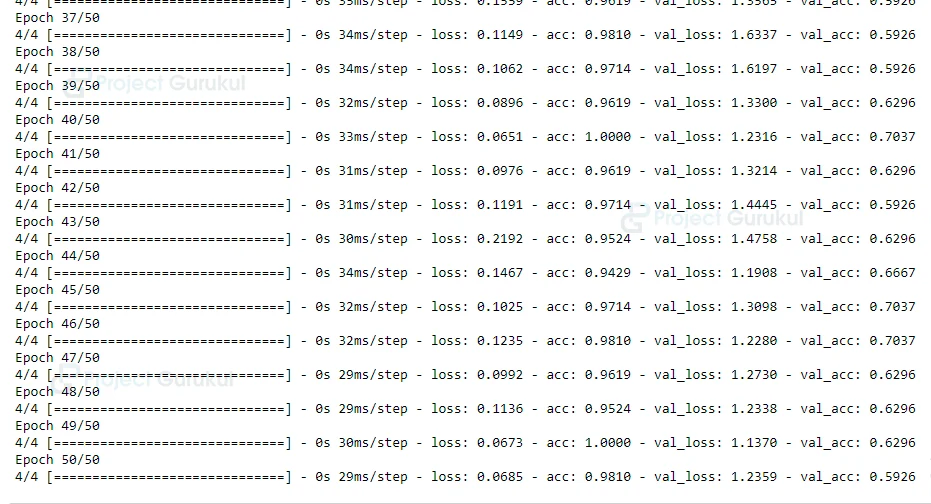
Now we will compile the model using adam as an optimizer and categorical_crossentropy as a loss function. And also fit the model to see accuracy.
model.compile(optimizer = 'adam', loss= keras.losses.categorical_crossentropy, metrics= ['acc'])


# model training:

history = model.fit(X_train, Y_train, validation_split = 0.2, batch_size=32, epochs = 50 )
Let’s plot a graph between validation accuracy and training accuracy:
# plot accuracy and loss graph:

import matplotlib.pyplot as plt
import seaborn as sns
get_ipython().run_line_magic('matplotlib', 'inline')

plt.figure(figsize=(8,6))
plt.title('ProjectGurukul Accuracy scores')
plt.plot(history.history['acc'])
plt.plot(history.history['val_acc'])
plt.legend(['accuracy', 'val_accuracy'])
plt.show()

plt.figure(figsize=(8,6))
plt.title('ProjectGurukul Loss value')
plt.plot(history.history['loss'])
plt.plot(history.history['val_loss'])
plt.legend(['loss', 'val_loss'])
plt.show()

Evaluate our model on training data:
model.evaluate(X_train, Y_train)[1]
10.) Prepare test data:
As we have prepared our training data similarly we will prepare our test data i.e get an embedding matrix of train data,convert labels into categorical , then fit it to the model, evaluate it and visualize it, and see how our model is predicting emojis for corresponding text.
# preparing test data:
test_data[0] = test_data[0].apply(lambda x: x[:-1])
X_test = test_data[0].values
Y_test = test_data[1].values
# In[56]:
X_test = get_embedding_matrix_for_data(X_test)
Y_test = to_categorical(Y_test)
# In[57]:
model.evaluate(X_test, Y_test)[1]
# In[58]:
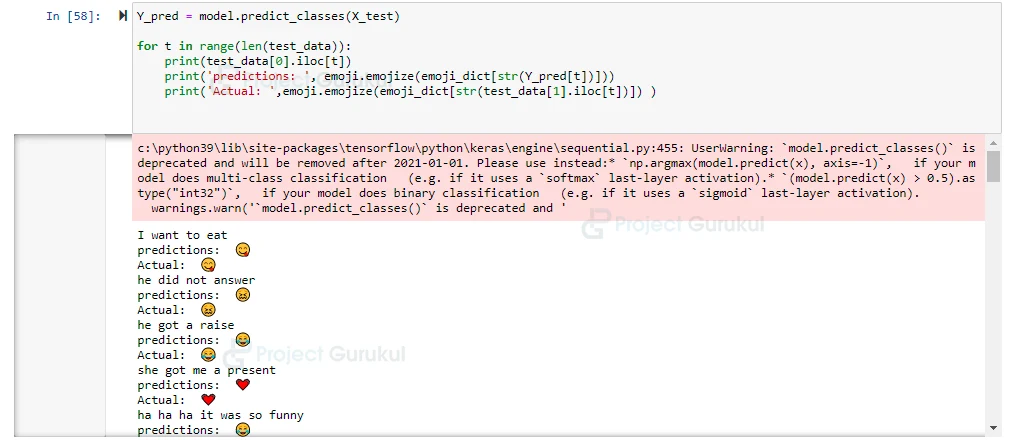
Y_pred = model.predict_classes(X_test)
# Comparing Predicted emojis to actual corresponding emojis for the text:
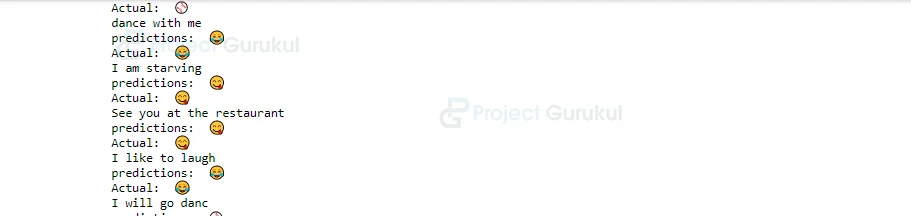
for t in range(len(test_data)):
print(test_data[0].iloc[t])
print('predictions: ', emoji.emojize(emoji_dict[str(Y_pred[t])]))
print('Actual: ',emoji.emojize(emoji_dict[str(test_data[1].iloc[t])]) )
Emoji Prediction Output

Summary
In this project, we had successfully built Emoji Prediction project that learns to associate emojis with sentences using Machine Learning Libraries. We started with a large amount of sentences that contain emojis collected from Twitter messages, then looked at features from those sentences, embedded them, created our classifier and trained it to associate certain features with their (known) smileys. In this project, we also learned about LSTM and how to create LSTM models.
It is a very useful and funny project
Thank you very much
@ProjectGurukul