Online Bookstore Management System in Python Django with Source Code
FREE Online Courses: Elevate Your Skills, Zero Cost Attached - Enroll Now!
Let us develop a bookstore management system using Python Django where the customers can buy the books online and an admin panel to handle the entire system. You will also be able to gain much knowledge in Django and how to handle back-end databases.
About the Django Bookstore Management System Project
With this project, it will be very easy to manage all the records in a bookstore. All the customers can buy books from the books list visible to them and also are able to request for a book which is not available in the books list. The admin of the bookstore can add new books or delete a book from the list. The admin can also see all the requested books by the customers and try to make them available. Lastly, the admin can see all the customers listed with their orders.
Django Bookstore Management System Project
The objective of the project is to implement a bookstore management system where users can buy books and also can request for a book if that particular book is not available in the table displayed to the users. The admin should be able to manage the entire system. Basic knowledge of the front-end part and a good knowledge of Django is required to complete and understand the project.
Project Prerequisites
Must have created 2 to 3 very easy projects using Django Python Framework so that you have the basic knowledge.
Download Bookstore Management Django Project Code
Please download the source code of python django bookstore management system from the following link: Bookstore Management System Python Django Project
Project File Structure
Steps for Bookstore Management System in Django Project:
1. Create a project and inside the project create an app.
2. Then you need to create 3 folders for templates, static (css and javascript files) and media (images uploaded through back end).
3. You can then run the migrate command and then create the superuser for the project.
4. Then you are good to go and start making the urls and views as per required for the project.
Let’s start.
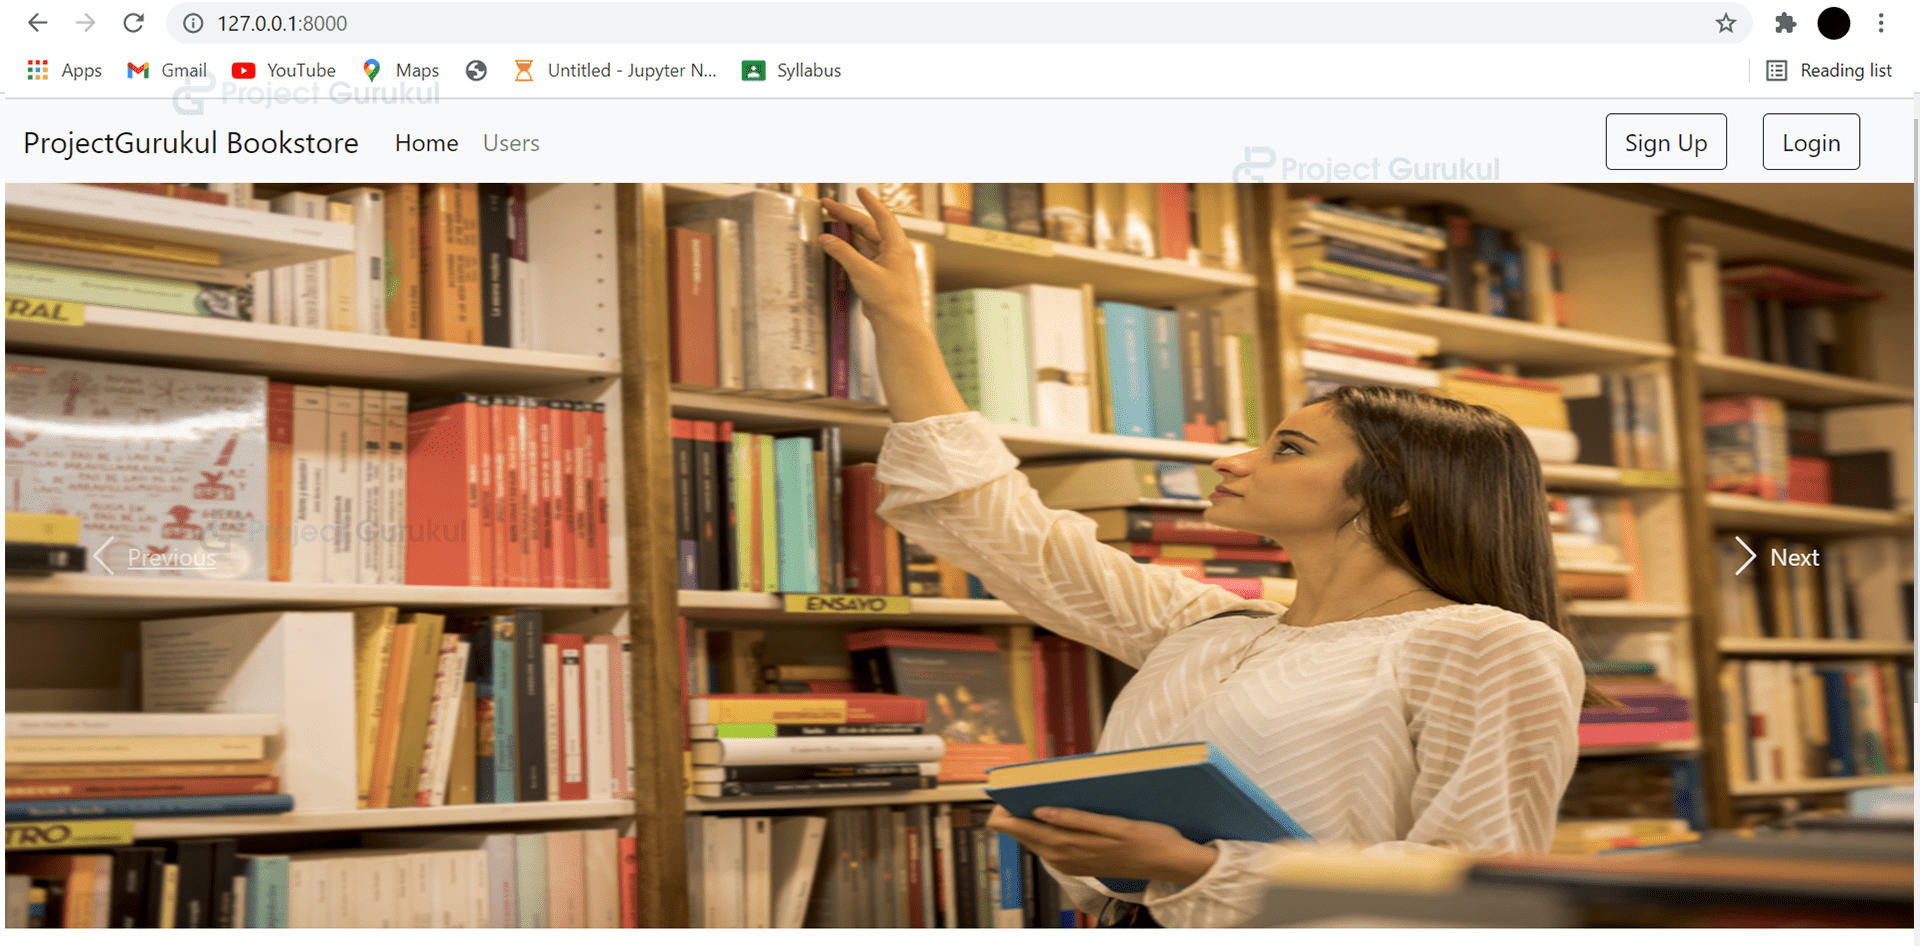
1. First of all we create the first page of our project which a contains a navigation bar and a carousel (index.html):
Navigation bar:
<nav class="navbar navbar-expand-lg navbar-light bg-light">
<div class="container-fluid">
<a class="navbar-brand" href="/">ProjectGurukul Bookstore</a>
<button class="navbar-toggler" type="button" data-bs-toggle="collapse" data-bs-target="#navbarSupportedContent" aria-controls="navbarSupportedContent" aria-expanded="false" aria-label="Toggle navigation">
<span class="navbar-toggler-icon"></span>
</button>
<div class="collapse navbar-collapse" id="navbarSupportedContent">
<ul class="navbar-nav me-auto mb-2 mb-lg-0">
<li class="nav-item">
<a class="nav-link active" aria-current="page" href="/">Home</a>
</li>
<li class="nav-item">
<a class="nav-link" href="/for_users/">Users</a>
</li>
</ul>
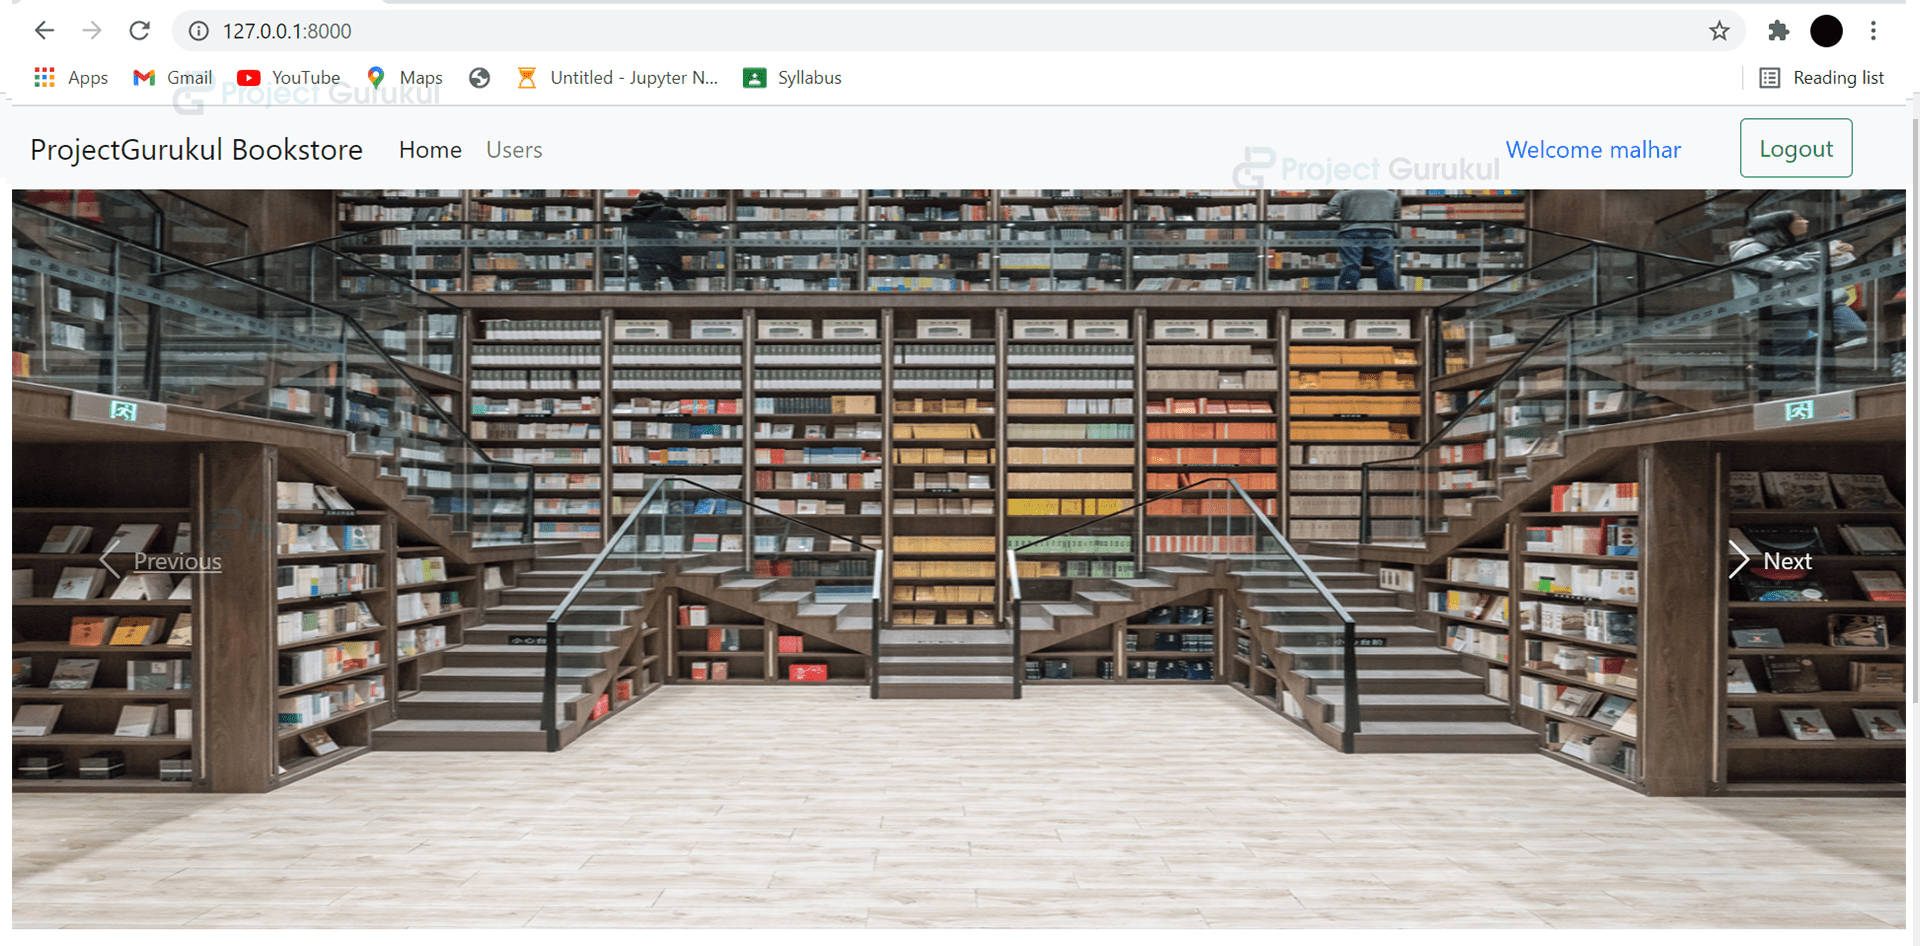
{% if user.is_authenticated %}
<form class="d-flex" >
<a class="nav-link" href="#">Welcome {{request.user}}</a>
<a href="/logout/" class="btn btn-outline-success mx-4" type="submit">Logout</a>
{% else %}
<form class="d-flex" >
<a href="/signup/" class="btn btn-outline-dark" type="submit">Sign Up</a>
<a href="/user_login/" class="btn btn-outline-dark mx-4" type="submit">Login</a>
</form>
{% endif %}
</div>
</div>
</nav>
Carousel:
<div id="carouselExampleIndicators" class="carousel slide" data-ride="carousel">
    <ol class="carousel-indicators">
      <li data-target="#carouselExampleIndicators" data-slide-to="0" class="active"></li>
      <li data-target="#carouselExampleIndicators" data-slide-to="1"></li>
      <li data-target="#carouselExampleIndicators" data-slide-to="2"></li>
    </ol>
    <div class="carousel-inner">
      <div class="carousel-item active">
        <img class="d-block w-100 " height="500px" src="{% static 'Bookstore image04.jpg' %}" alt="First slide">
      </div>
      <div class="carousel-item">
        <img class="d-block w-100 " height="500px" src="{% static 'Bookstore image02.jpg' %}" alt="Second slide">
      </div>
      <div class="carousel-item">
        <img class="d-block w-100 " height="500px" src="{% static 'Bookstore image04.jpg' %}" alt="Third slide">
      </div>
    </div>
    <a class="carousel-control-prev" href="#carouselExampleIndicators" role="button" data-slide="prev">
      <span class="carousel-control-prev-icon" aria-hidden="true"></span>
      <span class="sr-only">Previous</span>
    </a>
    <a class="carousel-control-next" href="#carouselExampleIndicators" role="button" data-slide="next">
      <span class="carousel-control-next-icon" aria-hidden="true"></span>
      <span class="sr-only">Next</span>
    </a>
  </div>
Code Explanation:
A simple bootstrap navigation bar is created and a carousel. Carousel is a set of slideshow or rotating images. Generally, two or three images are used in a carousel.
Models.py:
from django.db import models
from django.contrib.auth.models import User


class Book(models.Model):
    CATEGORY = (
    ('Mystery', 'Mystery'),
    ('Thriller', 'Thriller'),
    ('Sci-Fi', 'Sci-Fi'),
    ('Humor', 'Humor'),
    ('Horror', 'Horror'),
    )

    book_name = models.CharField(max_length=100)
    author = models.CharField(max_length=100, default="")
    category = models.CharField(max_length=100, choices=CATEGORY)
    price = models.FloatField()
    stock = models.IntegerField(default=2)

    def __str__ (self):
        return self.book_name


class Order(models.Model):
    user = models.ForeignKey(User, on_delete=models.CASCADE, default=1)
    items_json = models.CharField(max_length=5000, blank=True)
    price = models.IntegerField(default=0)
    name = models.CharField(max_length=100, blank=True)
    email = models.CharField(max_length=100, blank=True)
    address = models.CharField(max_length=100, default="")
    phone = models.CharField(max_length=100, blank=True)
    date = models.DateTimeField(auto_now_add=True)

    def __str__ (self):
        return str(self.user)


class Request_Book(models.Model):
    book_name = models.CharField(max_length=100)
    author = models.CharField(max_length=100)
    user = models.ForeignKey(User, on_delete=models.CASCADE, default=1)

    def __str__ (self):
        return self.book_name
Code Explanation:
Three models are being created: Book, Order, Request_Book. Book table consists of all the books. Request_Book table contains all the requested books from the customers and the Order table consists of all the orders of the books by different users.
Then user registration page is created (signup.html)
<form action="/signup/" method="post" class="forming"> {% csrf_token %}

   <h1>Sign Up</h1>

     <label for="name">First Name:</label>
     <input type="text" id="first_name" name="first_name" required>

     <label for="name">Last Name:</label>
     <input type="text" id="last_name" name="last_name" required>

     <label for="name">Username:</label>
     <input type="text" id="username" name="username" required>

     <label for="mail">Email:</label>
     <input type="email" id="email" name="email" required>

     <label for="password">Password:</label>
     <input type="password" id="password1" name="password1" required>

     <label for="password">Confirm Password:</label>
     <input type="password" id="password2" name="password2" required>

   <button class="signup" type="submit">Sign Up</button>
 </form>
Views.py
def Usersignup(request):
    if request.user.is_authenticated:
        return redirect('/')
    else:
        if request.method=="POST":
            username = request.POST['username']
            email = request.POST['email']
            first_name=request.POST['first_name']
            last_name=request.POST['last_name']
            password1 = request.POST['password1']
            password2 = request.POST['password2']

            if password1 != password2:
                messages.info(request, "Passwords do not match.")
                return redirect('/signup')

            user = User.objects.create_user(username, email, password1)
            user.first_name = first_name
            user.last_name = last_name
            user.save()
            return render(request, 'user_login.html')
    return render(request, "signup.html")
Code Explanation:
For creating a new user, we have to create a registration method. In this, we take the related information from the user and if the information is valid then it is saved in the Django User model. We can also extend this model with a new model.
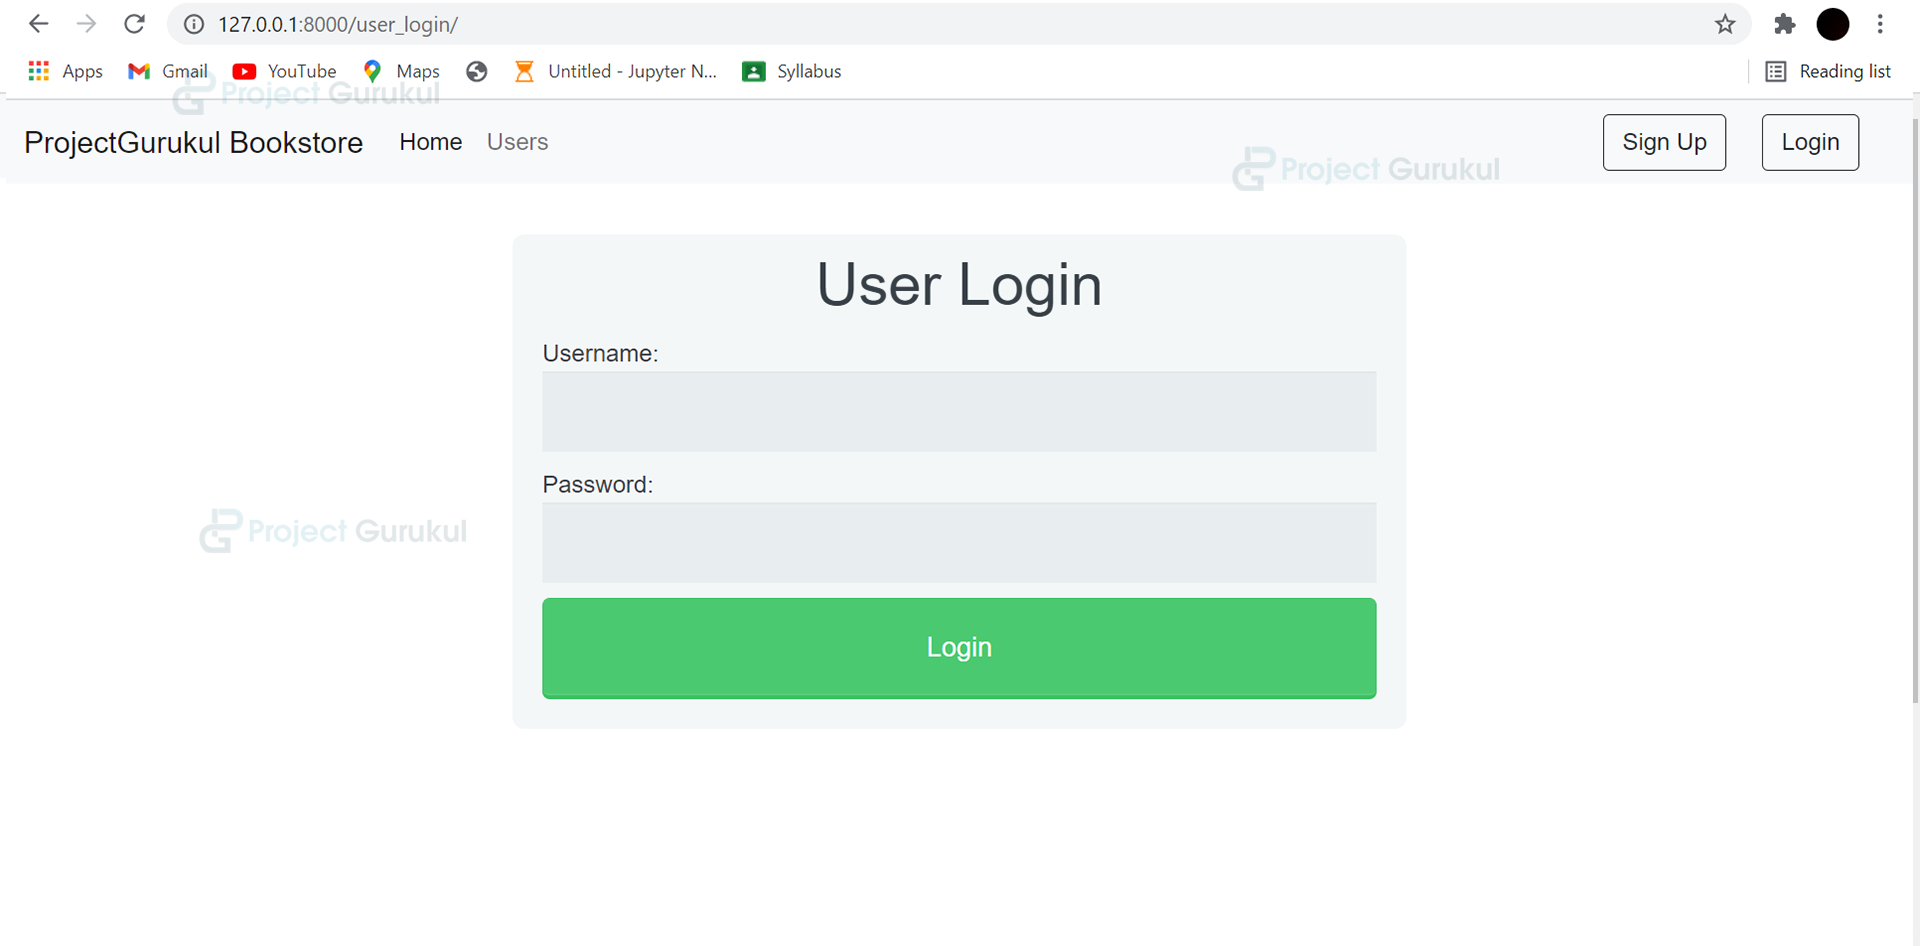
3. Then user login page is created only for the registered users (user_login.html)
<form action="/user_login/" method="post" class="forming"> {% csrf_token %}

   <h1>User Login</h1>

     <label for="name">Username:</label>
     <input type="text" id="user_username" name="user_username">

     <label for="password">Password:</label>
     <input type="password" id="user_password" name="user_password">

   <button class="login" type="submit">Login</button>
 </form>
Views.py
def User_login(request):
    if request.user.is_authenticated:
        return redirect('/')
    else:
        if request.method=="POST":
            user_username = request.POST['user_username']
            user_password = request.POST['user_password']

            user = authenticate(username=user_username, password=user_password)

            if user is not None:
                login(request, user)
                messages.success(request, "Successfully Logged In")
                return redirect("/for_users")
            else:
                messages.error(request, "Please provide a valid username and password")
    return render(request, "user_login.html")
Code Explanation:
Login is very important. Using the username and password the users can login into their accounts. Using the Django authenticate function the user details are matched with the saved details of the same user taken while registering.
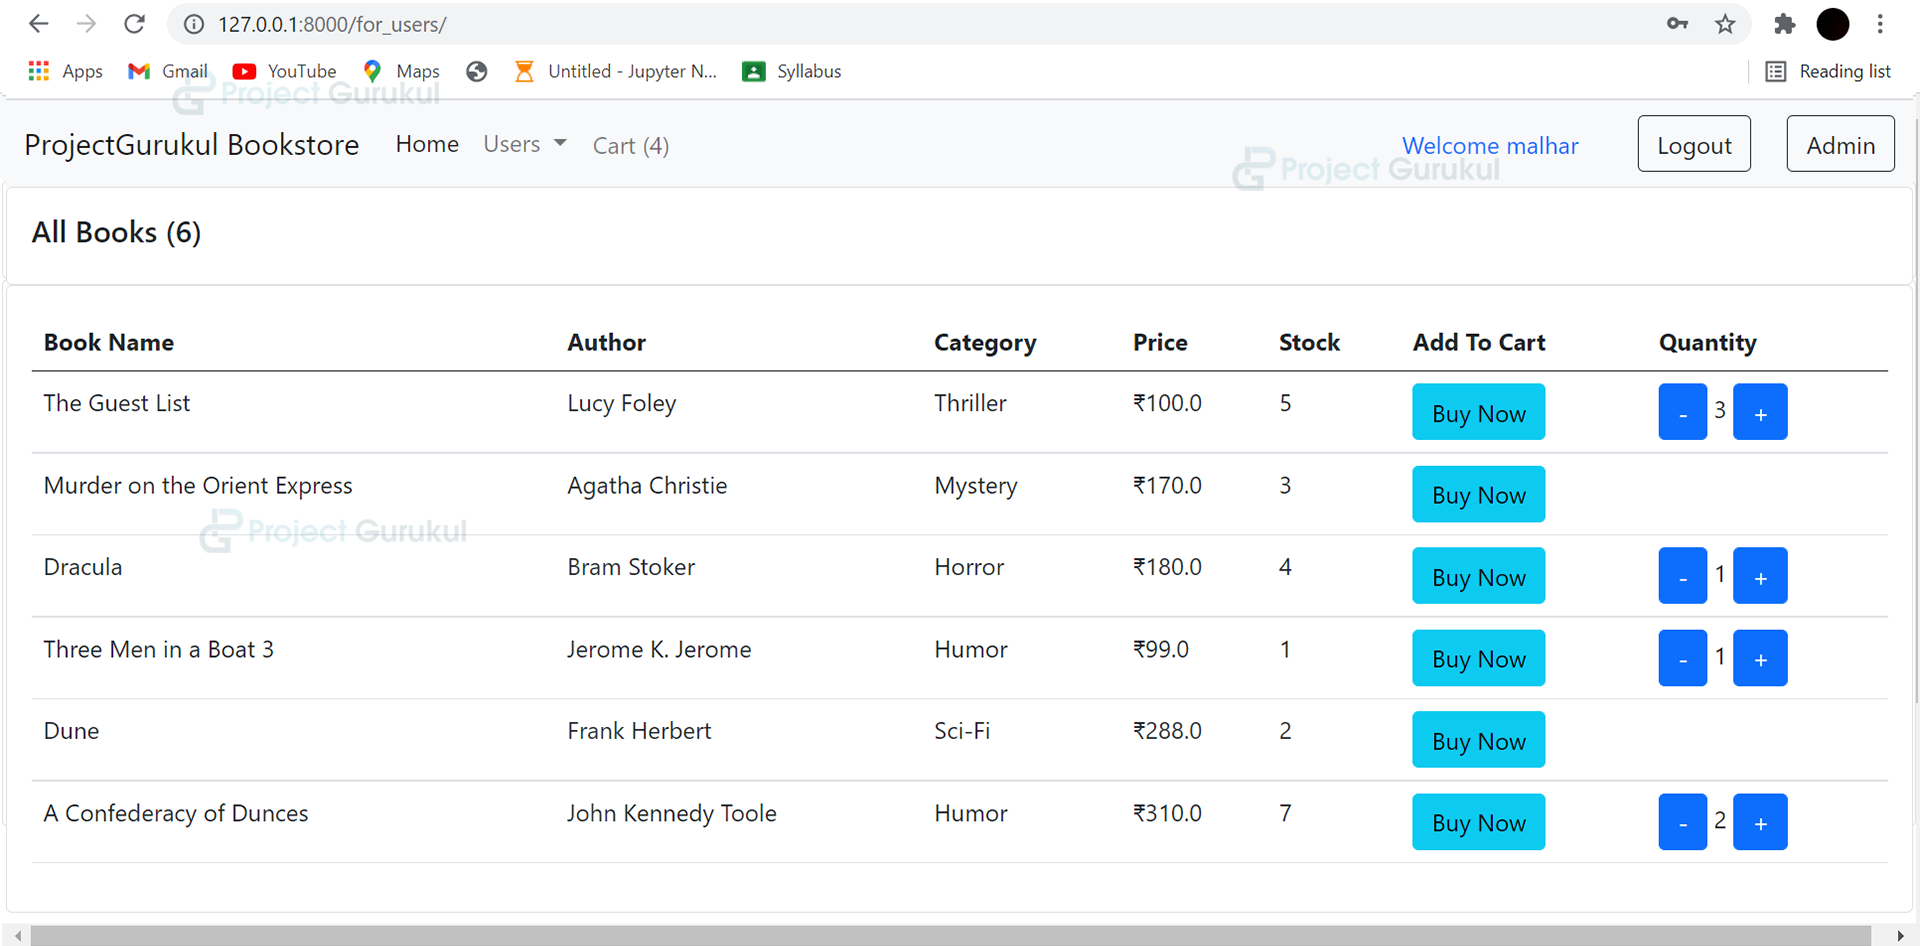
4. After the login users can see all the available books list in the bookstore (for_users.html) :
<li class="nav-item">
  <a class="nav-link btn btn-light" href="/checkout/" aria-current="page" >Cart
    (<span id="cart">0</span>)</a>
</li>
Code Explanation:
A cart option is made in the navigation bar cart(0). Zero specifies the cart items which are given the id of the cart.
<div class="row">
  <div class="col-md">
    <div class="card card-body">
      <h5>All Books ({{total_books}})</h5>
    </div>
    <div class="card card-body">
      <table class="table">
        <thead>
          <tr>
            <th>Book Name</th>
            <th>Author</th>
            <th>Category</th>
            <th>Price</th>
            <th>Stock</th>
            <th>Add To Cart</th>
            <th>Quantity</th>
          </tr>
        </thead>
        {% for book in books %}
        <tr>
          <td id="namepr{{book.id}}">{{book.book_name}}</td>
          <td id="authorpr{{book.id}}">{{book.author}}</td>
          <td id="categorypr{{book.id}}">{{book.category}}</td>
          <td> ₹<span id="pricepr{{book.id}}">{{book.price}}</span></td>
          <td id="stock{{book.id}}">{{book.stock}}</td>
          <td><button id="pr{{book.id}}" class="btn btn-info cart">Buy Now</button></td>
          <td class="divpr" id="divpr{{book.id}}"></td>
        </tr>
        {% endfor %}
      </table>
    </div>
  </div>
</div>
Views.py
@login_required(login_url = '/user_login')
def Users(request):
    books = Book.objects.all()
    total_books = books.count()

    return render (request, "for_user.html", {'books':books, 'total_books':total_books})
Code Explanation:
A table is created which contains the book name, author name, category of book, price of the book, the stock available of that book, a buy now button and finally quantity of that book the user wants. Whenever a new book will be added by the admin it will automatically get displayed in this table as a for loop is used.
total_books = books.count()
This line saves the total count of the books in total_books variable which can be used in the templates later.
if (localStorage.getItem('cart') == null) {
   var cart = {};
 } else {
   cart = JSON.parse(localStorage.getItem('cart'));
   updateCart(cart);
 }
Code Explanation:
If the cart does not exist then it will create a new cart else it will add the item in the existing cart and update the cart.
function updateCart(cart) {
   for(var items in cart){
   document.getElementById('div' + items).innerHTML = "<button id='minus" + items + "' class='btn btn-primary minus'>-</button> <span id='val" + items + "''>" + cart[items][0] + "</span> <button id='plus" + items + "' class='btn btn-primary plus'> + </button>";
 }
   localStorage.setItem('cart', JSON.stringify(cart));
   console.log(cart);
   document.getElementById('cart').innerHTML = Object.keys(cart).length;
 }
Code Explanation:
In the update cart function, it will save the quantity that the user selects and according to it will update the cart.
$('.quantity').on("click", "button.minus", function() {
  a = this.id.slice(7, );
  cart['pr' + a][0] = cart['pr' + a][0] - 1;
  cart['pr' + a][0] = Math.max(0, cart['pr' + a][0])
  document.getElementById('valpr' + a).innerHTML = cart['pr' + a][0];
  updateCart(cart);
});
Code Explanation:
The class quantity is given to the minus button, so when the user clicks on the minus button it will decrement the item quantity. Using the Math class item quantity cannot take a negative number it can go up to zero.
$('.quantity').on("click", "button.plus", function() {
  a = this.id.slice(6, );
  stock = document.getElementById('stock' + a).innerHTML;
  cart['pr' + a][0] = cart['pr' + a][0] + 1;
  cart['pr' + a][0] = Math.min(cart['pr' + a][0], stock)
  document.getElementById('valpr' + a).innerHTML = cart['pr' + a][0];
  updateCart(cart);
});
Code Explanation:
Class quantity is also given the plus button, so when the user clicks on the plus button it will increment the item quantity. Using the Math class the item quantity can go up to the stock variable that is the number of the same book available in the bookstore currently.
5. Admin can add new books (add_books.html):
 <div class="container">
  <form action="/add_books/" method="post">
      {% csrf_token %}
    {{ form.as_p }}
      <button type="submit" class="btn btn-light">Submit</button>
  </form>
</div>
Views.py
def Add_Books(request):
    if request.method=="POST":
        form = BookForm(request.POST)
        if form.is_valid():
            form.save()
            return render(request, "add_books.html")
    else:
        form=BookForm()
    return render(request, "add_books.html", {'form':form})
Forms.py
class BookForm(forms.ModelForm):
    class Meta:
        model = Book
        fields = '__all__'
Code Explanation:
A form is created that includes all the fields in the Book model. The admin can add new books by submitting this form.
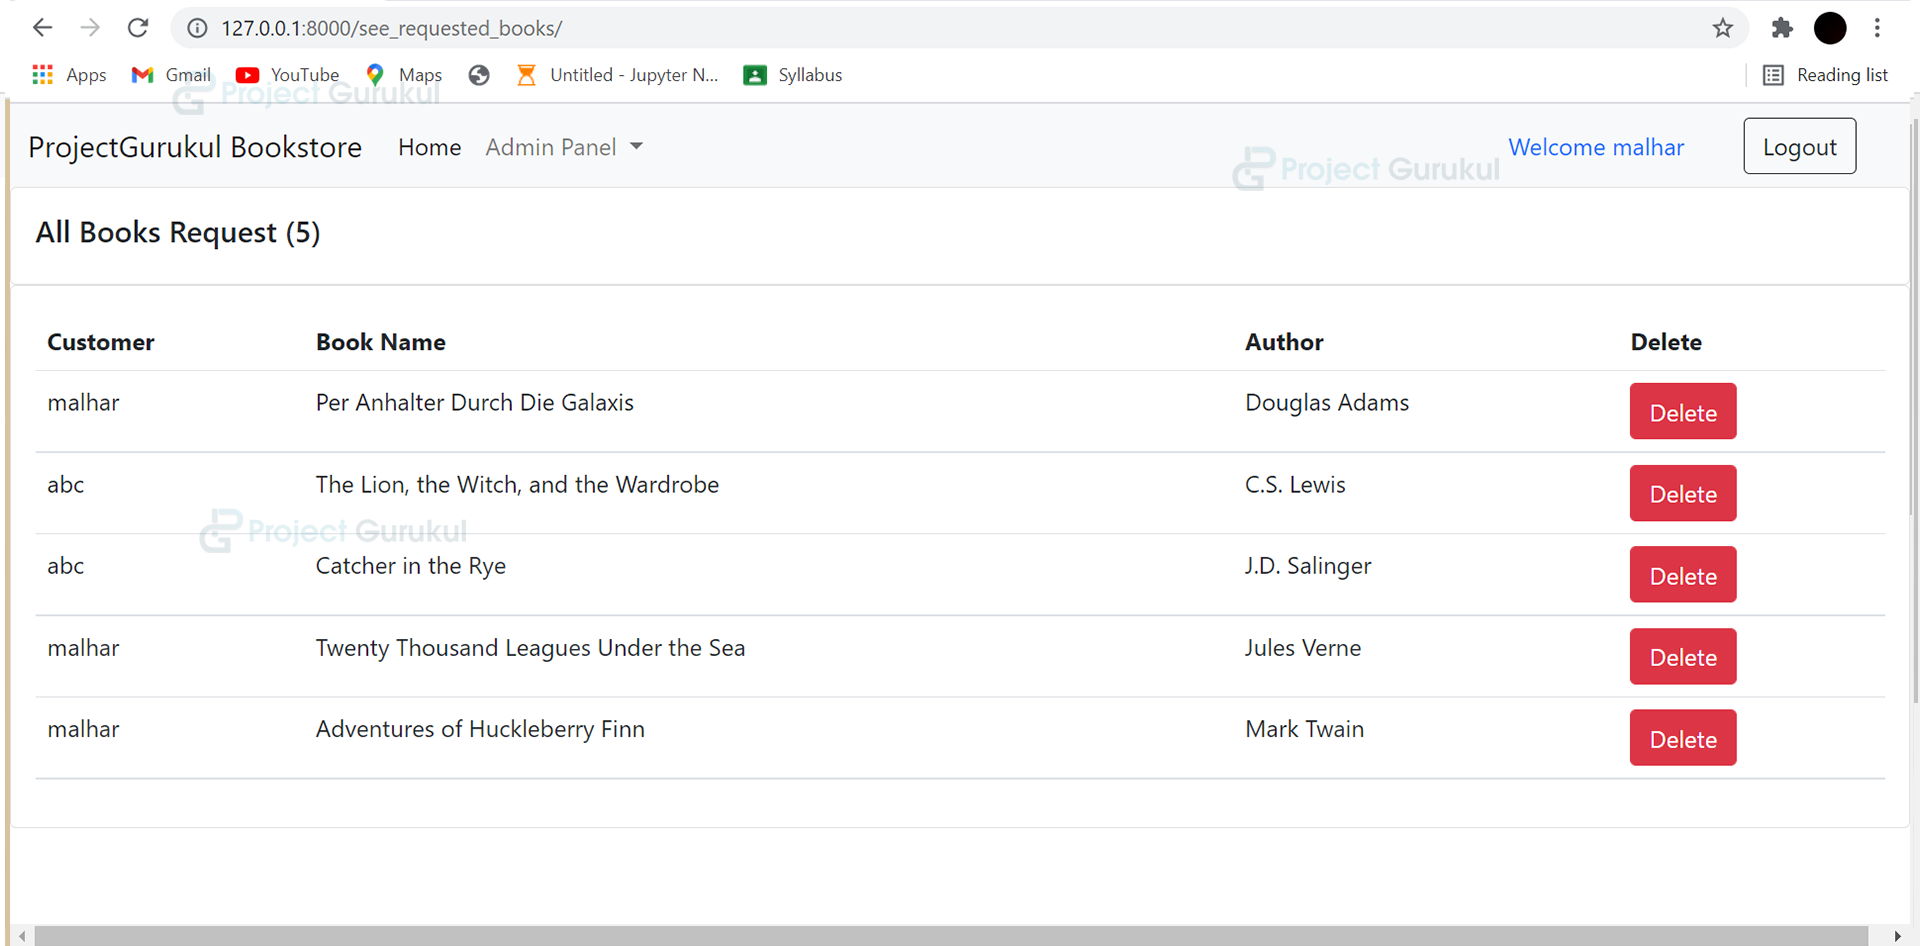
6. Admin can see all the requested books that the users have requested for (see_requested_books.html):
<div class="row">
    <div class="col-md">
      <div class="card card-body">
        <h5>All Books</h5>
      </div>
      <div class="card card-body">
        <table class="table">
          <tr>
            <th>Customer</th>
            <th>Book Name</th>
            <th>Author</th>
            <th>Delete</th>
          </tr>

          {% for i in requested_book %}
            <tr>
              <td>{{i.user}}</td>
              <td>{{i.book_name}}</td>
              <td>{{i.author}}</td>
              <td><a href="/delete_requested_books/delete_{{i.id}}/" class="btn btn-danger">Delete</a></td>
            </tr>
          {% endfor %}

        </table>
      </div>
    </div>
  </div>
Views.py
def see_requested_books(request):
    requested_book = Request_Book.objects.all()
    return render(request, "see_requested_books.html", {'requested_book':requested_book})
Code Explanation:
All the requested books from the users will be visible to the admin in the form of a table. All the requested books will be saved in the Request_Book model. Using a for loop all the data will be displayed inside a table where the admin can see the requested books from the users and delete those requests after making it available.
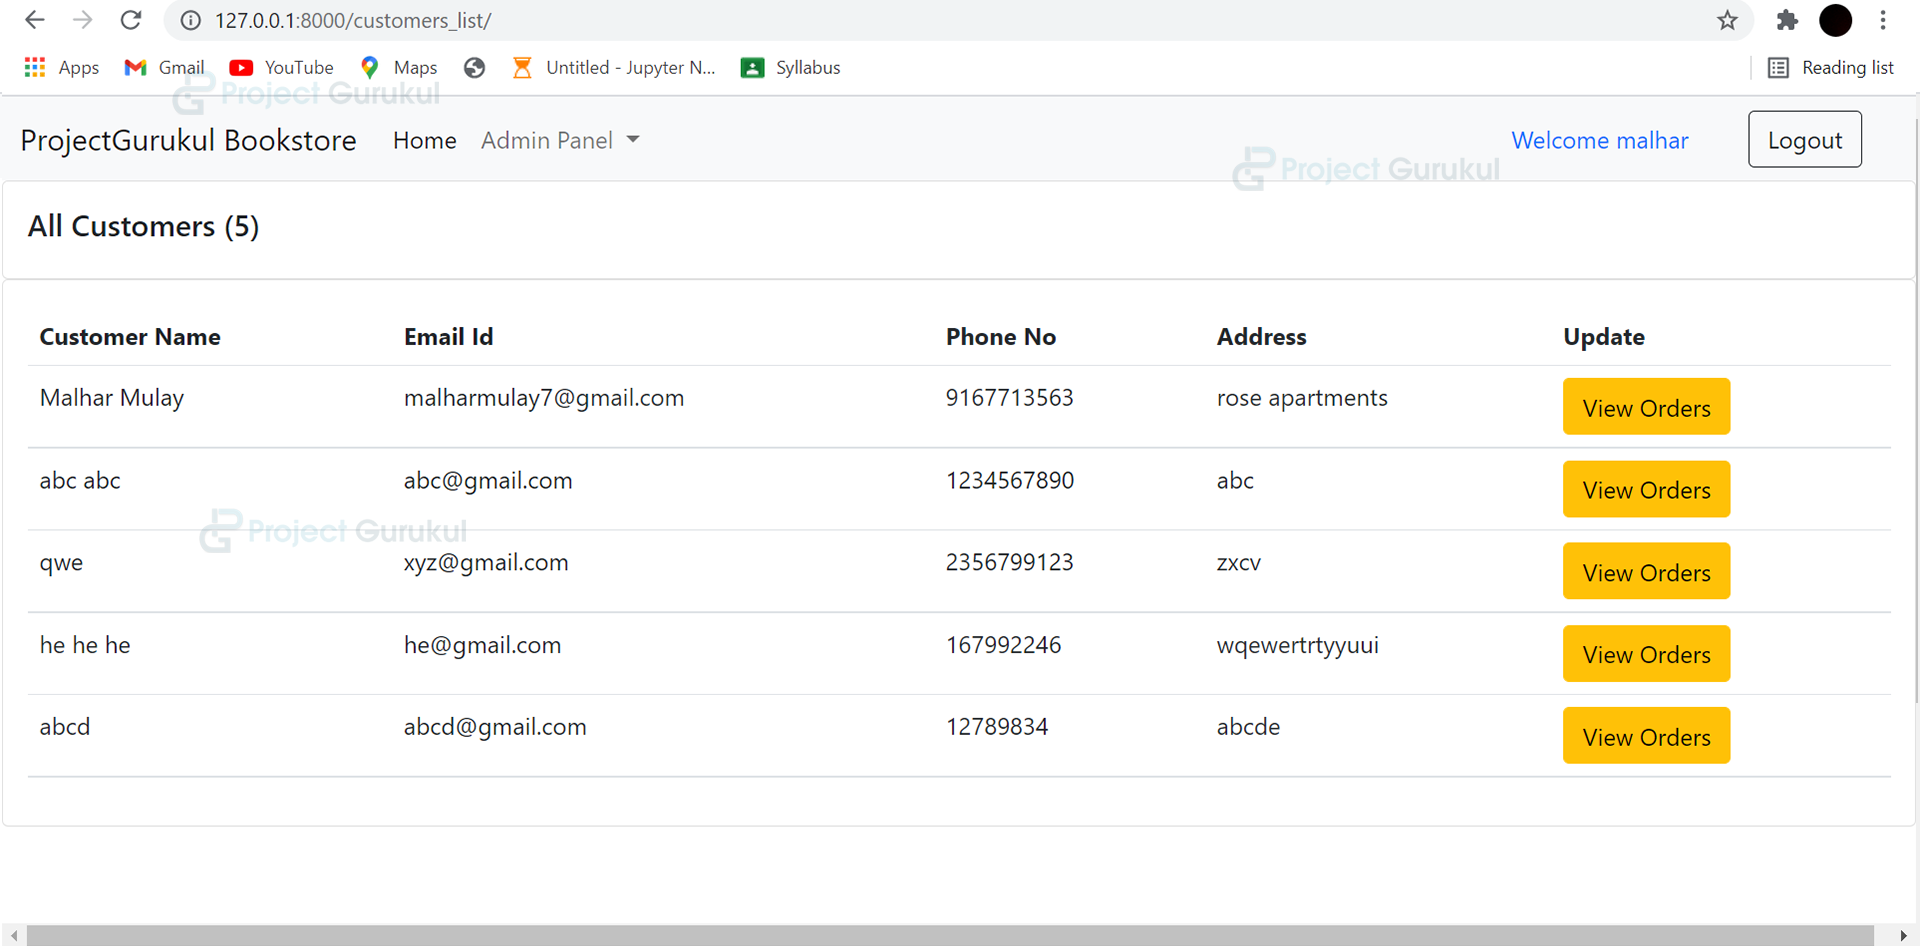
7. Admin can see all the customers list that have ordered any books (customers_list.html):
<div class="row">
        <div class="col-md">
          <div class="card card-body">
            <h5>All Customers</h5>
          </div>
          <div class="card card-body">
            <table class="table">
              <tr>
                <th>Customer Name</th>
                <th>Email Id</th>
                <th>Phone No</th>
                <th>Address</th>
                <th>Update</th>
              </tr>

              {% for customer in customers %}
                <tr>
                  <td>{{customer.name}}</td>
                  <td>{{customer.email}}</td>
                  <td>{{customer.phone}}</td>
                  <td>{{customer.address}}</td>
                  <td><a href="/customers_list/orders_{{customer.id}}/" class="btn btn-warning">View Orders</a></td>
                </tr>
              {% endfor %}

            </table>
          </div>
        </div>
      </div>
Views.py :
def customers_list(request):
    customers = Order.objects.all()
    customer_count = customers.count()
    return render(request, "customers_list.html", {'customers':customers, 'customer_count':customer_count})
Code Explanation:
Admin can see all the customers’ lists in the form of a table with the basic information that is name, email, phone number, address that the users give while placing the order. Finally, the table consists of a button (view orders) in each row.
8. On clicking on the view orders button admin can see all the orders of a particular customer. (orders_list.html):
{% block body %}
<div class="row">
    <div class="col-md">
      <div class="card card-body">
        <h5>{{customer.name}}</h5>
      </div>
      <div class="card card-body">
        <table class="table">
          <tr>
            <th>Book Name</th>
            <th>Author</th>
            <th>Category</th>
            <th>Quantity</th>
            <th>Price</th>
          </tr>
          <tbody id="myTable"></tbody>
        </table>
      </div>
    </div>
  </div>
  {% endblock %}
  {% block js %}
<script>
  var myArray = []
  const url = window.location.href;
  $.ajax({
    method: 'GET',
    url: `${url}data`,
    success: function(response){
      myArray = response.data
      myArray1 = JSON.parse(myArray);
      console.log(myArray1)
      buildTable(myArray1)
    },
    error: function(error){
    console.log(error);
    }
  });
  function buildTable(data){
    var table = document.getElementById('myTable')
    for(var items in data){
      var row = `<tr>
        <td>${data[items][1]}</td>
        <td>${data[items][2]}</td>
        <td>${data[items][3]}</td>
        <td>${data[items][0]}</td>
        <td>${data[items][4]}</td>
        `
        table.innerHTML += row
    }
  }
</script>
{% endblock %}
Views.py :
def orders_list(request, myid):
    customer = Order.objects.filter(id=myid)
    return render(request, "orders_list.html", {'customer':customer})

def data_view(request, myid):
    orders = Order.objects.get(id=myid)
    return JsonResponse({'data':orders.items_json})
Code Explanation:
A table is created to display the orders of the customers. Since the orders are being stored in json inside the database, ajax is used to fetch the json data from the database and render it into the template.
Python Bookstore Management Project Output:
Home page for Bookstore Management System in Django:
Home page with user or admin logged in:
Login page:
Customers can buy books:
Checkout:

All requested books (admin):
Customers List (admin):
Summary
With this project in Django, we have successfully developed a Bookstore Management System with proper front-end and back-end. It is very easy to manage all the data by the admin of the entire bookstore with saving a lot of time and hard work.
What is the admin login email and password
It’s not coming output
Error
Showing error
The admin panel will not showing in this
The admin panel will not showing
same
you can add new user, browse sqlite browser and replace your password with admin password.
please can you tell the admin name and password??