Colorizing Old B&W Photos with Deep Learning
We offer you a brighter future with FREE online courses - Start Now!!
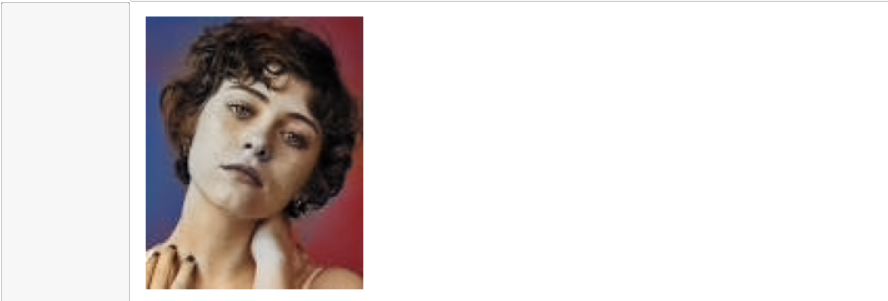
With this Machine Learning Project, we will be building a b&w image colorization system. The system can be used by designers and artists to design the b&w image within seconds. It can also be used by those people who want to color a b&w image but can’t afford an artist or they don’t know much about photoshop. As the name suggests itself that this system will automatically color old black & white images.
So, let’s build this colorizing system.
Colorizing the old B&W image System
So, what is this colorizing old B&W image System?
A colorizing system is a type of system that will take an input black & white image from the user and will color the image & give the result. This type of system will be very useful for artists and designers as they can get a really good idea of colorizing the image. Although this will not give a very accurate result, it can do the task and give the artist an idea.
As an artist and designer take hours and hours for colorizing an image, this system will do the same task within seconds. This system can also be helpful for people who want to colorize their old black & white images but can’t afford an artist or a designer and they don’t know how to use photoshop or they don’t have enough time for photoshopping the image.
We will be building our system using a pre-trained model by Richard Zhang.
The Model Architecture
In this system, we are using a model pre-trained by Richard Zhang. He used CNN to train his model. The reason for choosing his model over training our own model is because he has trained his model using millions of images. Due to the lack of such a large number of images and lack of computation power to train such a large number of images, we are using his pre-trained model. You can build this model on your own as well but you need to have that much computational power.
So, how this system will work?
We will be using OpenCV in our project. First, we will take the input image, and then using the OpenCV function, we will convert this RGB image into a LAB color space image.
What is this LAB color space?
This is very similar to RGB color space. So, according to RGB, every color can be formed using red, green, and blue colors by taking different intensity values of these 3 colors. So, every color in the universe can be represented using these 3 colors. For example, purple is made of 62.7% red, 12.5% green, and 94.1% blue. In RGB, each parameter can have a maximum value of 255. So the RGB combination of purple is (160,32,240).
Similarly, we have LAB color space. In this, the L channel decides the intensity of the light. ‘A’ decides the red and the green value of the color. Whereas ‘B’ decides the blue and yellow value of the color. In this way, a LAB color is created.
So, the whole idea is to read the input grayscale image and then convert the RGB to LAB color space using an inbuilt function in OpenCV. After that, we apply the model that we imported to the image. The final step is we convert it into RGB color space again. So, this is how the whole colorizing thing is going on.
Project Prerequisites
The requirement is Python and the following libraries installed on your computer. I have used a Jupyter notebook for this project. You can use whatever you want.
The required modules for this project are –
- Numpy – pip install numpy
- OpenCV – pip install cv2
- Matplotlib – pip install matplotlib
We are using a pre-trained model in this project. Rest all the functions that we need are already there in OpenCV.
Download Colorizing Black & White Photo Project
Since we are using a pre-trained model in this project, we don’t need any dataset. All we need is the pre-trained model. We have provided the model. You can download the model & colorize photo deep learning project code from the following link: Colorize Photo Project
Steps to Implement
Below are the steps to implement Colorize B&W Images Project using deep learning
1. Here we are importing the Modules required during the project.
import numpy as np
import cv2
import matplotlib.pyplot as plt
2. Here we are reading the pre-trained model we talked about. We are using the readNetFromCaffe function. This is a function that allows us to run a pre-trained model. There are other variations of this model that you can try.
prot_path = './model/colorization_deploy_v2.prototxt'
caffe_model = './model/colorization_release_v2.caffemodel'
point_path = './model/pts_in_hull.npy'

dnn_net = cv2.dnn.readNetFromCaffe(prot_path,caffe_model)
kernel = np.load(point_path)
3. Here we are loading the centers that are required for quantizing the ab channels and then reshaping the kernel as (1,1) to treat each point as a convolution of 1×1.
Id = dnn_net.getLayerId("class8_ab")
Id2 = dnn_net.getLayerId("conv8_313_rh")

kernel = kernel.transpose().reshape(2,313,1,1)

dnn_net.getLayer(Id).blobs = [kernel.astype("float32")]
dnn_net.getLayer(Id2).blobs = [np.full([1,313],2.606,dtype='float32')]
4. Here we are importing the image and then converting the image from RGB scale to LAB color space.
image = cv2.imread('download.jpg')
image = image.astype("float32")/255.0

image = cv2.cvtColor(image,cv2.COLOR_BGR2LAB)
5. Here we are resizing the image because the pre-trained model takes the input image as (224,224) size. After that, we are performing the mean subtraction on the ‘L’ channel of the image.
resized = cv2.resize(image,(224,224))

split = cv2.split(resized)[0]
split -= 50
6. Here we are passing the image to our model and computing the forward pass.
dnn_net.setInput(cv2.dnn.blobFromImage(split))
forw = dnn_net.forward()[0, :, :, :].transpose((1,2,0))

forw = cv2.resize(forw, (image.shape[1],image.shape[0]))
7. Here we are again getting the L channel first and then we are just converting the LAB color image to an RGB color space image. Note that the image that we obtain has values between 0 and 1 because RGB works that way and gives results in 0 and 1. So, we are scaling them by multiplying them with 255 because the maximum value that RGB parameters can have is 255.
split = cv2.split(lab)[0]
colorized = np.concatenate((L[:,:,np.newaxis], ab), axis=2)

colorized = cv2.cvtColor(colorized, cv2.COLOR_LAB2RGB)
colorized = np.clip(colorized, 0, 1)
colorized = (255 * colorized).astype("uint8")

plt.imshow(colorized)
plt.axis('off');
Summary
In this Machine Learning project, we built a colorizing black & white image system. We used Convolutional Neural Networks and LAB color space in our project. We hope you learn how LAB colors work and how to create a system to convert b&w images to colored images.