Android Project – Develop a Stopwatch in Android Studio
FREE Online Courses: Transform Your Career – Enroll for Free!
In this tutorial, we will implement a beginner level android project Stopwatch using Android Studio. We will start with the project details, how it works, and the prerequisites for the project. After that, we’ll show you how to implement and execute the project.
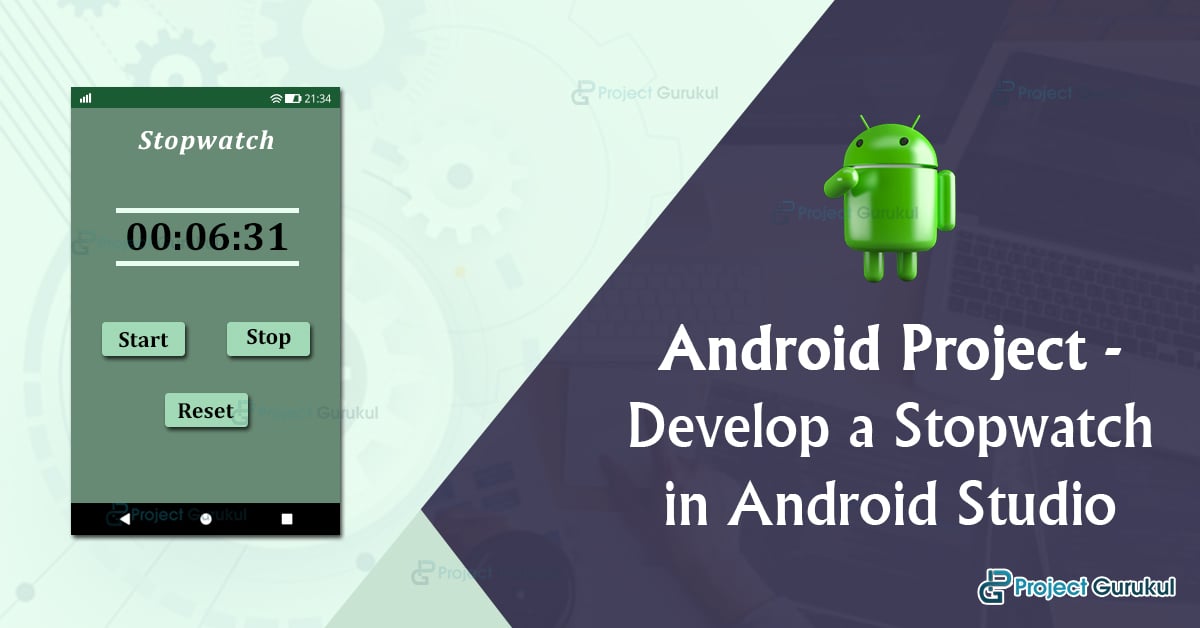
Android Project – Stopwatch
What is our project Stopwatch?
The stopwatch is basically a timepiece that is designed particularly to measure the time elapsed between the activation and deactivation of the stopwatch. The users can start the Stopwatch and stop it anytime. It was originally invented by Samuel Watson. There is also a button to restart the stopwatch that will set the stopwatch to starting. So our task is to make an application for Stopwatch which can be used whenever required.
Here are the following things that we would need to add in our Stopwatch project:
1. It will have a display that will show the time on it. For the display, we have used TextView
2. Then we will have three options, using the User Interface components that are Buttons. Using button we have added the following three options
2.a. Start Button: The start is the activation for the Stopwatch. It will activate the Stopwatch as soon as pressed.
2.b. Stop Button: The Stop button will be used to deactivate the stopwatch. As soon as we click the stop button the stopwatch will be deactivated. After getting deactivated it will show the total time elapsed between the activation and deactivation of the watch.
2.c. Reset Button: The reset button is used to set the stopwatch to 00:00:00 again. Stopwatch needs to be reset once its use is done.
What are the prerequisites for the project?
To begin with the project and its understanding you must be familiar with quite a few things. These things are important for you to know as without the knowledge of these things you won’t be able to implement projects. Mentioned below are the things you need to know:
1. Java Programming: Java Programming plays an important role in Android app development as it makes the application function and manages it.
2. XML: Extensible Markup Language is useful as it helps us create the user interface for the application. Knowing the basics of it will help you as
3. Android Studio: Android Studio is the platform that we will use for the development of our project. This makes it important for the users to know about the IDE they work on.
4. Kotlin (Optional): Kotlin is an optional choice for you. It can be used in place of Java for app development.
What are the important files for Project?
In our project, we will have the following files, and we will explain these files to you:
1. activity_main.xml: This file is responsible for the layout and the interface of the project. We have added a textview and the buttons through this file.
2. MainActivity.java: This file is responsible for the working of the application. We have used this file in this project for the functioning of buttons.
3. colors.xml file: In this file, we have mentioned the color names that we have used in the project.
4. strings.xml file: In this file, we have mentioned the words that are used in our project and also its description.
Implementation
Now we will see how to implement this project
1. First of all, create a new project and name it. We have named our project ProjectGurukul Stopwatch.
2. After doing so, we will see two files opened in front of us, So in the file activity_main.xml, we will write the following code:
<?xml version="1.0" encoding="utf-8"?>
<LinearLayout
   xmlns:android="http://schemas.android.com/apk/res/android"
   xmlns:tools="http://schemas.android.com/tools"
   android:layout_width="match_parent"
   android:layout_height="match_parent"
   android:orientation="vertical"
   android:background="#C0E7EC"
   android:padding="16dp"
   tools:context="com.ProjectGurukul.stopwatch.MainActivity">

<TextView
   android:id="@+id/time_view"
   android:layout_width="wrap_content"
   android:layout_height="wrap_content"
   android:layout_gravity="center_horizontal"
   android:layout_marginTop="100dp"
   android:background="@drawable/border"
   android:textAppearance="@android:style/TextAppearance.Large"
   android:textSize="50dp" />

   <Button
   android:id="@+id/start_button"
   android:layout_width="wrap_content"
   android:layout_height="wrap_content"
   android:layout_gravity="center_horizontal"
   android:layout_marginTop="50dp"
   android:onClick="onClickStart"
   android:text="@string/start" />

   <Button
   android:id="@+id/stop_button"
   android:layout_width="wrap_content"
   android:layout_height="wrap_content"
   android:layout_gravity="center_horizontal"
   android:layout_marginTop="50dp"
   android:onClick="onClickStop"
   android:text="@string/stop" />

   <Button
   android:id="@+id/reset_button"
   android:layout_width="wrap_content"
   android:layout_height="wrap_content"
   android:layout_marginTop="50dp"
   android:layout_gravity="center_horizontal"
   android:onClick="onClickReset"
   android:text="@string/reset" />
</LinearLayout>
In the above code, we have added the UI components for our application like buttons and textview.
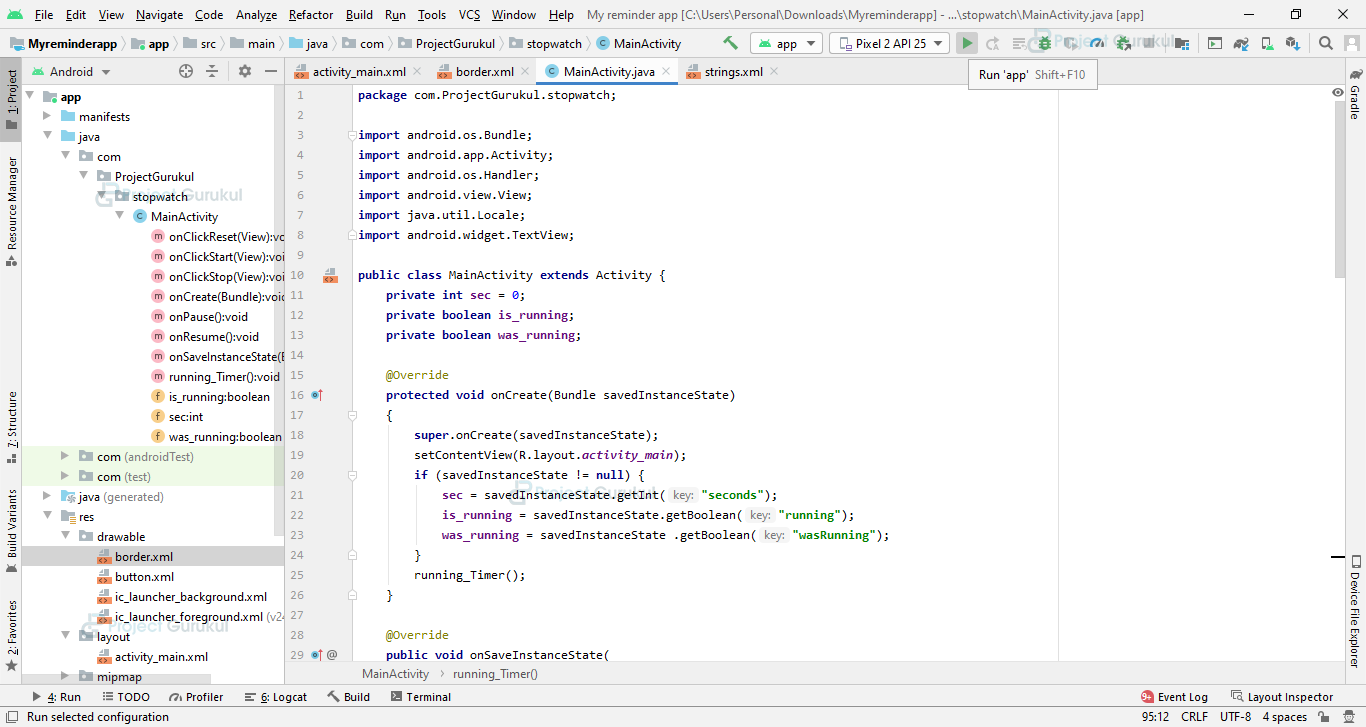
3. After writing the code for activity_main.xml we’ll write the following code in MainActivity.java file:
package com.ProjectGurukul.stopwatch;

import android.os.Bundle;
import android.app.Activity;
import android.os.Handler;
import android.view.View;
import java.util.Locale;
import android.widget.TextView;

public class MainActivity extends Activity {
   private int sec = 0;
   private boolean is_running;
   private boolean was_running;

   @Override
   protected void onCreate(Bundle savedInstanceState)
   {
       super.onCreate(savedInstanceState);
       setContentView(R.layout.activity_main);
       if (savedInstanceState != null) {
           sec = savedInstanceState.getInt("seconds");
           is_running = savedInstanceState.getBoolean("running");
           was_running = savedInstanceState .getBoolean("wasRunning");
       }
       running_Timer();
   }

   @Override
   public void onSaveInstanceState(
           Bundle savedInstanceState)
   {
       savedInstanceState.putInt("seconds", sec);
       savedInstanceState.putBoolean("running", is_running);
       savedInstanceState.putBoolean("wasRunning", was_running);
   }

   @Override
   protected void onPause()
   {
       super.onPause();
       was_running = is_running;
       is_running = false;
   }

   @Override
   protected void onResume()
   {
       super.onResume();
       if (was_running) {
           is_running = true;
       }
   }

   public void onClickStart(View view)
   {
       is_running = true;
   }

   public void onClickStop(View view)
   {
       is_running = false;
   }

   public void onClickReset(View view)
   {
       is_running = false;
       sec = 0;
   }

   private void running_Timer()
   {

       final TextView t_View = (TextView)findViewById(R.id.time_view);
       final Handler handle = new Handler();

       handle.post(new Runnable() {
           @Override

           public void run()
           {
               int hrs = sec / 3600;
               int mins = (sec % 3600) / 60;
               int secs = sec % 60;

               String time_t = String .format(Locale.getDefault(), "    %d:%02d:%02d   ", hrs,mins, secs);

               t_View.setText(time_t);

               if (is_running) {
                   sec++;
               }

               handle.postDelayed(this, 1000);
           }
       });
   }
}
4. After writing this, we’ll add the following in the string.xml file present in the resource folder
<resources>
   <string name="app_name">ProjectGurukul Stopwatch</string>
   <string name="start"> Start </string>
   <string name="reset"> Reset </string>
   <string name="stop"> Stop </string>
</resources>
5. Now, we’ll create a folder in the res drawable file and name it as Border.xml. In this file, we will make a border for the Textview for the time, so it looks better. After creating the file write the following code in it:
<?xml version="1.0" encoding="utf-8"?>
<shape xmlns:android="http://schemas.android.com/apk/res/android"
   android:layout_width="match_parent"
   android:layout_height="match_parent"
   android:shape="rectangle">
   <stroke
       android:width="2dp"
       android:color="#932424"
   />
</shape>
6. After writing the code we’re ready to run the android project:
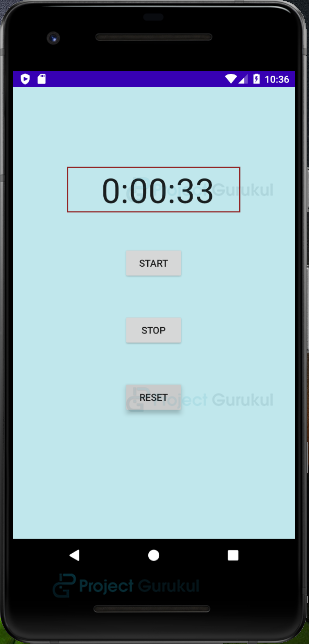
7. Upon running the project, we will get the following screen:
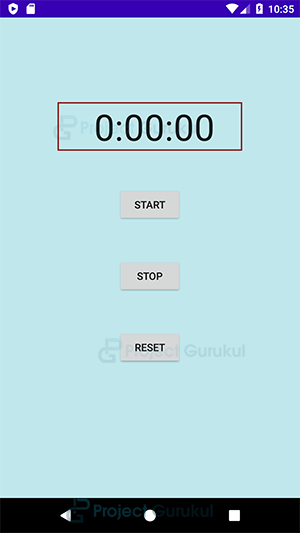
8. It has the following functioning: Start, Stop and Reset Buttons
8.1. Once we start, the watch will be activated:

8.2. Then if we press Stop, the timer will be stopped as follows:
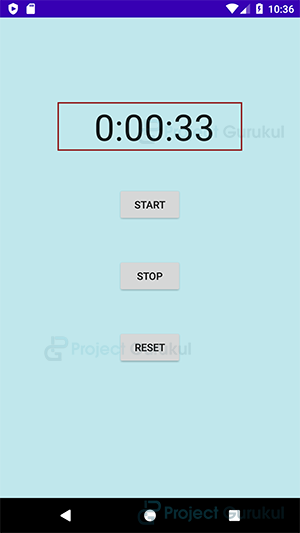
8.3. We can reset the timer as follows:
Summary
So in this tutorial, we have learned to implement the Stopwatch android project. We discussed the project details and required files. After that, we discussed the prerequisites for our application project. Then we went through the step by step process to develop and execute the project.
Please share the full code
The download option is not available
I am getting a lot of errors when i copy the same code which is above and try to run it.please solve my issue
Full code please download option
The complete project code is available in the tutorial
Thanks !
Please paste the tutorial link