Python Project – Text Detection and Extraction with OpenCV and OCR
FREE Online Courses: Knowledge Awaits – Click for Free Access!
OpenCV along with OCR will detect and extract text from images. Yes, OpenCV is taking computer vision to next level, now machines can detect, extract and read text from images.
About Text Detection & Extraction Project
In this python project, we’re going to make a text detector and extractor from an image using opencv and ocr. We’ll use the Tesseract engine to perform the character recognition system and the pytesseract python package to interact with Tesseract in python.
What is OCR?
OCR or Optical Character Recognition is a system that can detect characters or text from a 2d image. The image could contain machine-printed or handwritten text. OCR can detect several languages, for example, English, Hindi, German, etc.
OCR is a widely used technology. Some popular real-world examples are:
- Automatic number plate recognition.
- At airports, passport recognition and information extraction.
- Converting handwriting in real-time to control a computer (pen computing)
What is OpenCV?
OpenCV is an open-source computer vision library written in C/C++. It is mainly focused on image processing. OpenCV provides more than 2500 optimized algorithms. These algorithms can be used to detect and recognize faces & text, identify objects, track moving objects, etc.
What is Tesseract?
Tesseract is an optical image recognition engine that runs on various operating systems. It can detect more than 100 languages from all over the world. Tesseract is originally written in C/C++. But we are going to use it in python.
What is Pytesseract?
Python-tesseract is a wrapper for Tesseract-OCR Engine. It allows us to interact with the tesseract engine using python.
Challenges with Tesseract
- Tesseract doesn’t perform well if the image contains a lot of noise.
- If the font of any language is not trained then tesseract cannot detect that language accurately.
- Image brightness or skewness may affect Tesseract’s performance as well.
Text Detection & Extraction Project Prerequisites:
Python – 3.x (we used Python 3.7.10 in this project)
OpenCV – v4.5
Please run below command to install the latest version of OpenCV:
pip install opencv-python
Tesseract Engine – v5.0.0
Please download the Tesseract engine executable (.exe) file and install it in “C:\Program Files\Tesseract-OCR\” directory.
Pytesseract – v0.3.7
Please run below command to install the latest version of Pytesseract:
pip install pytesseract
Download Text Detection & Extraction Python OpenCV Code
Please download the source code of opencv text detection & extraction: Text Detection & Extraction OpenCV Code
Steps to Develop Text Detection & Extraction OpenCV Project :
- Import necessary packages and configure Pytesseract with the Tesseract engine.
- Reading images using OpenCV.
- Detect text and numbers from the image.
- Detect each character individually.
- Create Bounding boxes over each character in the image.
- Create a Bounding box over each detected text in the image.
- Detect digits and alphabets individually.
Step 1 – Import necessary packages and configure Pytesseract with the Tesseract engine :
To work with the Tesseract engine first we need to configure pytesseract with the Tesseract Engine install path.
import cv2
import pytesseract

pytesseract.pytesseract.tesseract_cmd=r"C:\ProgramFiles\Tesseract-OCR\tesseract.exe"
Explanation:
- Configure Tesseract path with pytesseract.tesseract_cmd to run tesseract CLI (command line Interface) command via python and pytesseract functions.
- If you installed Tesseract in a different location then make sure that you’ve entered the correct path.
Step 2 – Reading images using OpenCV :
We’ll use OpenCV for basic image operation.
# Reading image
img = cv2.imread("image.png")
# Convert to RGB
img = cv2.cvtColor(img, cv2.COLOR_BGR2RGB)
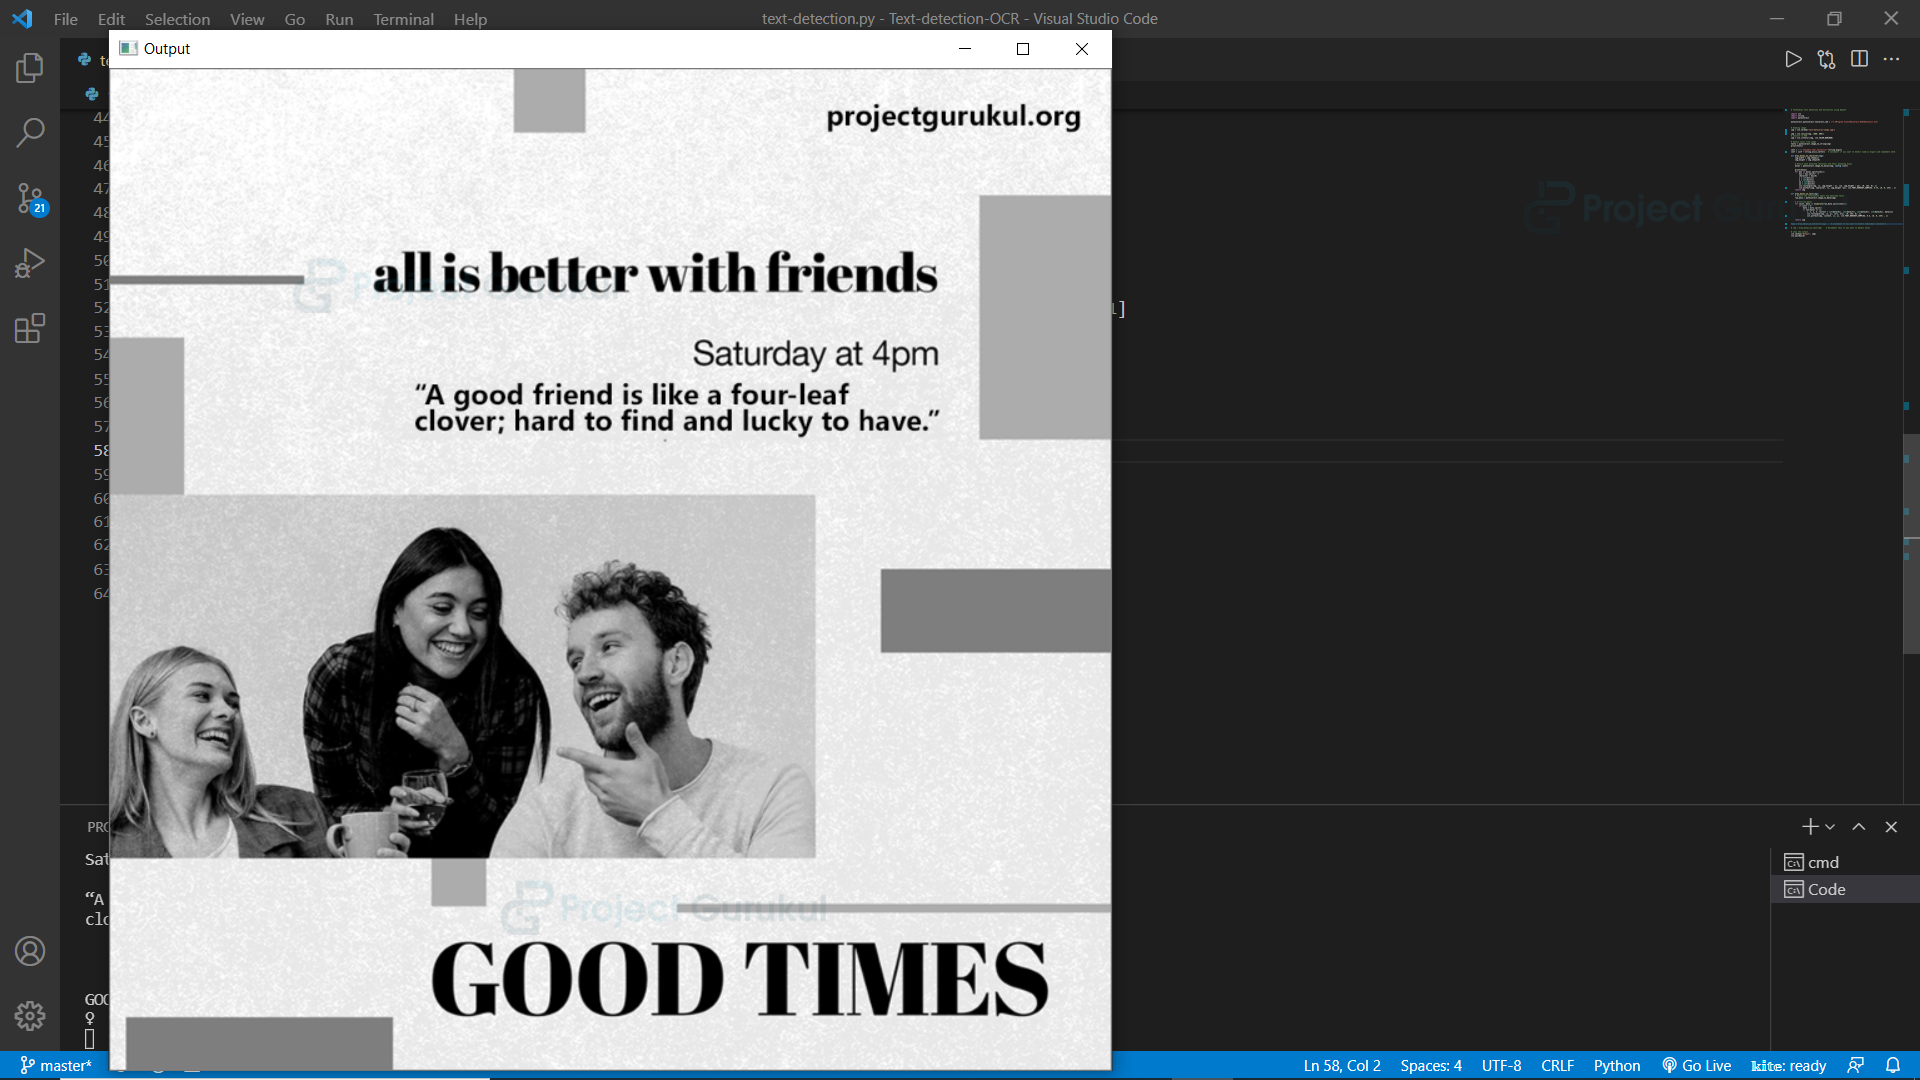
# Show the Output
cv2.imshow("Output", img)
cv2.waitKey(0)
Explanation:
- cv2.imread() function is for reading the image.
- Tesseract engine works with RGB image and opencv reads the image as BGR . so we used cv2.cvtColor(img, cv2.COLOR_BGR2RGB) to convert the image BGR to RGB.
Output:
Step 3 – Detect & Extract Texts and Numbers from the Image:
We have the RGB image. So now we’ll detect & recognize texts and numbers from the image.
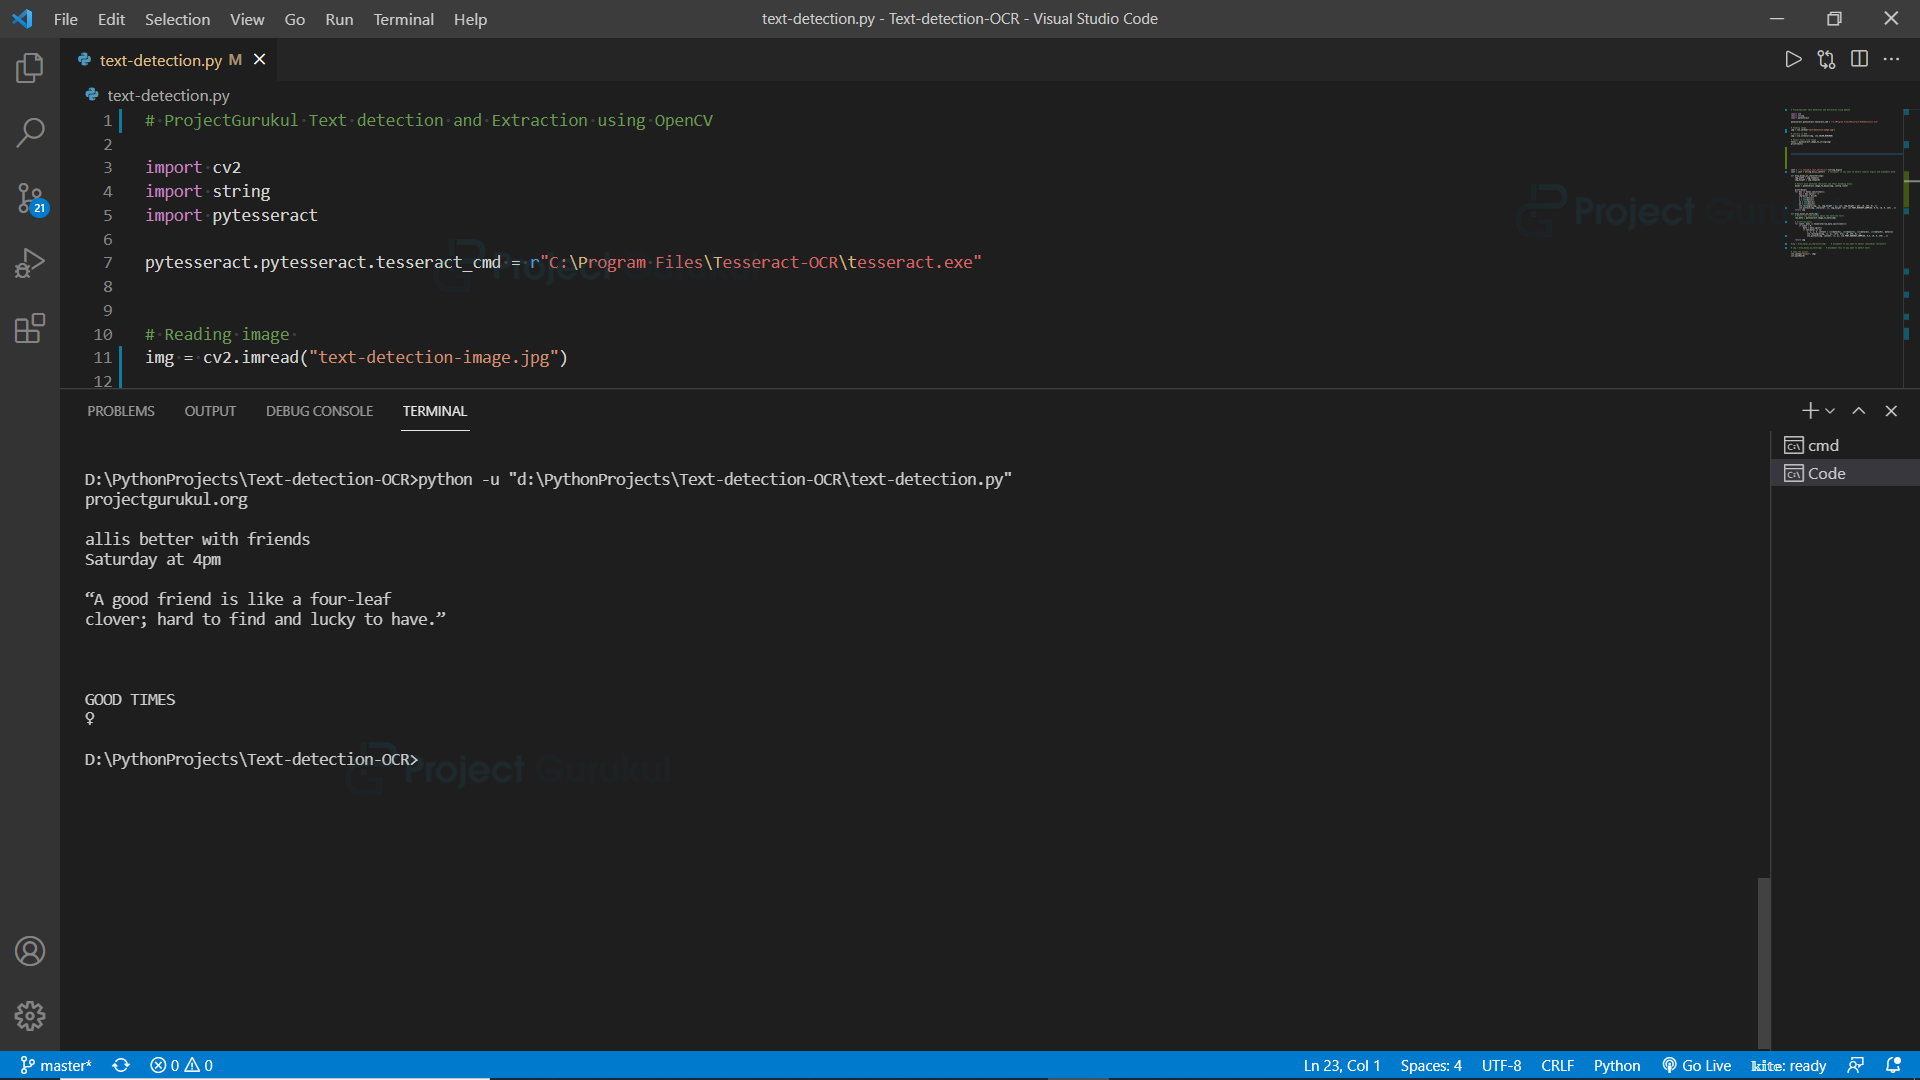
# Detect texts from image
texts = pytesseract.image_to_string(img)

print(texts)
Explanation:
pytesseract.image_to_string() returns unmodified output as string from Tesseract OCR processing.
Output:
projectgurukul.org
allis better with friends
Saturday at 4pm
“A good friend is like a four-leaf
clover; hard to find and lucky to have.”
GOOD TIMES
Step 4 – Detect and extract each character individually:
Now it’s time to detect and recognize each character individually. To do that we’ll use the image_to_boxes function. Let’s see how.
# Return each detected character and their bounding boxes.
boxes = pytesseract.image_to_boxes(img)

print(boxes)
Explanation:
pytesseract.image_to_boxes returns recognized characters and their box boundaries.
Output:
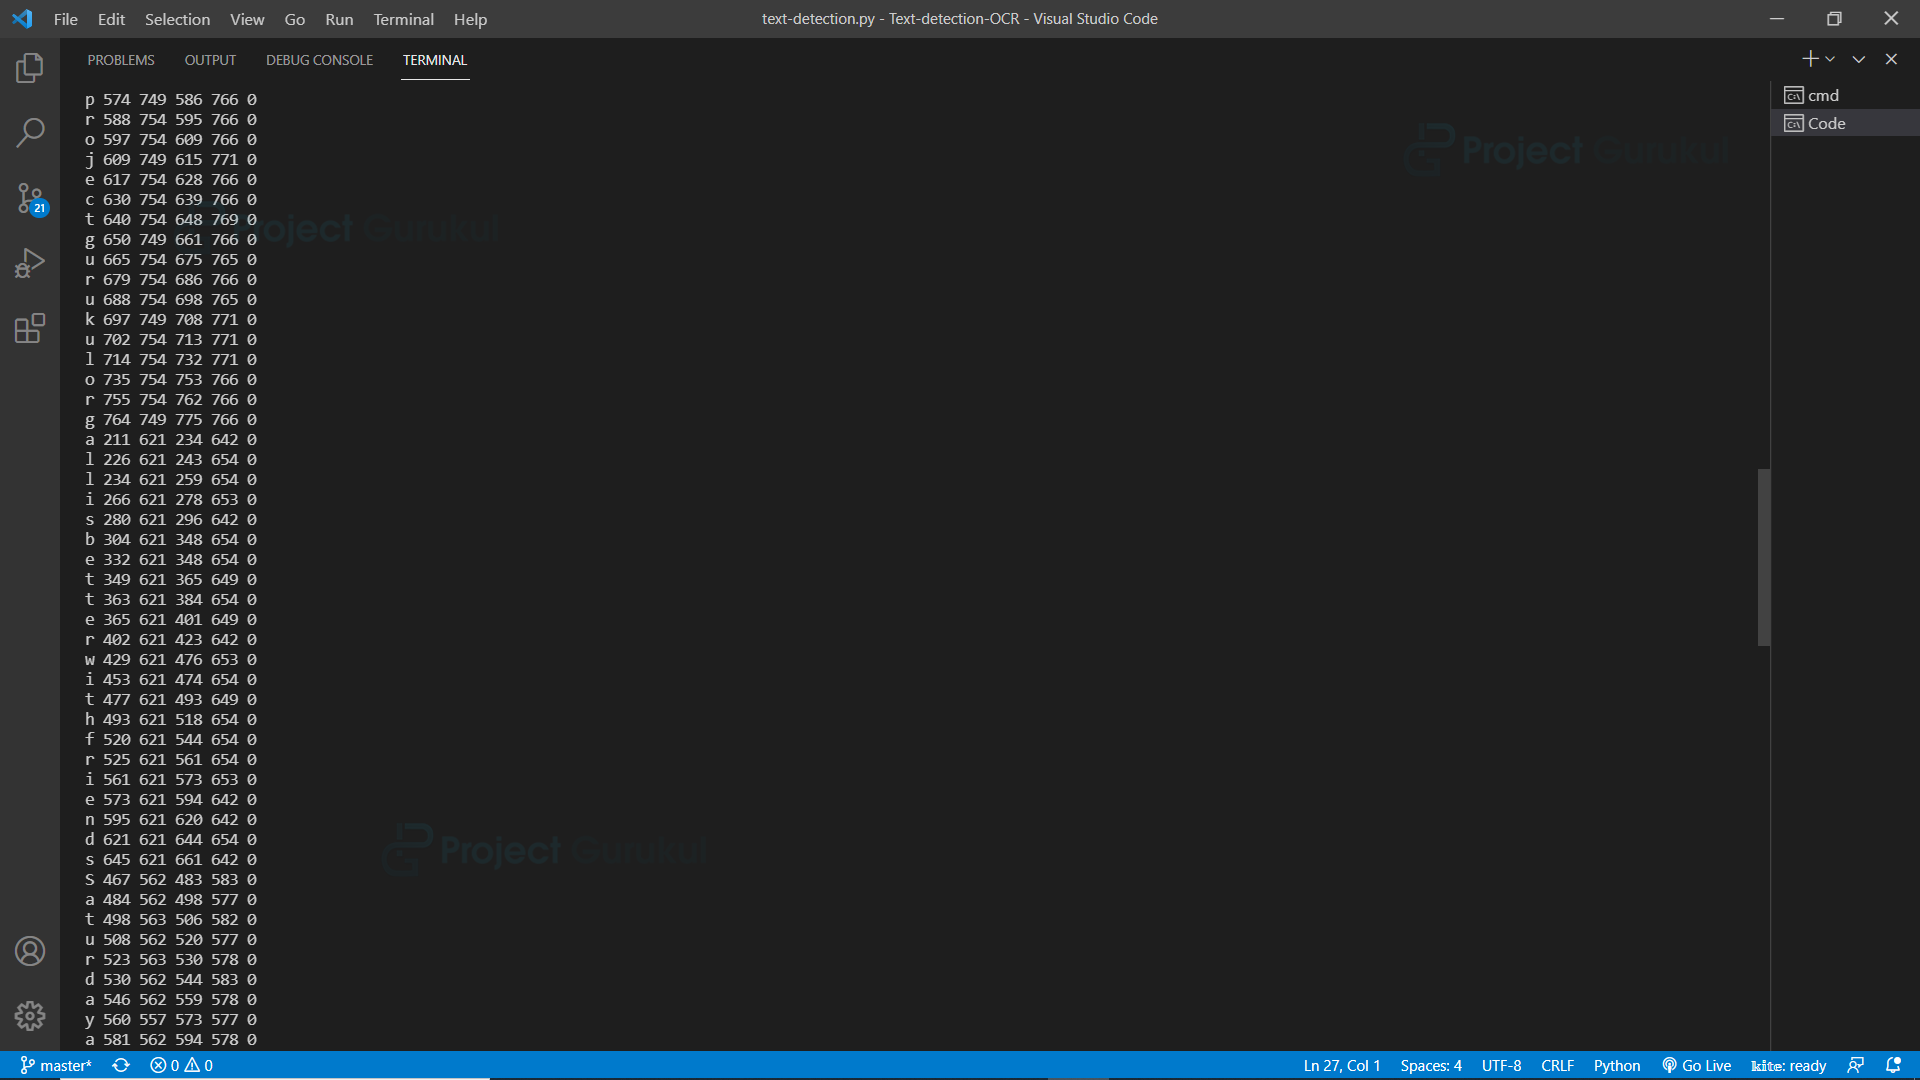
In the output, we can see that the first column contains recognized characters, and the 2nd, 3rd, 4th, and 5th columns contain their boundaries.
Step 5 – Create Bounding boxes over each character in the image:
Now we have all the necessary information, so let’s create a bounding box and label each character in the image.
def draw_boxes_on_character(img):
    img_width = img.shape[1]
    img_height = img.shape[0]
    boxes = pytesseract.image_to_boxes(img)

    for box in boxes.splitlines():
        box = box.split(" ")
        character = box[0]
        x = int(box[1])
        y = int(box[2])
        x2 = int(box[3])
        y2 = int(box[4])
        cv2.rectangle(img, (x, img_height - y), (x2, img_height - y2), (0, 255, 0), 1)

        cv2.putText(img, character, (x, img_height -y2), cv2.FONT_HERSHEY_COMPLEX, 1, (0, 0, 255), 1)

return img

img = draw_boxes_on_character(img)
Explanation:
- “shape” function returns a tuple containing information about image height, width and no. of channels.
- Image_to_boxes return information as a string in each line. That’s why boxes.splitlines() function is used to separate each line and read each line individually.
- Each line’s information is space-separated so split(” “) function is used to separate all information and then store each value individually.
- Using OpenCv’s cv2.rectangle() function, create a bounding box over each character.
- And then using cv2.putText() function labels each character in the image.
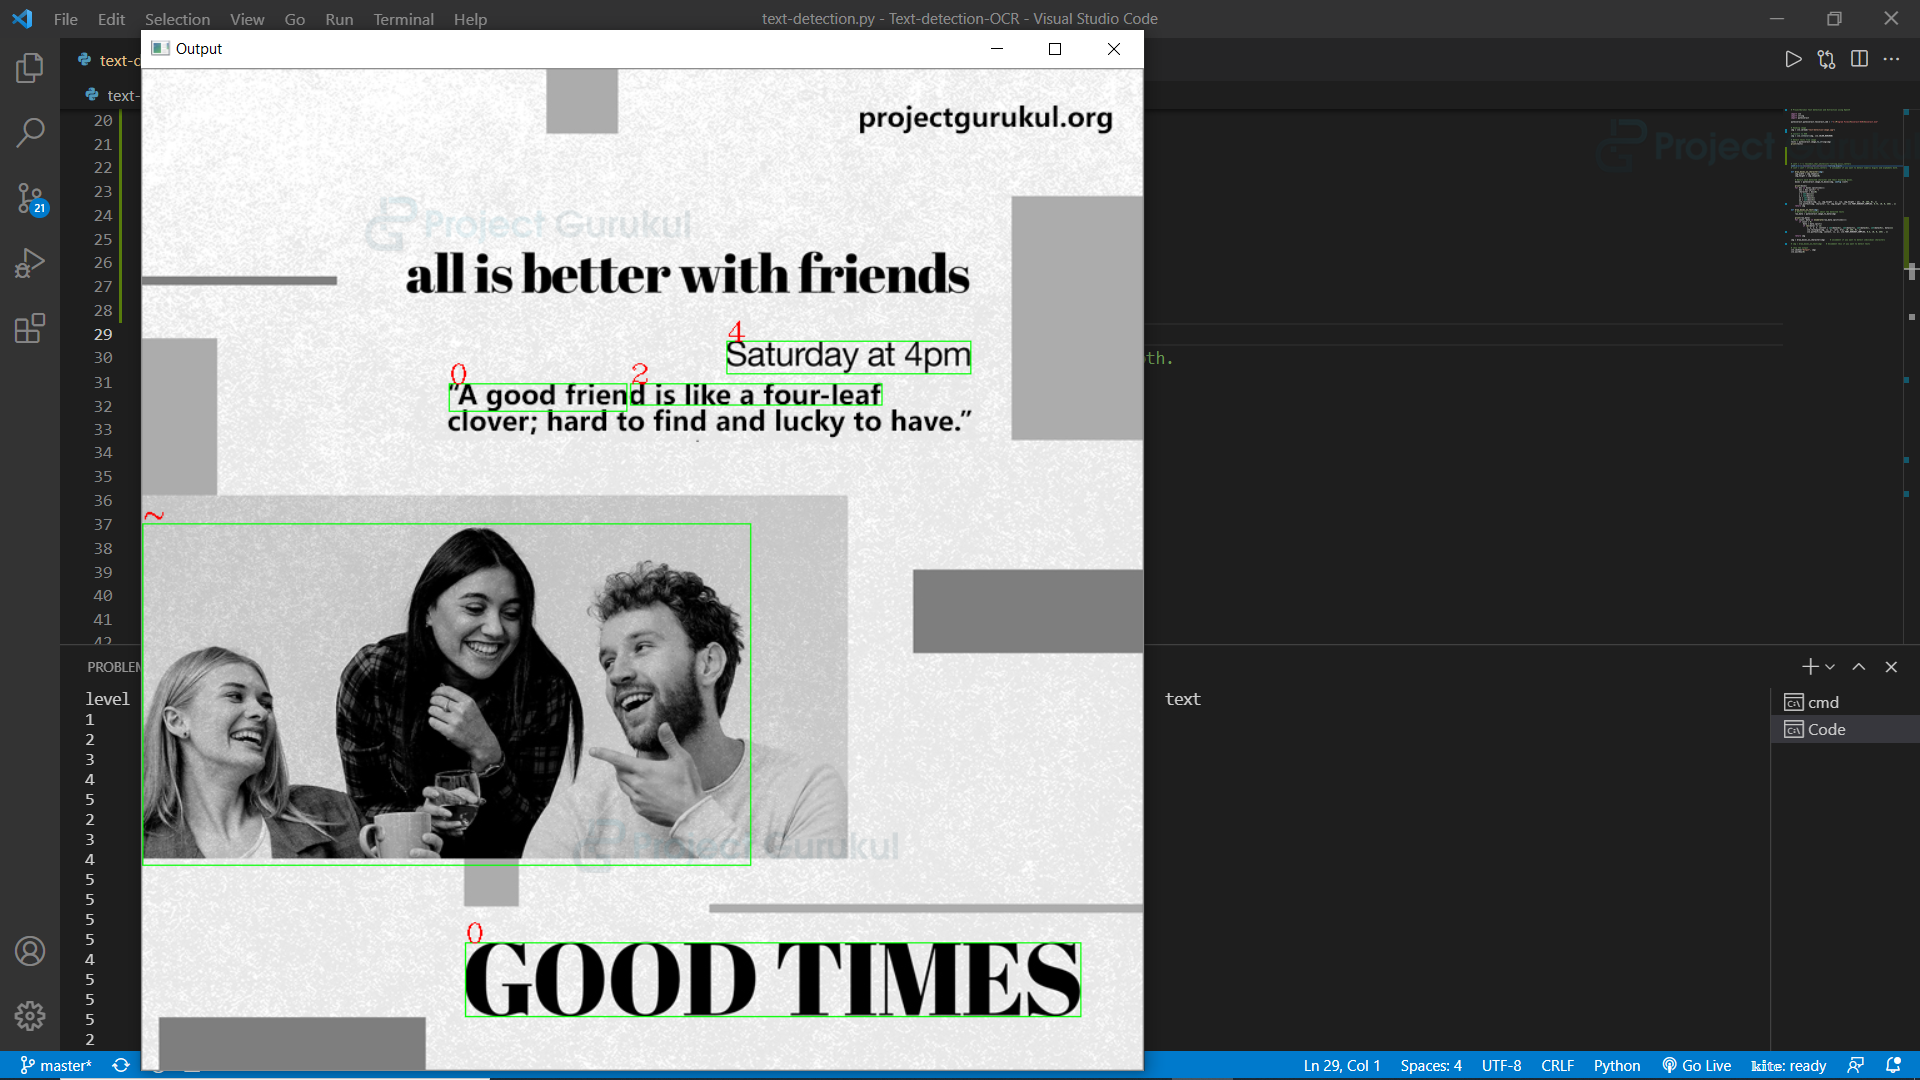
Output:

In the next step, we’ll see how we can create a bounding box over each word.
Step 6 – Create a Bounding box over each detected text in the image:
To create a bounding box over each text we need to detect each text individually as well as need bound coordinates for each text. To do this we are going to use the image_to_data function. First, see what the output data looks like.
# Return raw information about the detected texts
raw_data = pytesseract.image_to_data(img)
print(raw_data )
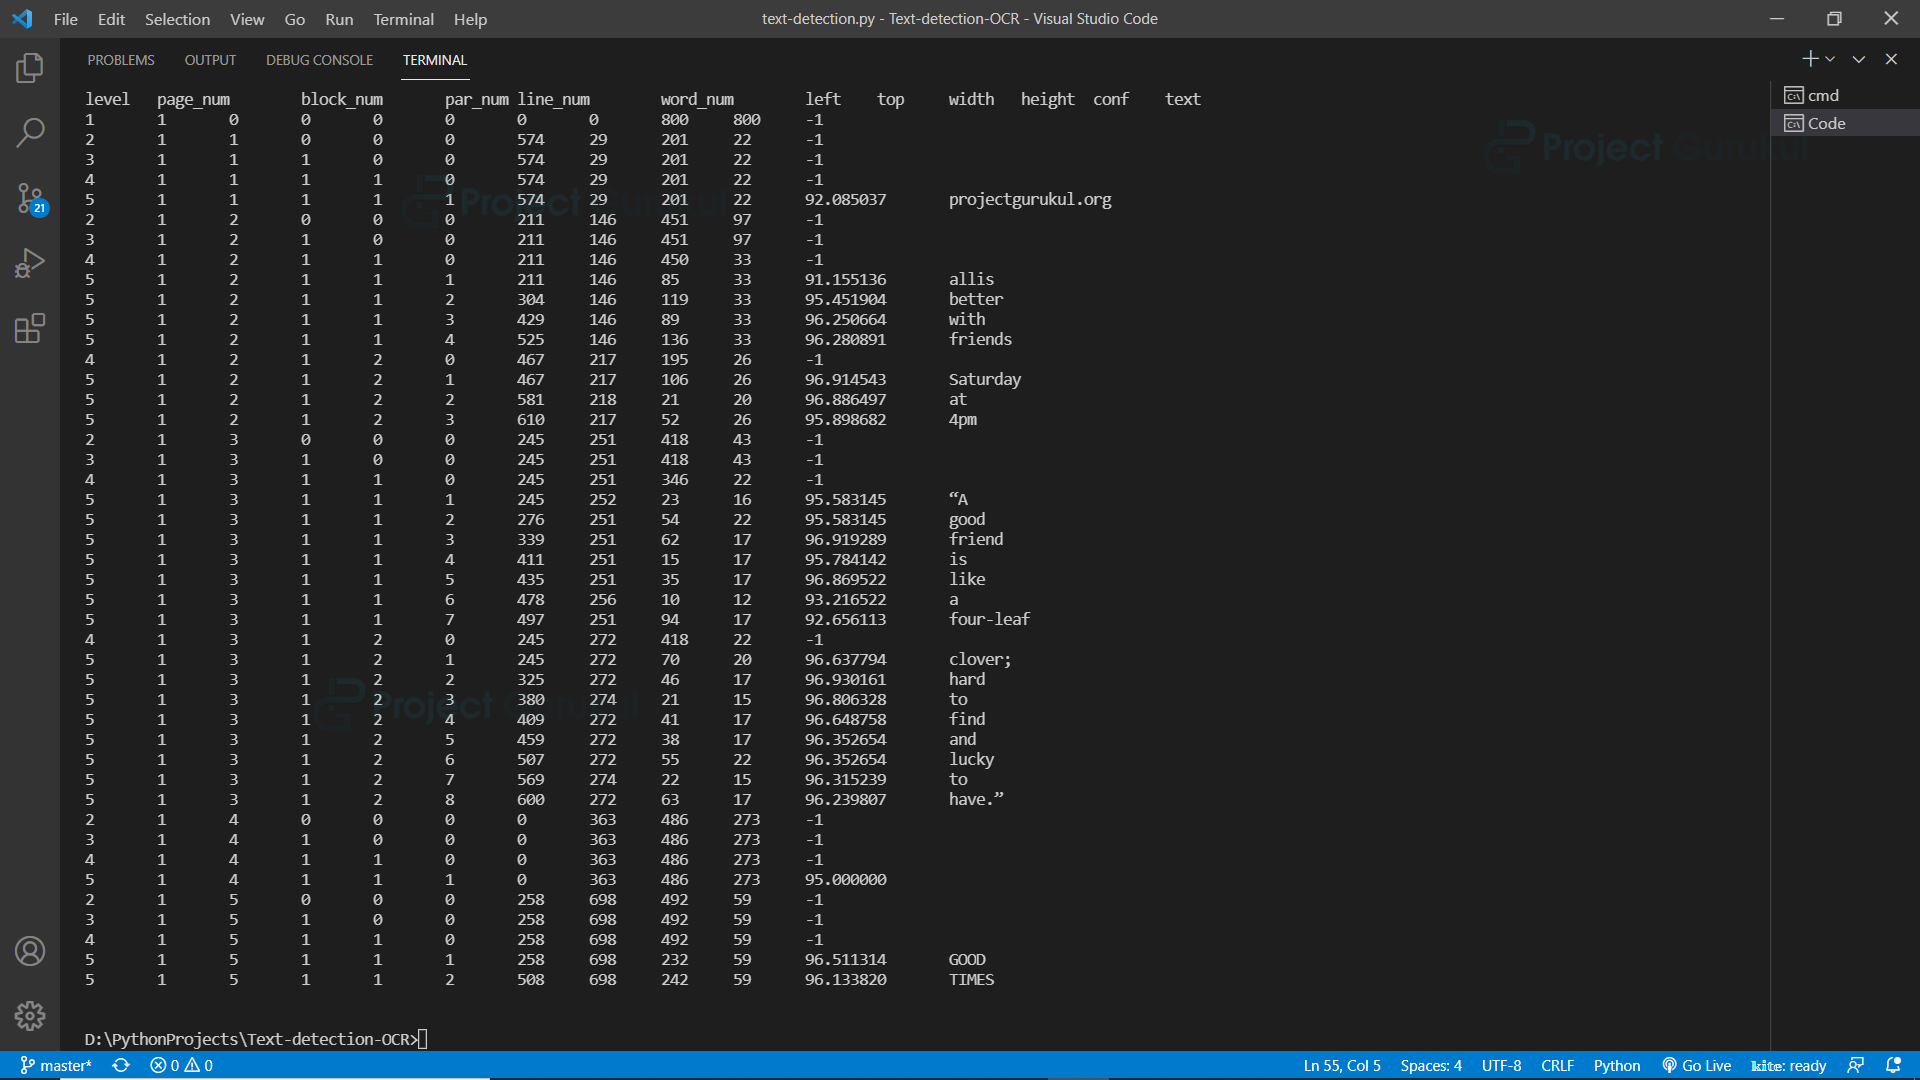
We can see that the output gives so much data, let’s see how we can extract the data we need.
def draw_boxes_on_text(img):
    # Return raw information about the detected texts
    raw_data = pytesseract.image_to_data(img)

    for count, data in enumerate(raw_data.splitlines()):
        if count > 0:
            data = data.split()
            if len(data) == 12:
                x, y, w, h, content = int(data[6]), int(data[7]), int(data[8]), int(data[9]), data[11]
                cv2.rectangle(img, (x, y), (w+x, h+y), (0, 255, 0), 1)
                cv2.putText(img, content, (x, y), cv2.FONT_HERSHEY_COMPLEX, 1, (0, 0, 255) , 1)

return img

img = draw_boxes_on_text(img)
Explanation:
- image_to_data returns results containing boundaries, texts, and other important data.
- We don’t need the first row that is the column name, that’s why count > 0 is used for not including the first row in the data processing.
- split function splits each line and returns a list .
- len(data)==12 is used because if you see the data, 12th column information is only available if any text is detected.
- cv2.puttext and cv2.rectangle for labeling and creating bounding boxes around the text which we detect and extract.
Output:

Step 7 – Detect digits and texts individually:
We can detect and extract alphabets and digits individually, for example, if we need only alphabets then we can extract only alphabets, not numeric digits.
import string

conf = r'-c tessedit_char_whitelist='+string.ascii_letters
Explanation:
- string.ascii_letters returns all the uppercase and lowercase alphabets in a single string.
- Tessedit_char_whitelist is an argument of Tesseract which defines what characters the tesseract will detect.
- To learn more about Tesseract visit: Tesseract documentation
Output:

In the output we can see that ‘4’ is not detected in the line “Saturday at 4pm”. So it is working. But we got some false results also.
Use string.digits to get only numeric digits.
conf = r'-c tessedit_char_whitelist='+string.digits
So here we can see that only digits are detected, but there are some false results too.
Summary
In this opencv python project, we’ve built a text detector and extractor. Here we have used the Tesseract engine and pytesseract to perform all the text detection and extraction processes. We learned to work with the Tesseract engine and pytesseract function. Using these techniques we can make many cool projects related to OCR.
Hello, it is vers interresting, i have alredy try this librairie but it don’t work well on pixels éd image. Il use kerasocr , it work well, I think betterave that tesseract